When Joanne first introduced her kit
Peace, the first thing I said was "I want to do a tutorial with that." I should point out that I'm a beach addict, so anything to do with sand and waves is going to attract me. (Why the heck do you think I live in Florida?)
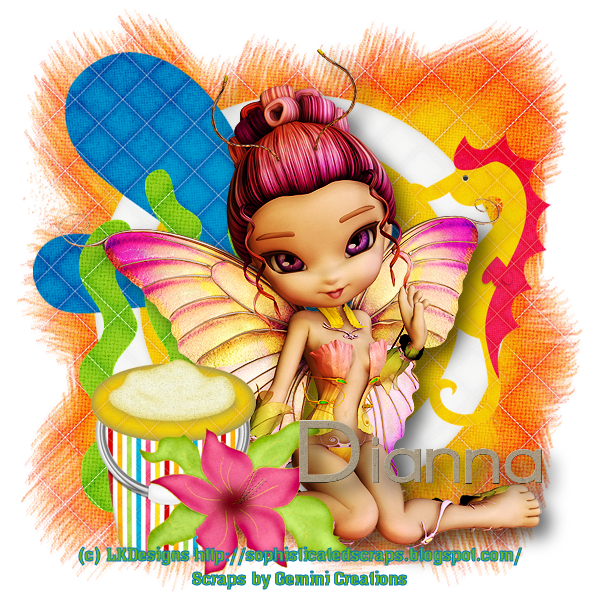
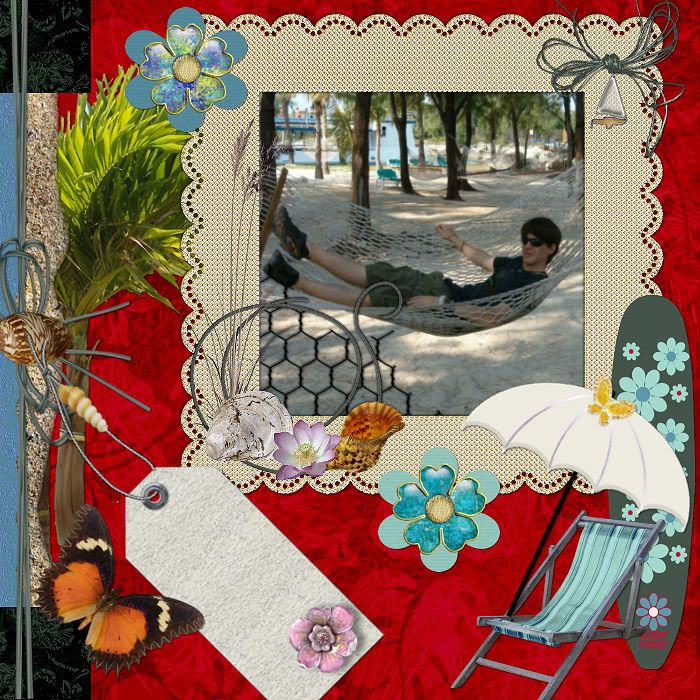
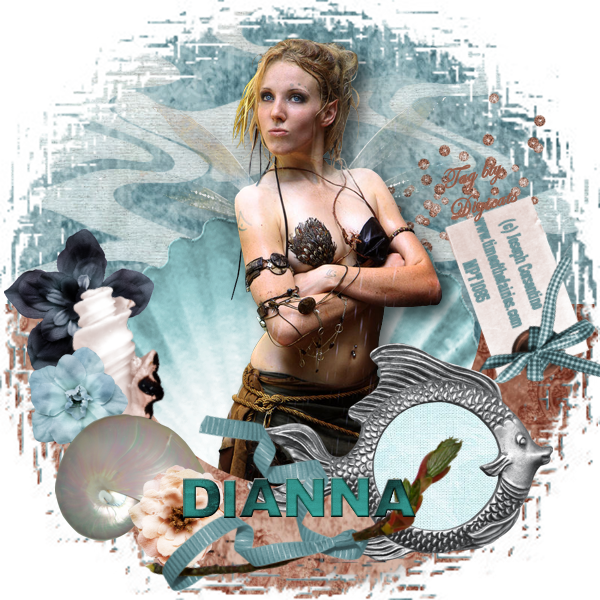
This is a really beautiful kit though with subtly patterned papers and some truly delightful elements. One tutorial may not be enough! You really need to check it out to appreciate the work that went into it. With that being said, I present to you my tutorial for my tag "A Peaceful Ocean":
This tutorial was written by Dianna Richards of Digicats (and Dogs). Any resemblance to any other tutorial, published or unpublished, living, dead or undead, is purely coincidental.
Please do not rebroadcast, redistribute or otherwise claim this tutorial or any part there of as your own work.
Items you will need to complete this project:
The
Peace taggers kit from
A Taggers Scrap. This kit is available at the
Sophisti-Scraps Boutique.
Tube of your choice. I am using
"Playing in Water" by
Joseph Corsentino. You must have a license to use this tube, which may be obtained at
MyPSPTubes.com.
Cameron's Mask #132 as well as Mask #1 from her Ocean's Collection, which may be downloaded for free from her
website.
Optional alpha. I am using the
Jeweltone Alpha by Barbara Lee, which is a full sized alpha that I have resized down for tagging. You can download this alpha for free at
her blog.
Note that H# and V# refer to Horizontal and vertical coordinates on your canvas grid. Make sure you have View, Rulers checked in order to see the ruler grid.
When I say "Add to your canvas" I expect that you will copy and paste it as a new layer, unless otherwise state in the tutorial.
This tutorial assumes you have a working knowledge of PSP. It was written using PSP X1, but should work in most other versions of PSP.
To begin, open a new raster canvas, 800 x 800 pixels, flood fill white.
Open Paper 13 and add to canvas.
Open Paper 11. Select Layers --> Load/Save Mask --> Load Mask from Disk and locate Cameron's Ocean Mask #1. Make sure the "Fit to Canvas" box is checked, then click on load.
Select Layers --> Merge --> Merge Group, then copy and paste the paper to your main canvas.
Select Layers --> Merge --> Merge Down.
Select Layers --> Load/Save Mask --> Load Mask from Disk and locate Cameron's Mask #132. Make sure that both the "Fit to Canvas" and the "INVERT TRANSPARENCY" boxes are checked before clicking on load.
Select Layers --> Merge --> Merge Group.
Open Glitter Beads 4, and add to canvas, centered. This should all fall within the paper area of the image. If any don't, use your eraser tool to remove them.
Select Image, resize, make sure the "Resize all layers" box is checked and resize your canvas to 75% (600 x 600 pixels).
Open PSP12489 "Playing in Water" by Joseph Corsentino, select the Tube Transparent layer and add to canvas, centered.
Add a drop shadow to the tube. I am using a Offsets of 10 each (vertical and Horizontal, Opacity of 60, Blur of 25, and the color black.)
Open Paper 14, Select Layers --> Load/Save Mask --> Load Mask from Disk and locate Cameron's Mask #132. Make sure that both the "Fit to Canvas" and the "INVERT TRANSPARENCY" boxes are checked before clicking on load.
Use your select tool (rectangle) to select the top half the paper image (from H0, V0 to H800, V400), then hit your delete kit. Selections --> Select None.
Change your select tool to circle, and position at center. Drag the circle out to H200, then press your delete key again. Selections --> Select None. This should hollow out the image, giving you a brown half border. Select Layers --> Merge --> Merge Group. Resize by 75%, then add to the main canvas.
Use your pick tool to position it to that it lines up with the Raster 1 paper group (more or less, a little offset is desirable.
On the layers pallet, click on the bead layer to activate it. Open Shell 4, then flip the image. Add to your canvas, centered at H300, V360.
On the pallet layer, click on the brown half-circle layer to activate it.
Open Flower1, resize 50% and add to canvas centered at H80, V300.
Open Shell 7, resize 50% and add to canvas centered at H120, V370. Rotate slightly to match the angle of the brown border.
Open Flower 2, resize to 35% and add to canvas, centered at V80, H400.
Open Shell 5, flip, and resize to 35% and add to canvas, centered at H130, V480.
Open Flower 3, resize to 35% and add to canvas, centered at V180, H520.
Open FishFrame, mirror and resize by 50% and add to canvas, centered at v400, H450.
Open Paper 5. Using your select tool, select a small circular section of the paper, then click on copy, then close the paper. Paste the selection to your canvas, over the fish frame. Use your pick tool to resize it to fit the circular part of the frame. Then, on the pallet layer, drag the paper, under the fish frame.
On the layers Pallet, click on the fish frame to activate it.
Open Bud3, mirror, and resize to 50%. Add to the canvas centered at H30, V455. Using you pick tool, rotate the image counter clockwise so that the stem falls under the peach colored flower, then adjust as need to bring the bloom back into the center of the fish frame.
Open Tag 2, and then rotate it 90 degrees clockwise. (Image --> rotate right.)
On the materials pallet, set your foreground color to #4d6f74 (gingham green) and your background color to #759ca1 (aqua).
Using the font of your choice, enter the copyright info on the tag. For the Corsentino tube I am using the info is:
(c) Joseph Corsentino
www.timeofthefairies.com
YOUR LICENSE NUMBER
Use as much of the tag as possible as we're going to resize it down and you'll want the into to still be visible when we do that.
Then select Layers --> Merge -> Merge Visible and rotate the tag 90 degrees to the right. (Image --> Rotate Right.)
Resize the tag by 50% and add to the canvas, centered at H530, V320. Use your pick tool to rotate the image slightly clockwise as shown above.
Add your "Tag by" information where ever you wish, and then save your artists' copy as a .pspimage file.
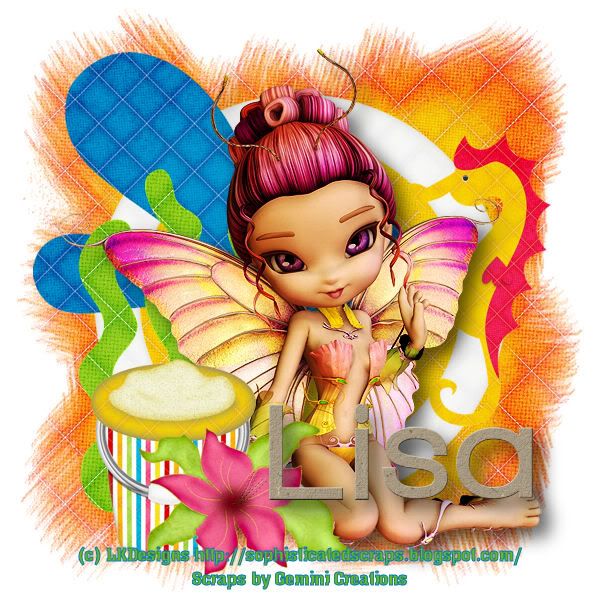
Add the name you wish to be displayed on the tag. Location is up to you. I have put mine at H300, V500, but your millage may vary.
Once you have added your name, you may save it as either a .jpg image (with the white background) or as a .png image by removing the white background before you Merge Visible and save.
I hope you enjoyed this tutorial. If you have any questions or get stuck, please feel free to
E-Mail me.
Thanks to Joanne at A Taggers Scrap for allowing me to work with her beautiful kit Peace. There are so many wonderful elements in the kit that they could not all be properly used in just one tag.

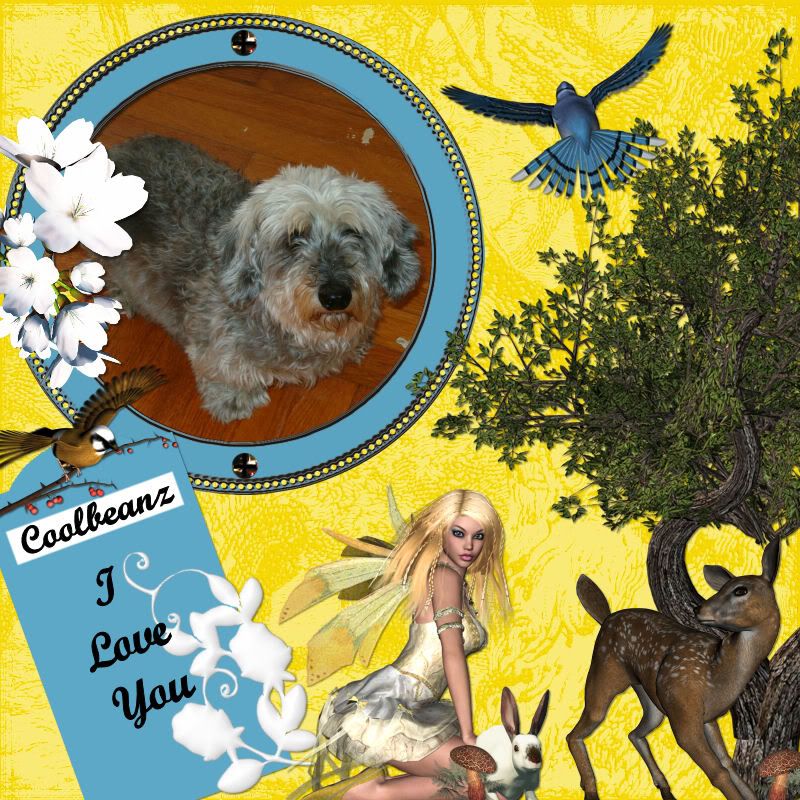
 This week's featured kit at Sophisti-Scraps is Puppylicious! If you like puppies - and who doesn't - you'll LOVE Puppylicious! It fill with all sorts of wet nosed, tail wagging goodness! 20 Patterned papers and 91 elements including 2 plush puppies and 5 puppy stickers. Irregardless of whether you are making a tag for you, or for man's best friend, you're sure to find something to please in Puppylicious!
 It's the height of Wedding Season and we're sure you'll find something new included in Something Borrowed. Come on down to Sanibel Beach in Florida for the wedding of your dreams - sun, surf, even flamingo flower girls!
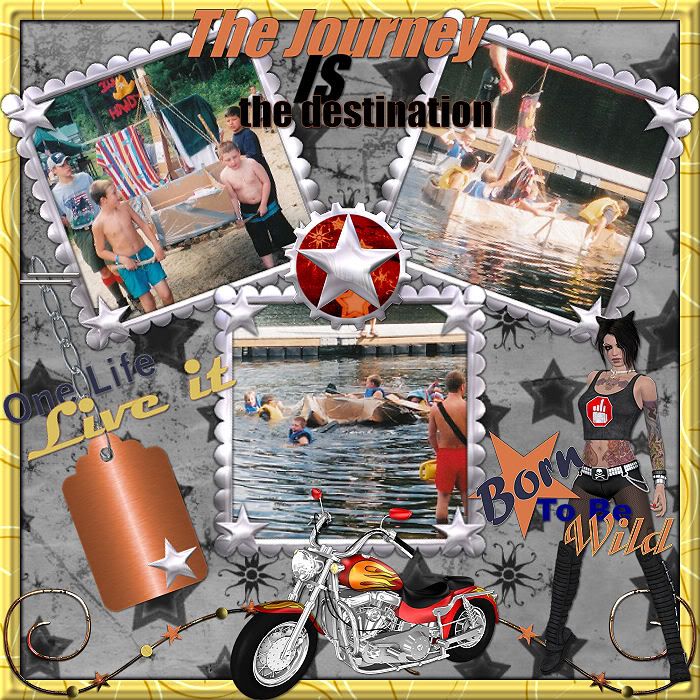
 Join us on a trip through America was we wish a happy birthday to the United States aboard The Goodie Train! Americana is also yours FREE just for stopping by Digicats (and Dogs). 30 800 x 800 pxl papers, 106 elements and yes! Fireworks! Make this kit explosive fun! And as Digi says, you'll find Liberty and Freedom inside for all!
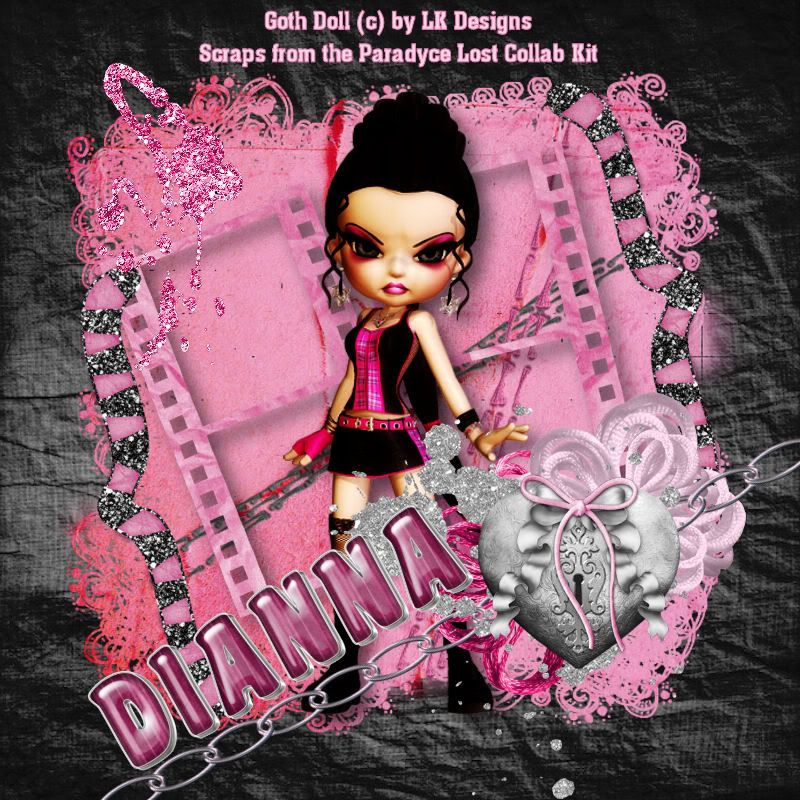
 Choo! Choo! Climb aboard the Gothic Impressions Blog Train as it chugs off to The Summerlands! Yet another fabulous freebie for you, this great fantasy themed kit includes 24 Papers and 104 magical elements. Do you have the key to fit the door into summer?