Wednesday, July 8, 2009

Summer Camp Wilderness - from me to you!

Camp Tippy Canoe photo DCD_CampTippyCanoe_TS.png


Summer Camp - love it or hate it. For some, it is a right of passage. For others...well, let's just say I'm a city girl. Either way Camp Tippy Canoe delivers summer camp wilderness right to your computer!

This great mix of realistic and whimsical elements starts off with 20 Outdoorsy Papers (800 x 800 pxls, .jpg format). Add to that 10 frames and 5 tags plus an additional 91 .png elements, and you have everything you need to re-live summer memories...or make some new ones.

Packed inside your camp backpack you'll find 5 doodle yarns, 5 paperclip bows, 5 stringbows, 4 forest trees, 4 houseflies, 4 spiders (including Shelob), 4 logs, 3 grass borders, 3 sticker cabins, 3 froggers, 3 squirrels, 2 stones, 2 ants (1 red, 1 black), 2 blue flower bushes, 2 dragonflies, 2 tent stickers, 2 vines, 2 snakes, 2 plants, 1 frog, 1 snailhouse, 1 backpack doodle, 1 camp bus, 1 canoe, 1 cardinal, 1 dandelion seed, 1 dandelion, 1 draft horse (Dotty), 1 evergreen tree, 1 pair of field gasses, 1 grasshopper, 1 ivy vine, 1 ladybug, 1 little bird, 1 raven, 1 songbird, 1 tire swing, 1 tree stump and axe, 1 wildflower clump, 1 water lily, 1 deer, 1 bedroll, 1 campfire and 8 stickers (2 councilors, 2 campers, and 4 survival items).

But beware of the insects because the only thing you won't find...is Off!

300 DPI. Personal use only. Thanks to Digiweb Studio for the artwork used in the creation of this design.

There's actually a lot my memories in this kit. The first camp I ever went to - I was six at the time - and there was a draft horse there named Dotty that pulled a big wagon that we took a hay ride in. There were two horses, actually, but I only remember the name of the one (probably because she stepped on my foot).

It was a weekend camp and I was sharing a tent with four other girls. Someone left the tent flap unzipped and we got back to the tent it was filled with spiders! The other girls had learned to grab the daddy long legs and toss them, so they were de-spidering the tent when this HUGE fuzzy black wolf spider crawled up the tent wall from out of one of the sleeping bags. The other girls gave me the flashlight and told me to keep an eye on it while they went for the councilor. I don't know how long they were gone - probably not that long - but that spider climbed up the tent wall and then started working it's way across the tent ceiling toward me - which is when I freaked out and started screaming.

The councilor got there real fast with a rag, grabbed the thing and hurled it into the woods. Need I say, I didn't sleep at all that night as I was quite certain there were more spiders in the blankets! My dad came and got me the next morning. He was my hero!

It's taken me a long, long, long time to get over my fear of spiders.

After my folks got divorced, my mother would send my sister and I to camps every summer for a week. While we were gone she'd then take a week's vacation to Arizona. I didn't catch on to this scheme until I was like 11 or 12 - which was the end of my going to the hated summer camps.

I would MUCH rather have gone to the beach!

This kit has been retired and is available for FREE elsewhere on this blog!

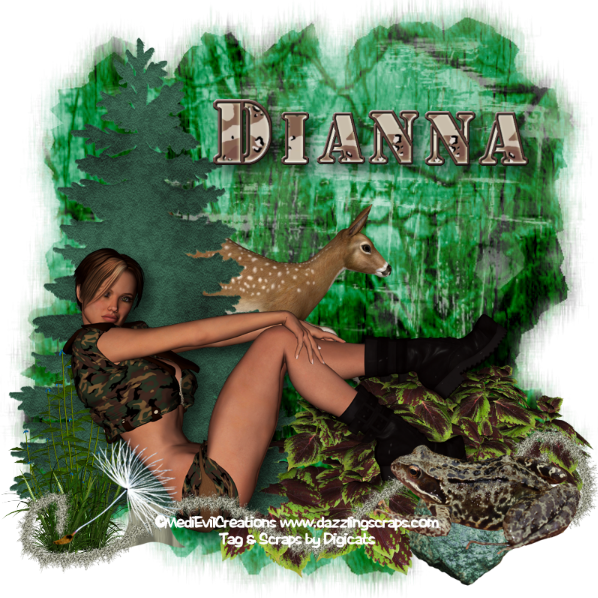
Here's a couple of tags I did last night using the kit. The Military Pride posers are from MediEvil Creations, while the Camo alphas are courtesy of Free Digital Scrapbooking.
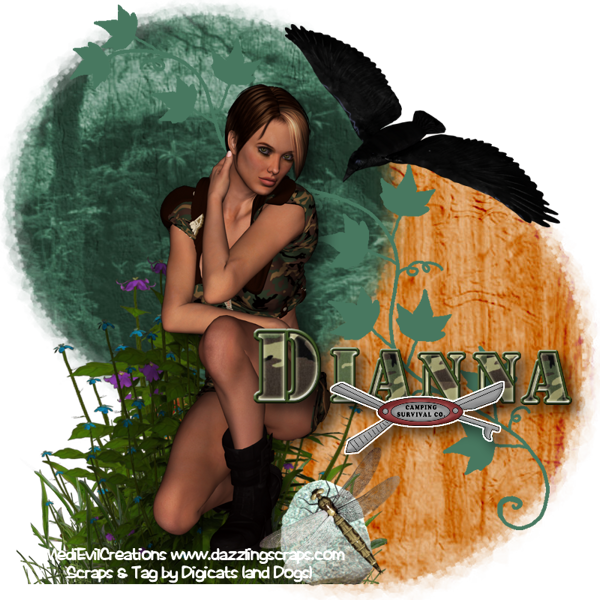
Camp Tippy Canoe 1

Camp Tippy Canoe 2

Tuesday, July 7, 2009

More Awesome Layouts!

I'm still having a lot of problems with the computer at home and trying to surf the internet. I'm okay as long as I don't go near blogger, but the minute I try to look at a blog, Netscape crashes. I guess I need to totally uninstall it, delete all the files and start again and see if that helps. Sheesh.

Anyway, some layouts that were done using my kits. The first two are from Lillian who's done a really great job. She's using more cub scout pictures, LOL!

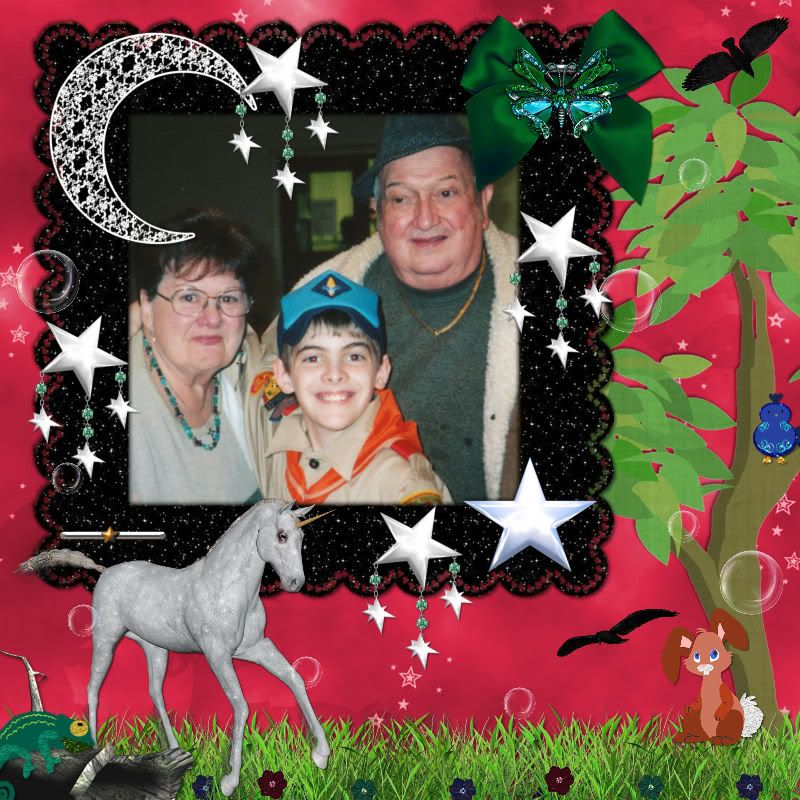
Enchanted Cub Scout


This one uses my Enchanted Forest kit. I had a blast making it, and I hope she enjoyed working with it as much. There's an Enchanted Forest II in the works, but it's going a bit more darker and dangerous than the first! (Here by Dragons!)

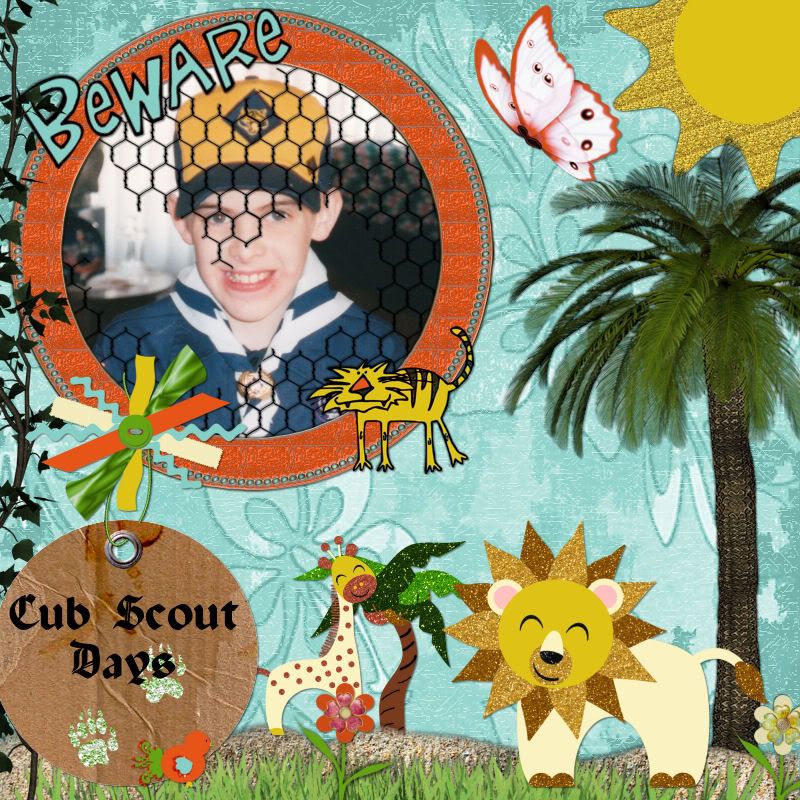
Going on a Cub Scout Hunt


The second uses my Lion Hunt kit and is just too adorable! She's got her Cub all caged! LOL! Both these layouts were done for the Winni Lesson' Groups and again, if you interested, you can find the links to them here.

The next two layouts come from Ishona from the Scrappetizing store CT. She had The Big Kahuna kit and decided to have a go at it. Theses layouts turned out fabulous!

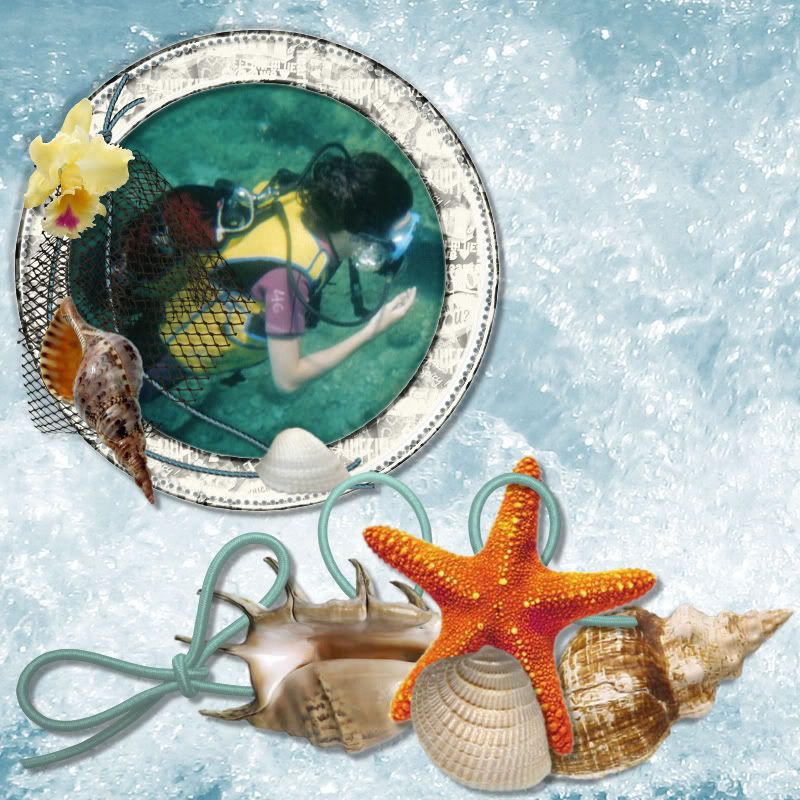
Under the Sea


It's been a while since I've been under the waves and I do miss it. It's a very magical world down there. This looks totally refreshing, does it not?

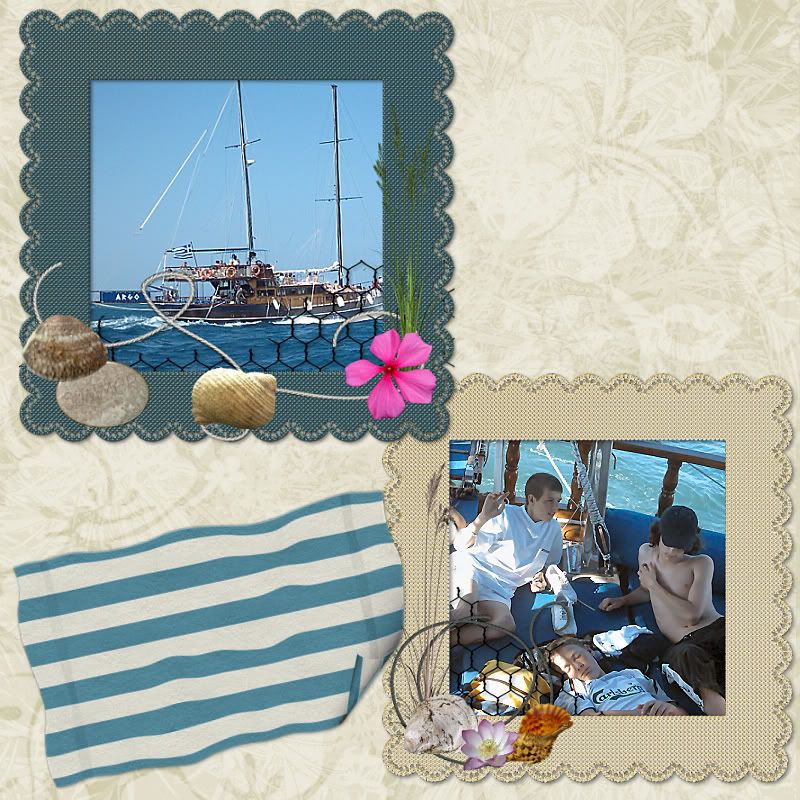
Sailing!


Top side, we've got one nice looking sail boat. I could go for that right about now. How about you?

Awesome job by both of them!

These kits are available right now in all three of my stores! In the meantime, assuming the computer from hell co-operates, I should have Camp Tippy Canoe hitting the stores either tonight or tomorrow!

Be afraid. Be very, very afraid!

Monday, July 6, 2009

Rock Star Dreamz Tutorial

Rock Star Dreamz


This tutorial was written by Dianna Richards of Digicats (and Dogs). Any resemblance to any other tutorial, published or unpublished, living, dead or undead, is purely coincidental.

Please do not rebroadcast, redistribute or otherwise claim this tutorial or any part there of as your own work.


Items you will need to complete this project:

The Rock Star Dreamz taggers kit by Kimmie's Kreations. This kit is available for purchase at Sophisti-Scraps. Please note that we are using one of the tubes included in the kit.

The Glitterbug 4 Script by Bluebird Designs, which may be downloaded for free here. (Note: we will not be using the script, only the enclosed glitter tiles).

Wee Scots Lass mask #228, which you can download HERE.

Font of Choice.

Optional Silver Alpha by Crazed's Creations which may be download for free from her blog.


Note that H# and V# refer to Horizontal and vertical coordinates on your canvas grid. Make sure you have View, Rulers checked in order to see the ruler grid.

When I say "Add to your canvas" I expect that you will copy and paste it as a new layer, unless otherwise state in the tutorial.

This tutorial assumes you have a working knowledge of PSP. It was written using PSP X1, but should work in most other versions of PSP.

Before you begin, make sure you've added the glitters from the glitter bug script to your Patterns directory in My PSP Files, and the Masks to your Masks directory.

Open a new raster canvas, 800 x 800 pxls, flood fill white.

Open RSD Paper 1, resize to 800 x 800 pxls, and add to canvas.

Open music glittertrail 4, resize to 85% and add to canvas, centered at H500, V130.

Open Paper 11. Resize by 70%. Select Layers --> Load/Save Mask --> Load Mask from Disk and locate Wee Scots Lass mask # 228, Make sure the fit to canvas box is checked and click on Load.

Using your pick tool, drag the guide lines out until they take up the whole canvas area. Then select Layers --> Merge --> Merge Group. Copy and paste Paper 11 to your main canvas centered.

Open Grunge Frame 5 and add to canvas, centered. Using you pick tool, rotate the frame approximately 20 degrees, counter clockwise. on the pallet layer, click on paper 11, and also rotate it counter clockwise to match the frame.

On the layer pallet, click on the frame layer to activate it. Open RockStar doll 5 and add to canvas, centered at H250, V430.

Open guitar element 1. On the Materials pallet, find glitter-bug tiles, glitter pink. Using you paint bucket tool, glitterize guitar element 1. Make sure you glitter all the notes as well.

Resize guitar element 1 to 70%. On the layers pallet, click on paper 11 to activate it, then cut and paste guitar element 1 to the canvas, centered.

On the layers pallet, click on the frame layer to activate it. Open corset 4, resize to 65% and add to the canvas, centered at H600, V600. Using you pick tool, rotate clockwise about 20 to 30 degrees. Relocate the center to H530, V580.

Open lanyard 1, resize 70% and add to the canvas centered at H580, V290.

Open Backstage Pass 3. On the materials pallet, set your foreground and background colors to White (#FFFFFF). On the Backstage pass, using the Arial Black font (72 points, bold, centered) type "VIP" (in all caps). Use your pick tool to size appropriately.

Select --> Layers --> Merge -- Merge Visible. Resize to 50% and add to the canvas, centered at V590, H500.

Open Flair 2, resize 50% and add to the canvas, at v580, H100.

Click on the Rock Star Doll to activate, and add a drop shadow. I am using offsets of H10, V10, Opacity 60, Blur 25, and color Black.

Using a font of your choice, add the copyright and designer info to the tag just under the bottom of the frame. The correct copyright for the Rock Star Doll is

"(c) LK Designs http://sophisticatedscraps.blogspot.com"

The designer info is

"Scraps by Kimmie's Kreationz"

I am using the font Clarence, which is my new favorite font of the week. Use your pick tool to resize to taste. It's okay if it goes over the corset some.

Save your artist's copy as a .pspimg file.

Adding a Name: Usually I leave this up to you. If you wish to use the optional Silver Alpha, proceed as follows:

Minimize your main canvas and open a new raster canvas, 800 pxls wide, 300 pxls high with a transparent background. You can turn your grid on if you'd like, I just use the little checkerboard pattern on the canvas to line things up.

Open the letter(s) of choice. This is a taggers size font and will not need resizing. Repeat the procedure with each of letters in the name you are spelling out. If you have double letters - as in the A and N in my name - you need only do this once as you can use duplicate function to replicate them on the canvas.

Since the alpha only comes in one size, you may wish to use your pick tool to resize the "lower case" letters in the name.

Using the pick tool, line the letters up on the new canvas to spell out the name you wish to add to the tag. Note that if you have a LONG name, you may need to make the letters a bit smaller to fit them all onto the canvas.

One you have the name composed to taste, select, Layers --> Merge --> Merge Visible. Edit and copy the name and then reactivate your main canvas. Add the name to the canvas, centered at around H300, V100. This may change depending upon how long the name is. Use the pick tool to resize and relocate the name to taste. You may add a drop shadow to the alpha if you wish.

You are now ready to save the finished tag as either a .png or .jpg. Select --> Layers --> Merge --> Merge Visible. Resize the canvas by 75% (600 x 600) pxl. Save as --> .jpg.

Your all done! I hope you enjoyed this tutorial. If you have any questions or get stuck, please feel free to E-Mail me.

Sneak Peaks

Sleeping helps, it really does. I actually feel physically better as far as the arthritis goes after I've had a good night's sleep.

It's just hard to kick the sleeping pill though, and - like Friday night - I took the pill and still couldn't get to sleep. All it did was make me ornery, which is probably not a good thing.

But it does help.

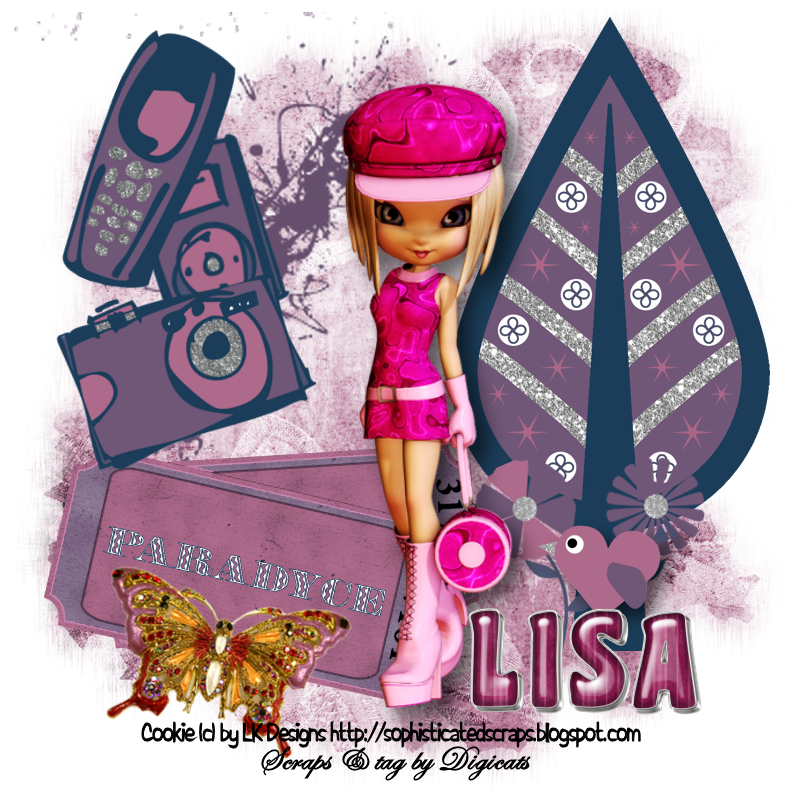
For it being a holiday weekend, I did get a lot of work done, getting two new kits into the store and working up my part of a fundraising collab we're doing at Sophisti-Scraps. Lisa had done up some cookies to go with it, and was concerned about the coloring, but as I pointed out...the pallet is dark, so the brighter colors of the cookie posers work fine for the tag:

2 Tix 2 Paradyce Sampler


The scraps are from my portion of the collab, they were the only ones I had to play with.

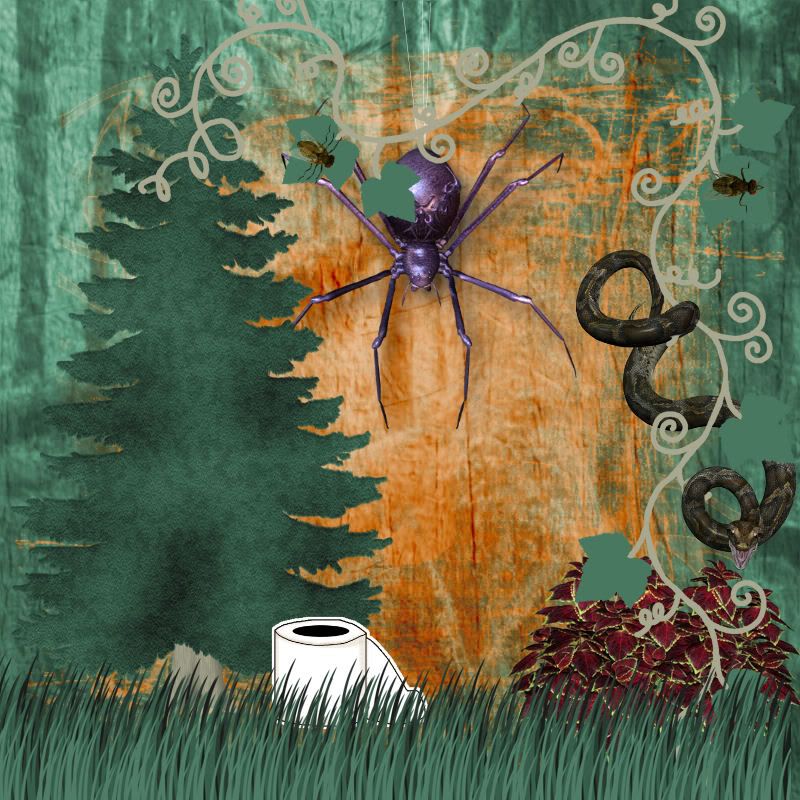
I of course did the tags with the summer blog train kits. I also started working on a new kit. The working title is "Summer Camp" although I think it's going to be released under the name of Camp Tippy Canoe. Right now it's looking more like an advert for a horror movie than a summer scrap kit:

Summer Camp Sampler


Might be too terrifying for small children but then...we were small children when we lived through it. I love the look on that snake's face! It's like "HI! there." I did start adding birds in, so perhaps that will help lighten the mood...

The large spider is there for a reason. It was part of one of those tramadic events when I was a small child. (Along with my folks divorce and having to take my beautiful Puffy cat to the pound where she was probably euthanized. Have I ever mentioned I hate my mother?)

I still have work to do on the kit, but it's coming...soon to a scrap store near you.

Beyond that, my computer has been in a PIA this weekend. I can navigate to G-Mail, Yahoo, stores and message boards, but the minute I go near a blog Firefox crashes. Very annoying.

I'm beginning to think it may be a problem with blogger and not with Firefox, but I guess we'll see today when I'm using the browser at work.

Hope you had a happy and safe Fourth of July. Mine was relatively quiet. Catch you later!

Beachhouse

Sunday, July 5, 2009

A ride on the Gothic Inspirations Summer Blog Train

I did some tagging with the various kits you can pick up (for FREE) on the Gothic Inspirations Summer Blog Train. In most cases these were taggers sized kits, but two of them were traditional size - I'll cover those as I get to them.

Missing from this collection is the Bits'N'Bob's Summer Spritzer kit, which I'm going to do a tutorial on, as well as the two element packs from Created by Jill and Designs by Sarah, as well as the Summer Time Word Art by Anti Social Distorions. This is not to belittle them in any way, I was just trying to see what I could with the individual kits.

All the posers are from Lisa at Sophisticated Scraps and Imaging. I love her little cookie posers, they are just too darn cute! These can be purchased from Sophisti-Scraps.

Gothic Inspirations Summer Blog Train


First up is this great offering from Jessica at Gothic Inspirations who was kind enough to host this great train. He brings us a "large" taggers sized kit with the papers saved to 850 pixels. (You can click on any of these tags to make them bigger by the way). The kit comes with 15 papers and 59 elements. I love glitter splats, so I really enjoyed the ones she include in the kit. And aren't those flowers gorgeous?

Click on over and pick this one up. After the 15th it goes into her store and you'll be sorry you didn't snag it for free when you had the chance!

The paper clips is from Sam's Scraps, and the alpha comes from the Digital Blueprint portion of the blog train.

Any of the masks I am using in the these tags, like the one in this tag, are from Wee Scots Lass.

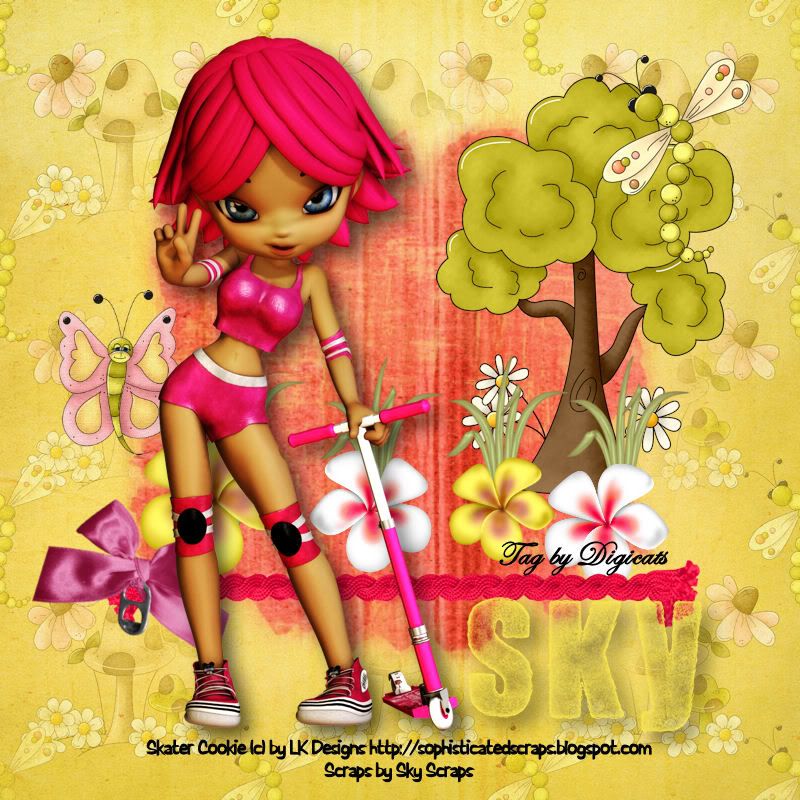
Summer by Sky Scraps


This next tag comes from Sky's Scraps who added some totally cute Bugilious clip art to it. The kit comes with 9 papers and 43 elements, certainly more than enough for several tags, especially as I couldn't fit in all some of the really nice elements she included.

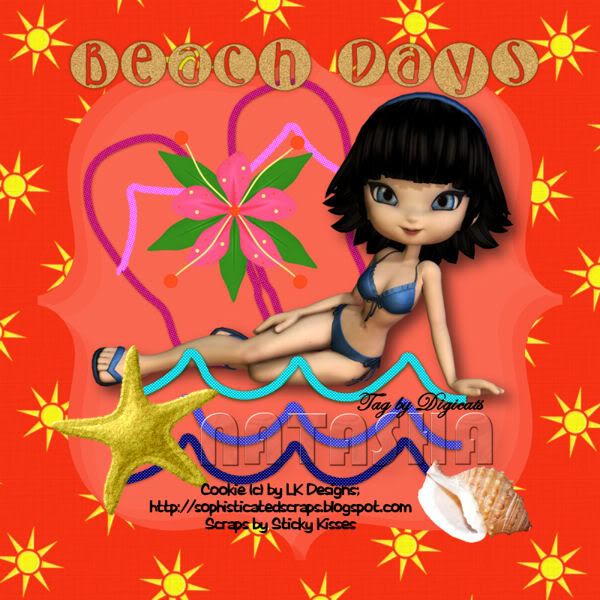
Beach Days


What would the summer be without a trip to the beach? Natasha from Sticky Kisses takes us out to the surf and I really love the cute little elements she's put in here.

15 papers and 25 elements including the Beach Days word art. The Alpha on this one is the Beach Bum alpha from Digi-Designs by Nicole and is not included in the kit.

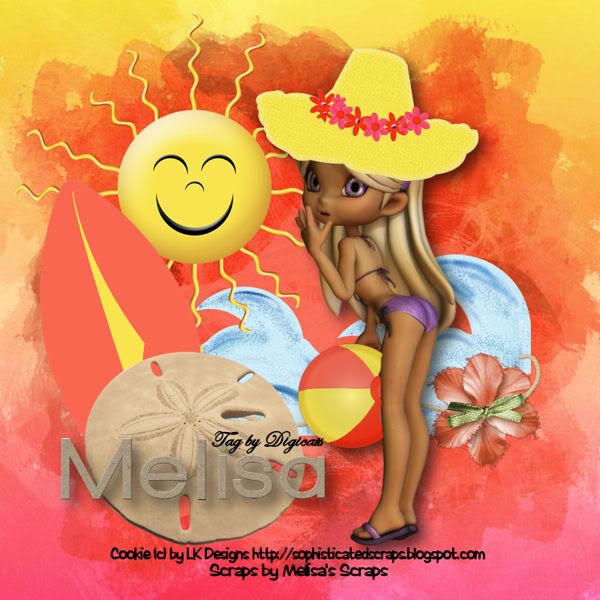
Sun and Sand


Melisa's Scraps offering is a full size mini-kit which comes with 4 beautiful papers and 18 elements. Even after I scripted it down to tag with some of the elements were huge, but that's okay. It's easier to make them smaller, than it is to enlarge them.

I LOVE that sand dollar! LOL! The Summer Sun alpha used in the tag is courtesy of Shel Bell and is not included in the kit.

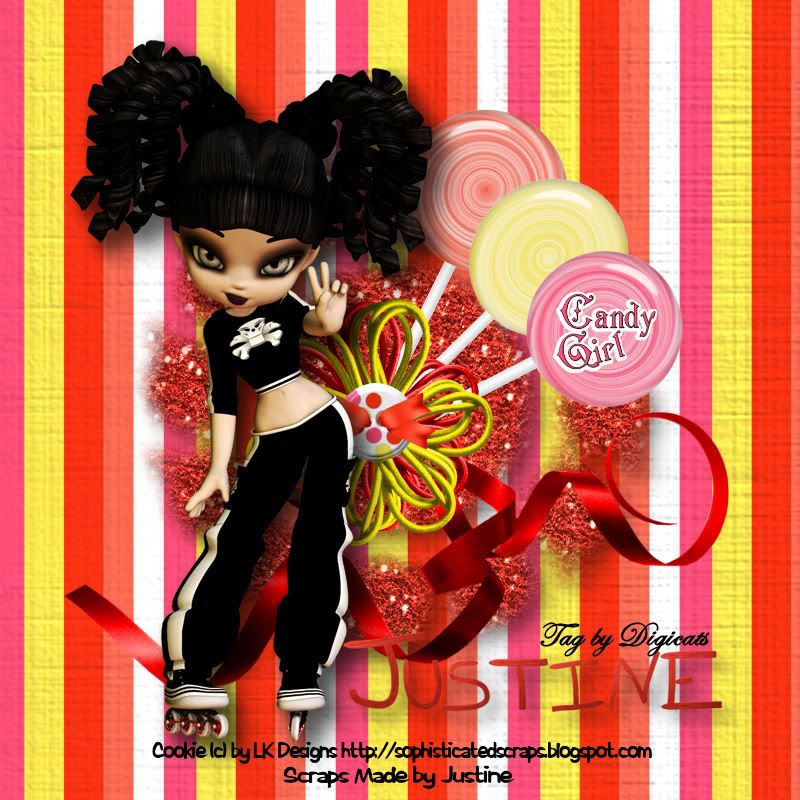
Candy Girl


If you like candy you'll just love a trip to the sweet shop Made by Justine.

This taggers sized kit comes with six regular papers and 4 glitter papers, 38 elements and an alpha.

Justine did a great job on this one and I had a lot of fun playing with it, so be sure to check it out.

Summer Fun by Laura


Laura's Designz brings us another taggers sized kit and I love the papers on this one! There's 8 of them, as well as 26 fun elements including some really nice flowers. The alpha is again from the Digital Blueprint kit which...

Digital Blueprint


...brings us to the other traditional size kit in this train. Digital Blueprint delivers with 5 papers and 12 elements, plus the alpha. This is another on that's headed to the stores after the 15th so if you've got some summer layouts to do, be sure to snag it now.

Great stuff from all the talented artists who participated in this fine blog train. And don't forget my own contributions - The Summer Lands - which is a tagger sized affair.

Hope you enjoyed this quick look at what's available! I certainly enjoyed playing with all the summery colors!

Saturday, July 4, 2009

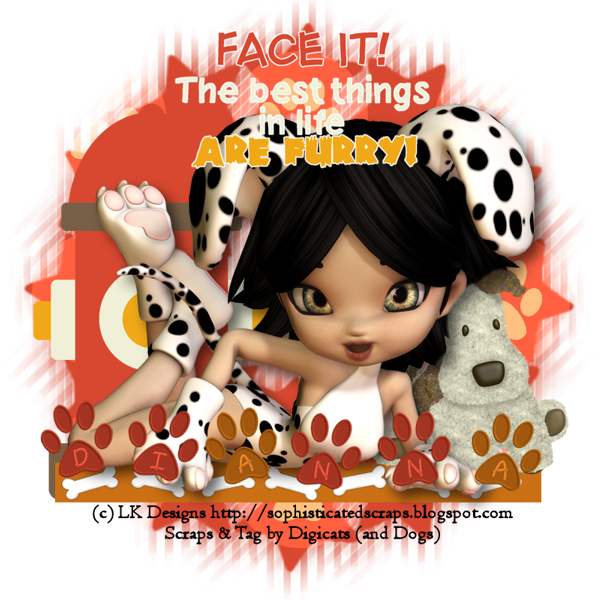
Tail Waggin' Tutorial

The best things in life


This tutorial was written by Dianna Richards of Digicats (and Dogs). Any resemblance to any other tutorial, published or unpublished, living, dead or undead, is purely coincidental.

Please do not rebroadcast, redistribute or otherwise claim this tutorial or any part there of as your own work.


Items you will need to complete this project:

My Puppylicious taggers kit, which may be purchased at Sophisti-Scraps, Scrappetizing and Stargazer Scraps.

Tube of choice. I am using one of the Cookies Critters - Freckles tubes by Sophisticated Scraps and Imaging. You can purchase this tube pack at Sophisti-Scraps.

Wee Scots Lass mask #162, which you can download HERE.

Font of Choice.


Note that H# and V# refer to Horizontal and vertical coordinates on your canvas grid. Make sure you have View, Rulers checked in order to see the ruler grid.

When I say "Add to your canvas" I expect that you will copy and paste it as a new layer, unless otherwise state in the tutorial.

This tutorial assumes you have a working knowledge of PSP. It was written using PSP X1, but should work in most other versions of PSP.

To begin, open a new raster canvas, 800 x 800 pxl, Flood fill white.

Open DCD_Paper 14. Select Layers --> Load/Save Mask --> Load Mask from Disk and locate WSL mask # 162. Make sure the "Fit to Canvas" box is checked and click on load.

Using your pick tool, drag the guide lines on the mask out to the edge of the canvas. Then select Layers --> Merge --> Merge Group. Copy and paste the paper to your main canvas.

Open Fire Hydrant and add to canvas, centered at H200, V400.

Open Ribbon01, resize to 80% and add to canvas, centered at V400, H650.

Open Tube of Choice. I am using Freckles 2 by Sophisticated Scraps and Imaging. Add to canvas, centered.

Open SYP Scottie, resize by 50% and mirror. on the layer pallet, click on the ribbon layer to activate, then add the Scottie to the canvas, centered at V620, H500.

Erase the the hair on the Freckles poser so that it looks like the Scottie dog is next to her.

add a drop shadow to the tube layer. I am using offsets of 10 each, Opacity of 60, Blur of 25, color Black.

Open WA-Furry and resize to 60%. Add to the canvas centered at H400, V130.

On the Material's Pallet, set both your foreground color and background to black. Using the font of your choice, add the copyright information to the tag. You may also add "Scraps by" and "Tagged by" if you'd like.

For the Freckles poser, the Copyright information is:

(c) LK Designs http://sophisticatedscraps.blogspot.com

I have the copyright info centered at V400, H700, your mileage may very.

You can now save your artist's copy at a .pspimage.

Using the included paw print alpha, pick out the letters for the name you wish to add, resize each to 25%, and add to the canvas in a staggered manner along the front. Use you pick key to rotate the letters slightly at random to give it a fun sort of look.

Resize the image to 75% (600 x 600 pxls).

You may then merge visible and save the file as a .jpg file or you may drop the white background, merge visible and save as a .png file.

That it! I hope you enjoyed this tutorial. If you have any questions or get stuck, please feel free to E-Mail me.

Friday, July 3, 2009

New from Digicats (and Dogs)

Rosario's Pizzeria


Remember the old Mom and Pop pizza places? The decor often left a lot to be desired, but the food was outstanding. Rosario's Pizzaria is a step up from plastic table cloths, but the food is still excellent!

20 Grungy Papers, 10 shabby and worn frames, 8 crumpled paper tags, plus 75 .png elements including: 10 Bows, 10 Ribbons, 5 candles, 5 folded ric rac, 5 Kiss the Chef badges, 5 slices of pizza, 5 wraps, 3 brooches, 3 vases 2 cooking mitts, 2 heart rolls, 1 Little Angel, 1 Pizza Pan, 1 set of bowls, 1 box of veggies, 1 chalkboard, 1 chef's sign, 1 chef's hat, 1 hanging sign, 1 Pizza Paddle w/Pizza, a red rose, a white rose, 1 wine bottle with 2 wine glasses, 1 Brick Pizza Oven, 1 Pizza Paddle, 1 Pizza Sign, 1 Wine Barrel, 1 Gold Butterfly and 1 bunch of grapes.

Everything is saved to 300 DPI, and can be used for smaller print jobs up to 5 x 7 inch size.

Make sure you have the number for carryout near by, because you'll want it by the time you finish with this kit!

Thanks to DigiWeb Studio and Whimsy Primsy for providing the art work used in the creation of this kit.

Personal Use Only Please!

Note: This kit has been retired and is available for FREE elsewhere on this blog!


The Big Kahuna photo DCD_TheBigKahuna_TS-1.png


Maui is known as the magic isle and a far as surfing goes, it's definitely magic. The Big Kahuna carries the magic of the surf with it as it takes you on a trip to the Valley Isle and the wave swept sand covered beaches without ever leaving your home.

Inside this beautiful kit you'll find 20 tropical papers, 6 frames, 5 tags and 2 post cards and 112 fabulous elements making this one huge kit with lots of tagging opportunities.

You get 10 Flowers 5 bows, 5 butterflies, 5 dragonflies, 5 sea horses, 5 lady bugs, 5 ric racs, 5 strings, 5 string wraps, 5 surf boards, 5 sea shells, 4 beach bags, 4 beach towels, 5 beach umbrellas, pairs of flip flops (or summer slippers), 3 Macaws, 3 sets of waves, 3 conch shells, 2 deck chairs, 2 beautiful "faun" beach girl posers, 2 Hibiscus, 2 palm trees, 2 tiki, 2 '30 Ford Woodies, 2 starfish, 1 blue bird of happiness, 1 glitter star, 1 juke box, 1 orange flower, 1 orange lily, 1 pink hibiscus, 1 sand border, the sun, a sun charm, a Sunflower. 1 toucan, and 1 rose of Sharon.

Personal Use. Scrap 4 Hire, Scrap 4 Others, okay!

Pick up The Big Kahuna today and enjoy your stay on the magic isle!

This kit has been retired and is now FREE!
Download your copy HERE.

Thursday, July 2, 2009

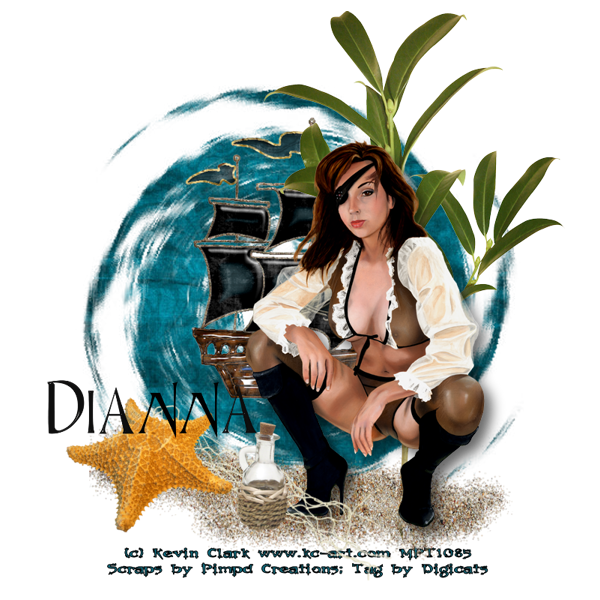
High Seas Tutorial

High Seas Tutorial


This tutorial was written by Dianna Richards of Digicats (and Dogs). Any resemblance to any other tutorial, published or unpublished, living, dead or undead, is purely coincidental.

Please do not rebroadcast, redistribute or otherwise claim this tutorial or any part there of as your own work.


Items you will need to complete this project:

The High Seas taggers kit by Pimp'd Designz. You can purchase this kit at Sophisti-Scraps.

Tube of choice. I am using "X marks the Spot" by Kevin Clark. You must have a license to use this tube, which may be obtained at www.mypsptubes.com.

Cameron Mask # 235, which you can download for free from her website.

Black Epoxy Alpha, which you can download HERE.

Font of Choice. I am using Orbus Multiserif which is a windows system font. If you don't have it, you can download it from Font Trader.


Note that H# and V# refer to Horizontal and vertical coordinates on your canvas grid. Make sure you have View, Rulers checked in order to see the ruler grid.

When I say "Add to your canvas" I expect that you will copy and paste it as a new layer, unless otherwise state in the tutorial.

This tutorial assumes you have a working knowledge of PSP. It was written using PSP X1, but should work in most other versions of PSP.

Open an new canvas, 800 x 800 pxls, Flood Fill White.

Open High Seas PP11

Select Layers --> load save mask -->Load mask from disk and find Cameron Mask 235. Make sure both the "fit to canvas" and "invert transparency" boxes are checked, then click on load.

Layers --> Merge --> Merge Group, then cut and paste pp11 to your canvas.

Open Pirate Ship. Resize to 75% and paste to canvas, centered at H400, V350.

Open Greens-2 and add to canvas at H550, V370.

Open Sand and add to canvas at H400, V650.

Open psp12039 X Marks the Spot by Kevin Clark, and copy the tube layer to your canvas, centered at H500, V450.

Open Net. Resize to 50%, and add to canvas, centered at H350, V650. Using you pick tool, rotate the netting slightly clockwise about 15 or 20 degrees, so that it covers the bottom of the Pirate's boot.

Open Starfish, resize to 50% and add to canvas, centered at H200, V620.

Open Bottle, resize to 35% and add to canvas, centered at H350, V640.

On the layers pallet, click on the tube layer to activate it, then add a drop shadow to the tube. I am using offsets vertical and horizontal of 10 (each), opacity of 60 and blur of 25 (color black).

On the Materials Pallet, set your foreground color to #000000 (black) and your background color to #0e697c (dark teal). Using a font of your choice, enter the copyright information for the tube that you are using.

For "X Marks the Spot" the copyright information is:

(c) Kevin Clark www.kc-art.com YOUR LICENSE NUMBER

You may also add the background & tagged by information if you wish. I have my information centered at H400, V750.

You may now save your artist's copy as a .pspimage.

Adding a Name: Usually I leave this up to you, but the Black Epoxy alpha works so good with Pirate tags I that have to recommend it at this point. If you don't want to, that's fine. But it is free...after all.

The alpha is a full sized one. For the moment, minimize your main canvas and open a new raster canvas, 800 pxls wide, 300 pxls high with a transparent background. You can turn your grid on if you'd like, I just use the little checkerboard pattern on the canvas to line things up.

Open the Black Epoxy Capital letter of choice. Resize to 25%, add to the canvas. Repeat the procedure with each of the lower case letters in the name you are spelling out. If you have double letters - as in the A and N in my name - you need only do this once as you can use duplicate function to replicate them on the canvas.

Using the pick tool, line the letters up on the new canvas to spell out the name you wish to add to the tag. Note that if you have a LONG name, you may need to make the letters a bit smaller to fit them all onto the canvas.

One you have the name composed to taste, select, Layers --> Merge --> Merge Visible. Edit and copy the name and then reactivate your main canvas. Add the name to the canvas, centered at around H200, V550. This may change depending upon how long the name is. Use the pick tool to resize and relocate the name to taste.

You are now ready to save the finished tag as either a .png or .jpg. Please note that if you plan to use this tag on message boards, you may need to use a .jpg size as their upload size may preclude using a .png file, which is generally about 6 times the size of a .jpg file.

To save as a .png, right click on the white layer on the layer pallet and select delete. (Are you sure? Yes.)

Go to Layers --> Merge --> Merge Visible. Go to Image --> resize and resize to 75% (600 x 600 pxls). This is also maximum size for most message boards. File --> "Save as" and save as a .png.

To save as a .jpg, follow the steps as outlined above, but do NOT delete the white layer.

I hope you enjoyed this tutorial. If you have any questions or get stuck, please feel free to E-Mail me.

Wednesday, July 1, 2009

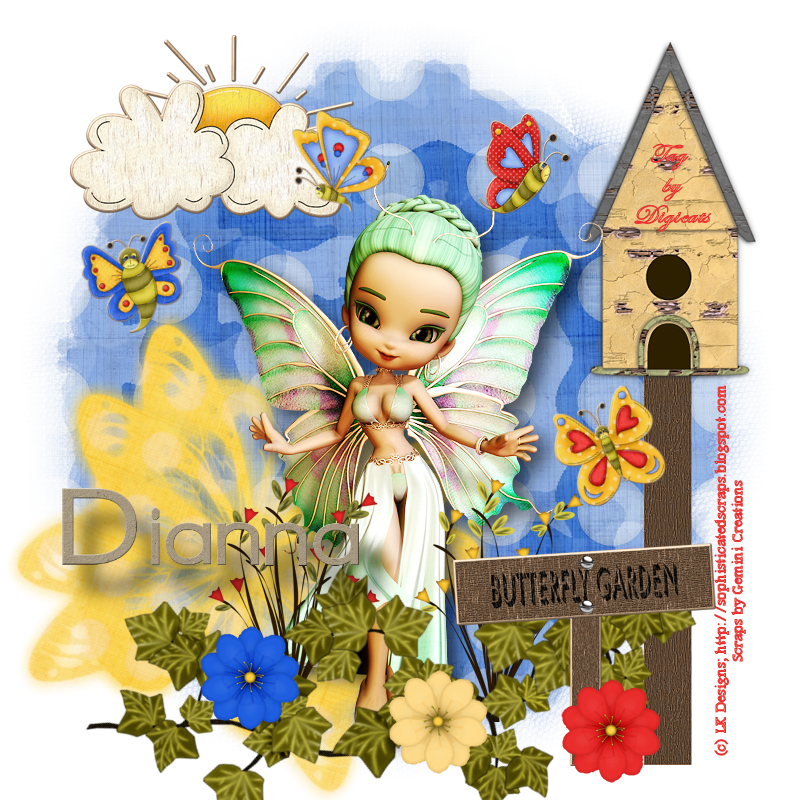
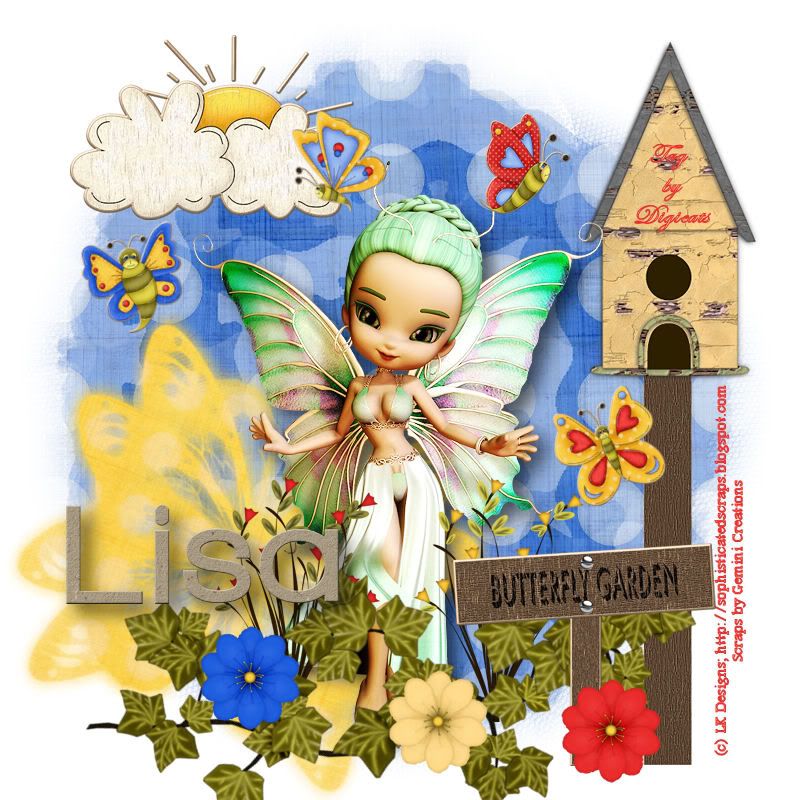
Butterfly Garden Tutorial

Butterfly Garden


This tutorial was written by Dianna Richards of Digicats (and Dogs). Any resemblance to any other tutorial, published or unpublished, living, dead or undead, is purely coincidental.

Please do not rebroadcast, redistribute or otherwise claim this tutorial or any part there of as your own work.


Items you will need to complete this project:

The Whimsy Butterfly Garden by Gemini Creationz. This kit may be purchased at Sophisti-Scraps.

Tube of choice. I am using the Seasonal Fae Cookie posers by Sophisticated Scraps and Images.

Wee Scots Lass masks #235 & #245, which you can download HERE.

Shel Belle's FTU Summer Sun alpha, which may be downloaded from her blog. This is a full sized alpha, I have scripted it down to use for tagging.


Note that H# and V# refer to Horizontal and vertical coordinates on your canvas grid. Make sure you have View, Rulers checked in order to see the ruler grid.

When I say "Add to your canvas" I expect that you will copy and paste it as a new layer, unless otherwise state in the tutorial.

This tutorial assumes you have a working knowledge of PSP. It was written using PSP X1, but should work in most other versions of PSP.

To begin, open a new canvas, 800 x 800 pxls, Flood fill white.

Open WBG Paper-3. Select Layers --< Load/Save Mask --< Load Mask from Disk and find WSL Mask 235. Make sure the "Fit to canvas" box is checked and then click on "Load".

Layers --< Merge --< Merge Group, then copy and paste Paper 3 to the main canvas, centered.

Open WBG Paper-1. Select Layers --< Load/Save Mask --< Load Mask from Disk and find WSL Mask 245. Make sure the "Fit to canvas" box is checked and then click on "Load".

Layers --< Merge --< Merge Group, resize to 60%, then copy and paste Paper 3 to the main canvas, centered at H250, V550. Use your pick tool to rotate the paper about 30 degrees clockwise.

Open Birdhouse 1, resize to 80% and copy and paste to the main canvas, centered at V670, H400.

Open Tube of choice. I am using Sophisticated Scraps Seasonal Faes - Spring 2. Copy and paste to canvas centered at V400, H450.

Open Grass Flowers, and resize to 35%. Add to your canvas centered at H300, V600.

Repeat with TallGrassFlowers, but center on the canvas at H500, V600.

On your layers pallet, click on the blue paper layer to activate. Open Sunclouds1, resize to 65% and add to your canvas, centered at H220, V130.

On your layers pallet, click on the TallGrassFlowers to active. Open Ivy 1, resize to 75%, and add you your canvas centered at H400, V600. Using your pick tool, rotate the ivy about 30 degrees clockwise, then relocate the vertical center to 650. This should put the ivy down along the bottom of the tag.

Open WBG Sign, resize to 65% and add to canvas, centered at H580, V650.

Open Flowers of choice, 1 through 6, resize 25% each and place at random along the ivy at the bottom of the tag.

Open Butterflies of choice 1 through 5, resize 25% and place at random in the air around the Fae at the top of the tag.

Add a drop shadow of choice to your Fae. I am using Offsets of Vertical & Horizontal 10 each, Opacity 60, Blur 25.

Select Image, rotate right. On the (now bottom) part of the tag, next to the birdhouse post enter the copyright information for the tag.

For the Seasonal Fae, the copyright info is:

(c) LK Designs; http://sophisticatedscraps.blogspot.com

You may add the Scrap Designer information (Gemini Creationz) and the tagged by information as well.

I using a foreground color of Red #ea3130, and a background info of muted yellow #f8d189, and am using the font Footlight MT Light, Bolded and Centered.

Select Image, rotate left.

You may now save the artist's copy as a .pspimage.

For the name, I am using the Summer Sun Alpha by Shel Belle, which is an optional full sized alpha that I have scripted down for tagging. You may add your name as you wish.

For the purposes of this tutorial, I am locating the name on the left hand side of the tag, centered at H200, V550. Your mileage may vary. I have also added a drop shadow to the name, again, that is a personal preference.

Select Image, resize, make sure the resize all layers box is checked and resize the tag 75% (600 pxls by 600 pxls). You may then either drop the white background, merge visible and save as a .png file, or leave the white background in place and save as a .jpg file. Either way is acceptable.

That's it! I hope you enjoyed this tutorial. If you have any questions or get stuck, please feel free to E-Mail me.

Optional JPG file with white background:

Butterfly Garden - Lisa

Gothic Inspirations Blog Train Freebie

The Summerlands photo DCD_Summerlands_TS.png


Woooo! Wooooo!

Welcome aboard the Gothic Inspirations Blog Train and this month, the train is heading for summer! Here at Digicats we've got a beautiful fairy themed summer kit for you called "The Summerlands".

It's all about keys and the magical Door into Summer - something you may want when winter rolls around again.

we start out with 24 papers. Because this is the "Gothic Inspirations" blog train, some of the papers are a little on the dark and gothic side because, well...danger lurks in the fairy lands as well. This is a taggers sized kit, so all the papers are saved to 800 x 800 pxls in .jpg format, and as is everything in the kit, 300 DPI.

There are also 8 frames and 8 tags. I left two of the frames in this preview at full size so you could see the detail work in them. They're just beautiful pieces! You can click on any of these previews to make them bigger, BTW.

And last, but not least our the elements. Included in the kit are 8 star ribbons, and 8 bows, 4 painted birds, 4 pillar candles, 4 taper candles, 4 crescent moons, 4 Dragonflies, 4 sets of Fae Lights, 4 envelopes of fairy dust, 4 fairy dust trails, 4 flowers, 4 gem butterflies, 4 keys, 4 rowan trees, 4 star lights and 4 star brights, 4 sets of wings, 4 wired flowers, 2 clouds, the sun, a stone path, a bird house, a fairy swing, one "Aiko Elf" fairy by Bits'N'Bobs, and the fabled Door into Summer.

Please remember that by downloading this kit you agree to my terms of use which state, in part that that that you cannot redistribute, rebroadcast, resale, or claim my graphics as your own. That means placing this kit on 4Shared, RapidShare or any other file sharing site for any reason is a strict NO-NO! That constitutes redistribution.

If you know someone who is interested in this kit , please direct them to my blog where they can download their own copy. Free to use is NOT the same thing as free to share. My graphics are copyright protected.

Plus I already pay for premium download service so you don't have to wait for your freebies, and the links stay here FOREVER, so you don't have to put this kit anywhere else to share it, just link to this post.

To download from MediaFire, click HERE.
The password is "TYVM" - no quotes.

If you enjoyed this freebie, please take a moment to vote for Digi!

Over the Rainbow
Click on the blinkie to vote!


Once you've download head on over to these other great stops on the Gothic Inspirations Goodie Train! And don't forget to leave a word of thanks when you download. It's what helps keep these trains rolling!

TRAIN HEADQUARTERS
Gothic Inspirations
Created By Jill
Anti Social Distortions
Sky's Scraps
PSP Addict
Digicats (& Dogs) --You are here!
Sticky Kisses Designs
Digital Blue Print
Melissa's Scraps
Pimp My Tags With Scraps
Bits N Bobs
Laura's Designz


Remember that you can keep up with all the latest Digicats news and freebies just by liking us on Facebook, or following us on Twitter!

Fairies Play - Dianna photo fairiesplay1_080409Dianna.png