Showing posts with label Wee Scots Lass. Show all posts

Tuesday, March 24, 2009

Shamrock Dreamz

I'd been going though Outlaw's posers and wondered what she had down in the "Wiccan" catagory. I'm not sure why witches - at least in the classically dressed sense - fall under Wiccan but...

I mean, I dunno. I can never find nice hats like the except around Halloween. None of the New Age shops carry them.

Any way, she had some in nice emerald dresses so I decided to do some be-witching St. Patrick's lay outs with them. It also gave me an excuse to use the unicorns, which I'd wanted to work into an Irish layout.

The scraps are all from the Shamrock Dreamz taggers kit from Kristin's Wicked Scraps. I'm so glad to see a lot of people commenting on Kristin's blog of late and appreciating her work. She puts out quite a few fun kits and they're all Fr33!
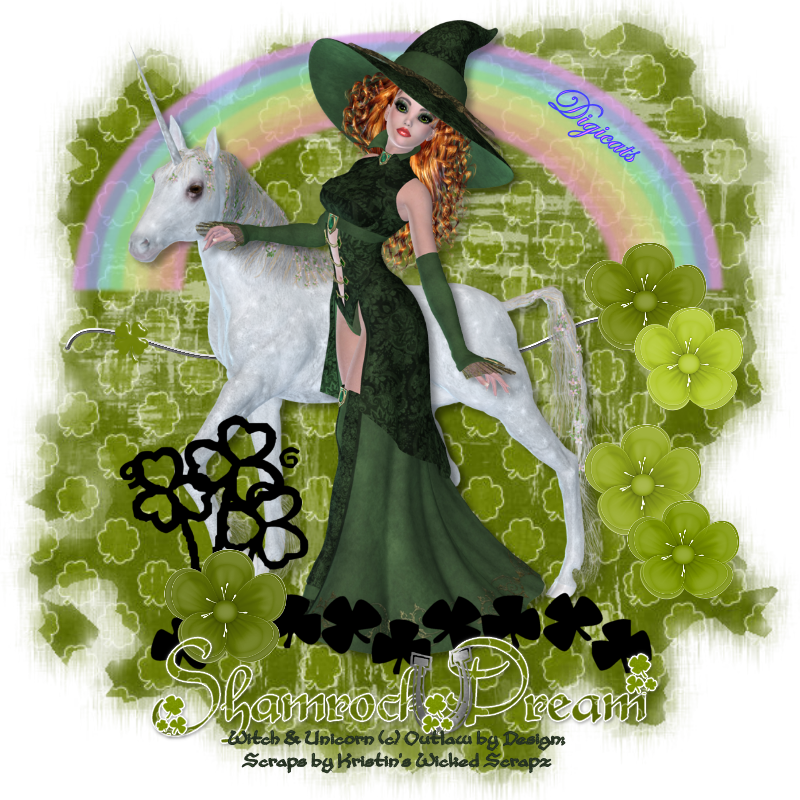
Shamrock Dreams


I like what she did with her rainbow. It never occurred to me to fade it make it misty looking like that!
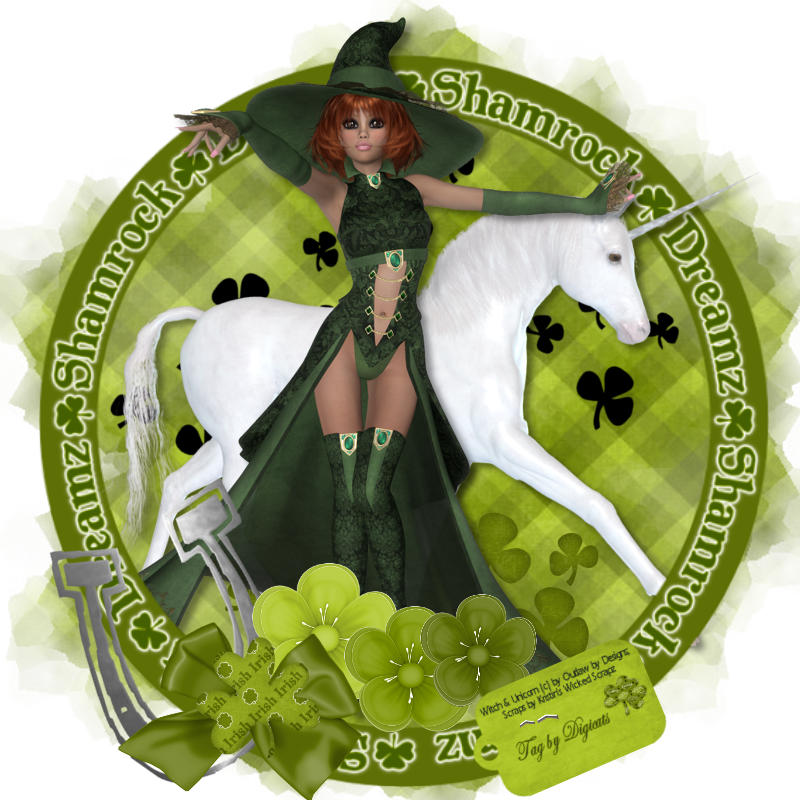
Shamrock Dreams


Nice boots! The label did not come with the kit. I had to make it. Fairly simple enough to do. (And funny for me to be saying that, as I couldn't for the life of me figure it out last fall!)
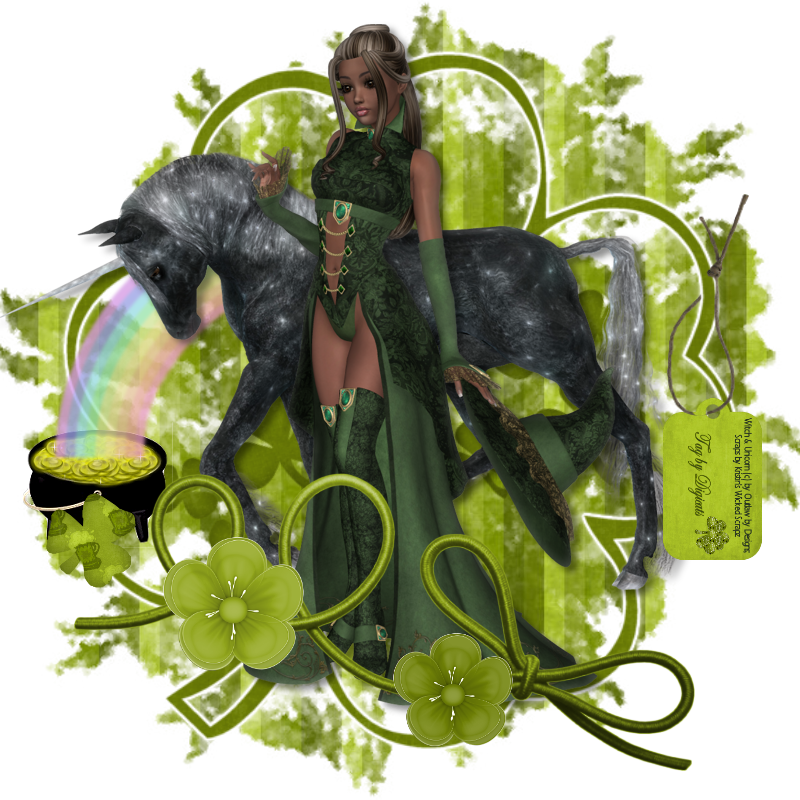
Shamrock Dreams


The masks are from Wee Scots Lass (of course!)
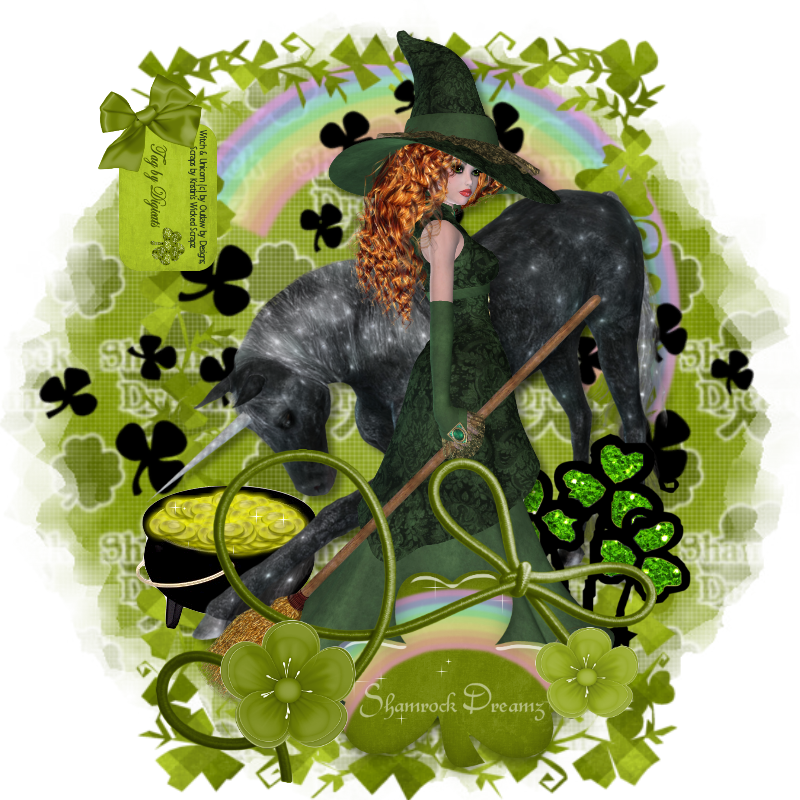
Shamrock Dreams


I love the star flecked coat on the dark unicorn. It looks very mystical.

I'm sure there are Irish witches. I've equally sure they don't dress like that - probably not even on Halloween. Ah well...

Tuesday, March 10, 2009

Beary Bit O' Green

Queen Brat had been selling this scripts for these little bears. Friday, she put out a recall on her scripts and element packs due to a TOU by the artist, C.S. Greene, who originated the bears.

Her new TOU state NO COMMERCIAL Use of any of the end products of her tutorials, which the little bear script was written from. The new TOUs can be found HERE.

If you bought one of the CU scripts or element packs from Queen Brat, you need to contact her with the receipts, and she will replace it with a copy of her new "Toby Teddy" script. You can find the recall announcement HERE.

If you have the element pack or script that you purchased, you can still use it for personal use only.

I personally don't think the Toby Teddies are as cute, but perhaps they'll grow on me. They are definately not has cute as their namesake, but that's neither here nor there.

Anyway, I do not have the script, since I do not have the Eye Candy plug in you need to run it, so had bought these little bears from Scraps with Attitude, who's now pulled them off the market.

The scraps for these tags came from the Bit O' Green mini-taggers kit, Created by Jill.

Bit O' Green 1


The masks are from Wee Scots Lass (who else?)

Bit O' Green 2


I just thought I'd mention this in case you missed the recall.

Saturday, January 31, 2009

Blood Moon Tutorial

Blood Moon


This tutorial was written by Dianna of Digicats. Any resemblance to any other tutorial living, dead or undead, published or unpublished is purely coincidental.

This tutorial assumes you have a working knowledge of PSP. It was written using PSP X1, but should work with most versions of PSP.

Materials Need:
Cameron's Ocean Mask #2, which is available HERE.
WSL Mask #222, which is available HERE.
The new Blood Moon kit from Scraps by J0e's Wife, which is for sale at Digital Chaos.
Tube of choice. I am using the awesome artwork of Joseph Corsentino, PSP# 11065 Ashlin Titanium.
You need a license to use this artwork, it can be purchased at MyPSPTubes.

Tutorial:
Open a new raster layer, 800 x 800 pixels, flood fill white.

Open Paper 30, resize 65% add to image.

Open Paper 1, resize 65%, add to image.

Layers-->Load/Save Mask-->Load Mask from Disk. Find Cameron's Ocean #2, make sure the "fit to layer" box is checked and apply.

Layers-->Merge-->Merge group.

Layers-->Merge-->Merge down.

Layers-->Load/Save Mask-->Load Mask from Disk. Find WSL#222, make sure "fit to layer" is checked and apply.

Layers-->Merge-->Merge group.

Open Blood Moon Element and resize 50%. Add as a new layer, centered at 600H by 200V.

Open Eyelete ribbon Heart frame 3, resize 65% and add as a new layer. Center.

Open tube and extract the transparent layer, and add to image. Center. Expand tube to 300 pixels.

Swap with Frame layer and with the tube layer activated, erase over the portions of the frame that cover the bottom of tube

Swap layers back so frame is underneath tube. With the tube layer activated, clean up any erasing that needs to be done.

Open pentacle and half moon charm 1. Mirror image and add to tag. Center at 280H, 500V. Erase the clasp and ring, leaving only the charm part.

Add copyright info and license number.

Add text as desired. I am using the Omnibus Multiserif system script, bolded, with the transparency set to 75%.

Save artists copy as a .pspimage file. Drop the white background if desired. Go to Layers-->Merge-->Merge visible and save as a .png (or .jpg if you're keeping the white layer) file.

Please feel free to drop me an e-mail if you have any questions or need help with the tutorial.

Time of the Faeries

Wednesday, January 21, 2009

Batty

I just love Lacy Clagg's art work and of all of her poser tubes, I think Batilda is my favorite. Yes, she's a little Halloween imp, but I think she just likes to have fun. So here is my Valentine's Day spin off using Batilda.

Lover's Lane

Lovers Lane 1


This tag uses scraps from the Lover's Lane kit from Scraps with Attitude. I'm not a "pink" person, it's not one of my favorite colors, however I'll tolerate "Hot Pink". When the ECHL Tallahassee Tiger Sharks hockey team first started up, the team colors were listed as black, silver and "Tiger Shark Red" which turned out to be hot pink. It was changed to the second year to red, but I still have a sweater with the hot pink on it, which is such a giggle.

The "heart" alpha is from Created by Jill and I got it at Heavenly Taggerz. This is the alpha I was looking for when I wandered into US4T and ended up spending more than I planned on. I'm probably going to do that again, but I was waiting for the Creative Scraps sale first (which started today).

Sweetheart


The gold heart shaped frame is from the Valentine Pendants CU element pack from Soxsational Scraps. The "Valentine Word Plate" is by Scraps with Attitude. You can snag it at Creative Scraps (on sale). The Sweet Pea Bears are from Tammy's Scraps and maybe I'm crazy, but they seem to have vanished out of the SWA store?

Batty kind of looks like she'll bite you if you call her "sweetheart" in this one. LOL!

Kiss Blvd.


The masks used in all the tags are from Wee Scots Lass.

Naughty


And what girl wouldn't want jewelry for Valentine's day? Although I think like most, Batty wanted a Diamond Ring, LOL!

S.W.A.L.K.

Batty little thing


The scraps for this tag and the next two are from the "S.W.A.L.K." taggers kit from Untamed Angel. I love her posers, but I'm not a big fan of her scrap kits. But I end up buying them because I like the previews. In effect, this kit is very similar for her "Heaven and Hell" kit with elements from her CU Valentines Elements pack thrown in.

I have noticed that I'm more likely to buy a kit if the preview looks snazzy, more than for any other reason. For example, I just recently started buying kits from Fi's Fault because she's changed up her previews and they appeal to me more. In the past, I just sort ignored them because the preview was sort of boring.

The lyrics are swiped from a Queen tune.

Batty is the word I use to describe...


This is a play on the lyrics from "Cherish" by the Association, in case you couldn't figure it out. I was fighting with the text tool again, but at least the glitter didn't mysteriously vanish this time around.

I see somewhere along the line I also moved the background paper too far to the left, and we have a white streak down the right hand side. I need to go and fix that tonight.

Batty 1 so true


This time the lyrics are taken from the song "Sunny" by Dusty Springfield. Nothing really exciting - or difficult - on any of these tags, but they were fun to do. :)

I hope you enjoyed viewing them as much as I enjoyed putting them together!