Sunday, May 31, 2009

Fairy Delightful Freebie

Tickets, please! Tickets!

The Get Fresh Blog Train has arrived at the Digicats Terminal. I hope that you are enjoying your ride on the train so far. A lot of talented ladies have banded together to bring you a group of lovely kits to play with.

I've love doing fairy tags, this is the first time I've done a fairy kit, and I have to say, I had a great time trying to figure out what elements to add! I hope that you will enjoy the end results as much as I enjoyed creating it.

My Fairy Delightful taggers kit comes with 24 beautifully patterned papers, all 800 x 800 pixels and all saved in .jpg format. The papers are mix of floral patterns, some woodland patterns and even a little bit of grunge. I also felt the bright and cheerful colors really worked for a fairy themed kit.

The kit also comes with 141 elements, all saved in .png format so they will open in any program. The kit comes with bows, ric rac, beautiful stars on bits of colored string, glitter bracket sets, paper clips, whimsical rope butterflies, doves, songbirds and a blue jay, a rabbit and a deer, and a mix of both glitter fantasy flowers and realistic blooms.

There's also 2 beautiful fairy posers create by the very talented Shelly from KairinaKat Kreations, and six pairs of styled wings and six pairs of beveled wings so you can create your own fairies.

There's a window to lead you from the normal into the fantasy world of fairies, 12 beautiful decorated frames and 12 tags, and six quote boxes - five of which have fairy related quotes in them and one of which is left blank.

Please remember that by downloading this kit you agree to my terms of use which state, in part that that that you cannot redistribute, rebroadcast, resale, or claim my graphics as your own. That means placing this kit on 4Shares, RapidShare or any other file sharing site for any reason is a strict NO-NO! That constitutes redistribution.

If you know someone who is interested in this kit, please direct them to my blog where they can download their own copy. Free to use is NOT the same thing as free to share. My graphics are copyright protected.


To download this kit from Mediafire, click on the preview below:

Fairy Delightful photo DCD_FairyDelightful_TS-1.png


The password is "TYVM" (no quotes).


Don't miss out on any of the other stops on this great freebie blog train. And be sure to leave some love when you download. We spend a lot of time and energy creating our products for you, and a little bit of appreciation goes a long way in making these trains run!


Lisa's Designs
Bel Vidotti Scraps
Sticky Kisses Designs
Eye Opening Designs
jbs2designs
Digicats (and Dogs) -- You are Here!
Sammygrrl's designz
Sweet Temptations
Tracy Did It!
Scrap Starry Show
Crafty Scraps


Or click on the train to return to the Switching Yard!

GWR Engine

Saturday, May 30, 2009

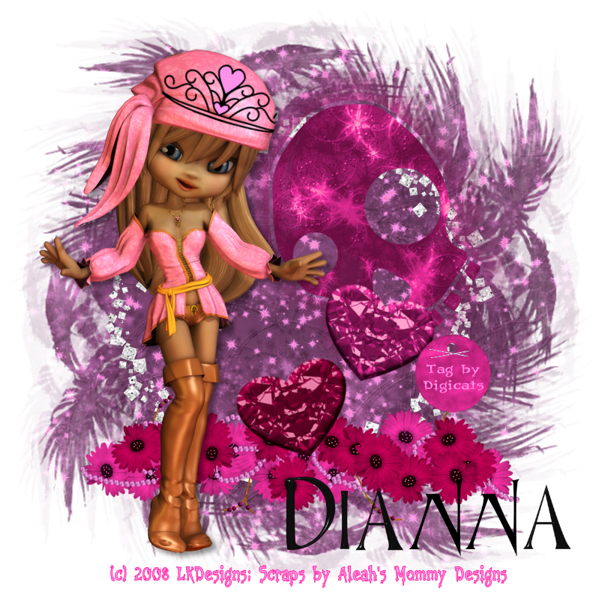
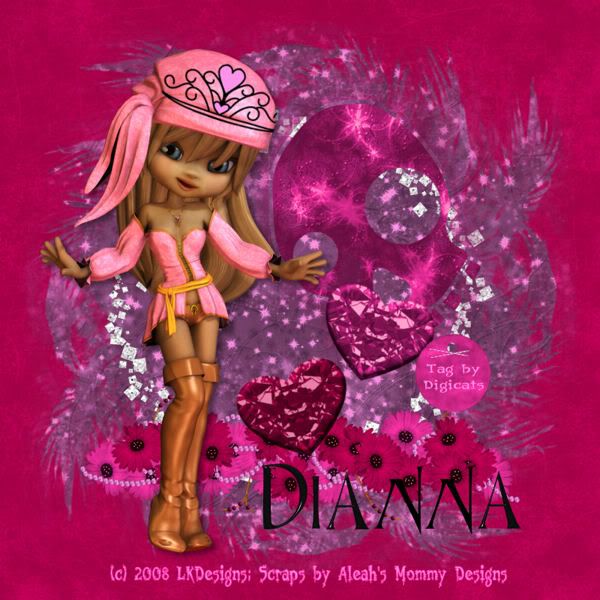
Pirate Princess Tutorial

Pirate Princess


This tutorial was written by Dianna Richards of Digicats (and Dogs). Any resemblance to any other tutorial, published or unpublished, living, dead or undead, is purely coincidental.

Please do not rebroadcast, redistribute or otherwise claim this tutorial or any part there of as your own work.


Items you will need to complete this project:

Pretty Princess Taggers kit by Aleah's Mommy, which can be purchased at Sophisti-Scraps.

Cookie - Pirate poser from Sophisticated Scraps, which can be purchased at Sophisti-Scraps

Wee Scots Lass mask #59, which you can download (for Free) HERE and #306, which you can download HERE.

Black Epoxy Alpha, which you can download (for free) HERE.

Orbus Multiserif which is a windows system font. If you don't have it, you can download it (for free) from Font Trader.


Note that H# and V# refer to Horizontal and vertical coordinates on your canvas grid. Make sure you have View, Rulers checked in order to see the ruler grid.

When I say "Add to your canvas" I expect that you will copy and paste it as a new layer, unless otherwise state in the tutorial.

This tutorial assumes you have a working knowledge of PSP. It was written using PSP X1, but should work in most other versions of PSP.

To begin, open a new canvas, 800 x 800 pxls, Flood Fill White

Open AMD PP Paper 14

Select Layers --> Load/Save Mask --> Load Mask from Disk. Select WSL Mask #59. Make sure the "Fit to Canvas" box is checked, and then hit load.

Select Layers --> Merge Group; and then Edit --> Copy and paste to your canvas as a new layer, centered.

Open AMD PP Frame Glitter 1, and add to canvas, centered.

Open AMD PP Paper 1

Select Layers --> Load/Save Mask --> Load Mask from Disk. Select WSL Mask #306. Make sure the "Fit to Canvas" box is checked, and then hit load.

Select Layers --> Merge Group; then Select Image --> Resize and resize the image to 60%. Copy & Paste to your canvas, centered at H500, V300.

Open AMD PP Flowers w Pearls, copy and paste to canvas, centered at H400, V600.

Open SSLisa's Cookie Pirate 3. Select Image --> Resize and resize the image to 60%. Copy & Paste to your canvas, centered at H250, V400.

Open PP Diamond Heart 4, and select Image --> Resize, resizing the element to 50%. Copy & Paste to canvas at H400, V550. Use your pick tool to rotate the element to the left about 30 degrees.

Repeat with PP Diamond Heart 1, however, center at H500, V45o and rotate to the right, about 30 degrees.

Open PP Tiara 3 then select Image --> Resize and resize it to 50%. Copy and add to the canvas, centered at H300, V130. Use you pick tool to rotate the tiara slightly to match the angle of the tube's head. Using your eraser tool, erase, just the little bit of black that shows off either side of the tube.

Add a drop shadow of choice to the pirate tube. I am using a Vertical offset of 5, a horizontal offset of 6, opacity 44, Blur 10, Color Black.

On the Materials Pallet, set your foreground color to #ff34a9, and your background color to #fe92e8 (these colors can be taken of the color swatch included with the kit).

Open AMD PP Tag Circle 3. Select the font Orbus Multiserif, which is a Windows system font, size 72 points, B, and Centered. Click in the middle of the tag and type your tagged by information.

Since you can't go any higher than 72 points, change to your pick tool and drag the boxes to enlarge the test enough to fill the tag.

Select Layers --> Merge --> Merge Visible. Select Image --> Resize and Resize the circle tag to 30%. Copy and paste the tag to your canvas, centered at H600, V500.

Open PP Staple 3, and cut and paste it onto your canvas over the tag. Use the pick tool to resize the staple to fit on the tag.

You can slightly angle the staple it you want and repeat the above steps to give you a crossed staple effect on the tag.

Select your font tool and change the font size to 8 pts. Click on your canvas at H400, V750 and add the copyright info for the pirate tube, which is as follows:

(c) 2008 LKDesigns; Scraps by Aleah's Mommy Designs

Similar to the text on the tag, this is not going to fit the canvas right, but this time It's going to be way too big. Switch to your pick tool, and resize, using the drag boxes. You may need to widen the text some to make it readable.

You can now save your artist's copy as a .pspimage

Adding a Name: Usually I leave this up to you, but the Black Epoxy alpha works so good with Pirate tags I that have to recommend it at this point. If you don't want to, you don't want to, I understand. But it is free...after all.

The alpha is a full sized one. For the moment, minimize your main canvas and open a new raster canvas, 800 pxls wide, 300 pxls high with a transparent background. You can turn your grid on if you'd like, I just use the little checkerboard pattern on the canvas to line things up.

Open the Black Epoxy Capital letter of choice. Resize to 30%, add to the canvas. Repeat the procedure with each of the lower case letters in the name you are spelling out. If you have double letters - as in the A and N in my name - you need only do this once as you can use duplicate function to replicate them on the canvas.

Using the pick tool, line the letters up on the new canvas to spell out the name you wish to add to the tag. Note that if you have a LONG name, you may need to make the letters a bit smaller to fit them all onto the canvas.

One you have the name composed to taste, select, Layers --> Merge --> Merge Visible. Edit and copy the name and then reactivate your main canvas. Add the name to the canvas, centered at around H550, V650. This may change depending upon how long the name is. Use the pick tool to resize and relocate the name to taste.

Just on a side note, you should always place your name somewhere over the image in you tags, as that helps to prevent piracy of your work. Yes, believe it or not, there are tag pirates out there too!

You are now ready to save the finished tag as either a .png or .jpg. Please note that if you plan to use this tag on message boards, you may need to use a .jpg size as their upload size may preclude using a .png file, which is generally about 6 times the size of a .jpg file.

To save as a .png, right click on the white layer on the layer pallet and select delete. (Are you sure? Yes.)

Go to Layers --> Merge --> Merge Visible. Go to Image --> resize and resize to 75% (600 x 600 pxls). This is also maximum size for most message boards. File --> "Save as" and save as a .png.

If you wish to save this as a .jpg, I suggest changing the white background to something that matches the rest of the tag. I would suggest PP Paper 43. Open the paper and copy it to you clipboard, then dismiss the file. On the main canvas, click anywhere on the white areas to active the white layer, and then paste the paper from the clipboard onto your canvas.
Pirate Princess


I hope you enjoyed this tutorial. If you have any questions or get stuck, please feel free to E-Mail me.

Summer Showers

One of the ladies I work with retired this week after 20 years of service. She didn't really want to retire, and Tom didn't really want to let her go, but her eyesight's been really bad, and her temperament, which has always been crusty at the best of times, has been deteriorating as well, to where some of the clients were complaining about her. And frankly, we need to cut payroll because the work just isn't there.

Last time we went out to lunch, we went to Hoolihan's and everyone was complaining and saying how much nicer The Joint was. (I really like Hoolihan's BTW.) So today we went to The Joint. The ambiance is nice, but it's a very glorified burger and pizza place. I mean...$9 for a cheeseburger with chips?

"Oh, they're Yuka Chips," Rowena says, "they probably imported the Yuka from Mexico." She was very, very pleased because she got to taste Yuka for the first time in her short life.

I just kind of looked at her said "Rowena, this is Florida. I'm sure the Yuka was grown just outside of Arcadia on Carlos' Yuka Farm. Okay."

Since I wasn't paying, I got the $15 salad.

The next time I have guests in that I want to impress, I'll take them down to the Cape Harbour Yacht Club to look at all the little shops and the lovely boats. But we're NOT eating at The Joint.


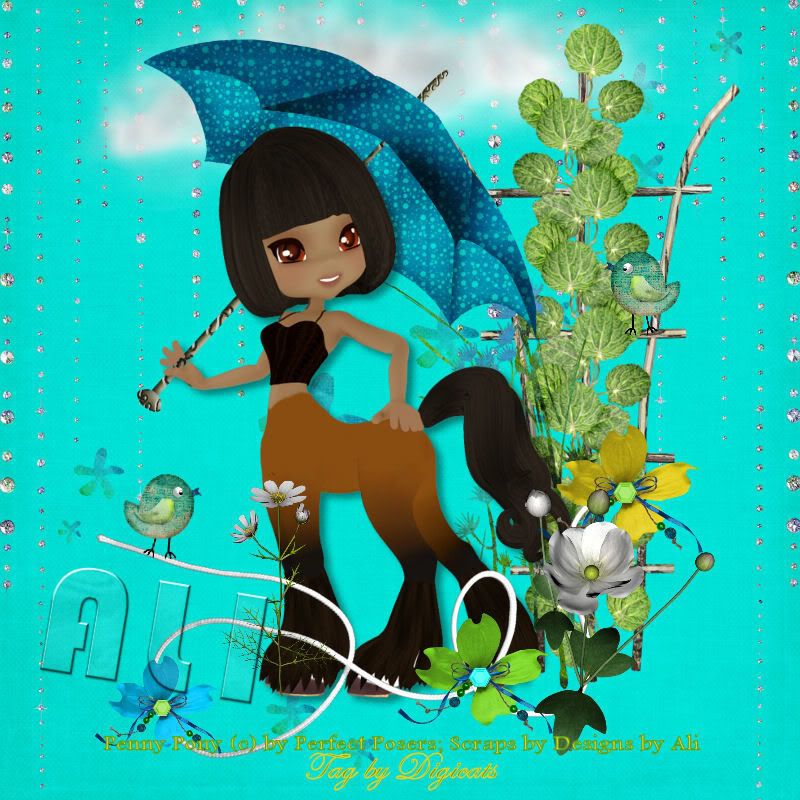
When Ali released her new "Summer Showers" kit - it's in full and taggers size - I initially wasn't going to get it. But I kept getting drawn in by the colors, so I finally broke down. I'm so glad I did, as it's a delightful kit.

It comes with 32 papers - most saved to 800 x 800 Pxls in taggers size - and 72 elements. She scripted the full sized down for taggers and she didn't go through and check each paper or elements so there are a few oddities, and the solid papers seemed to have escape the scripting. I don't know that was intentional or not.

However, none of that really distracts from the kit.

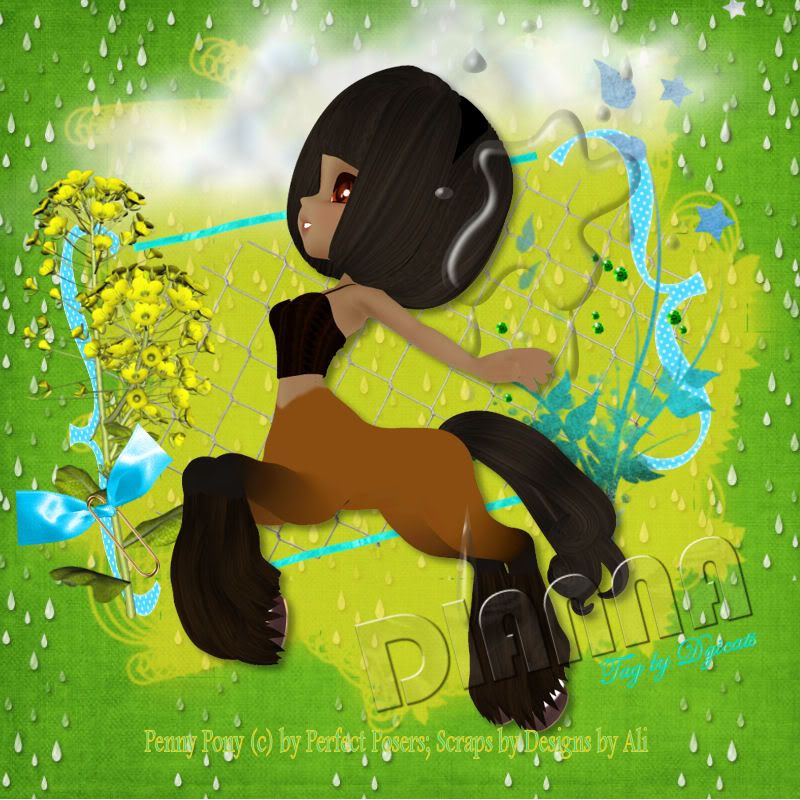
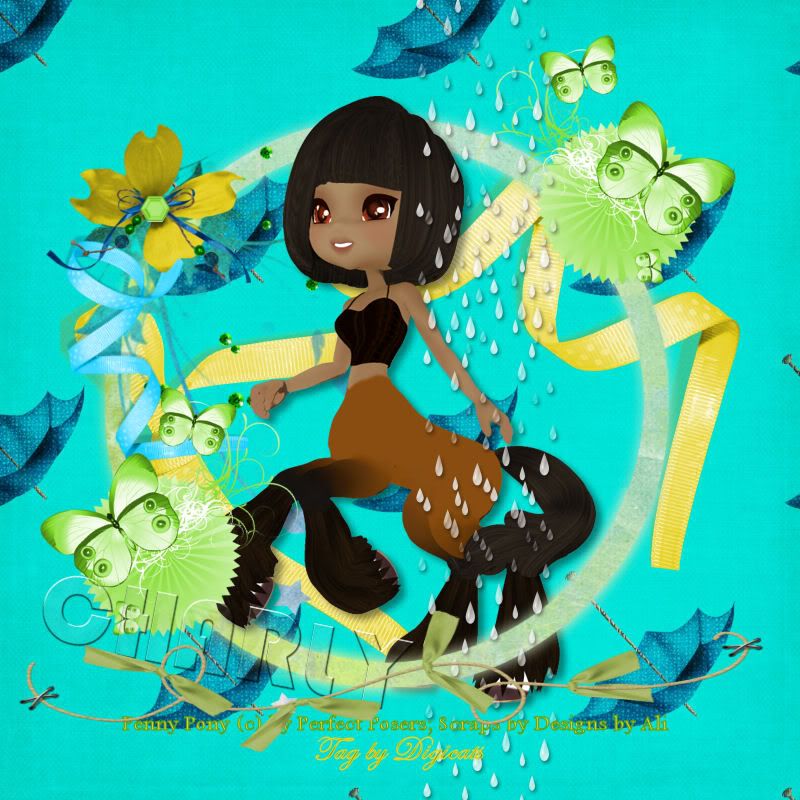
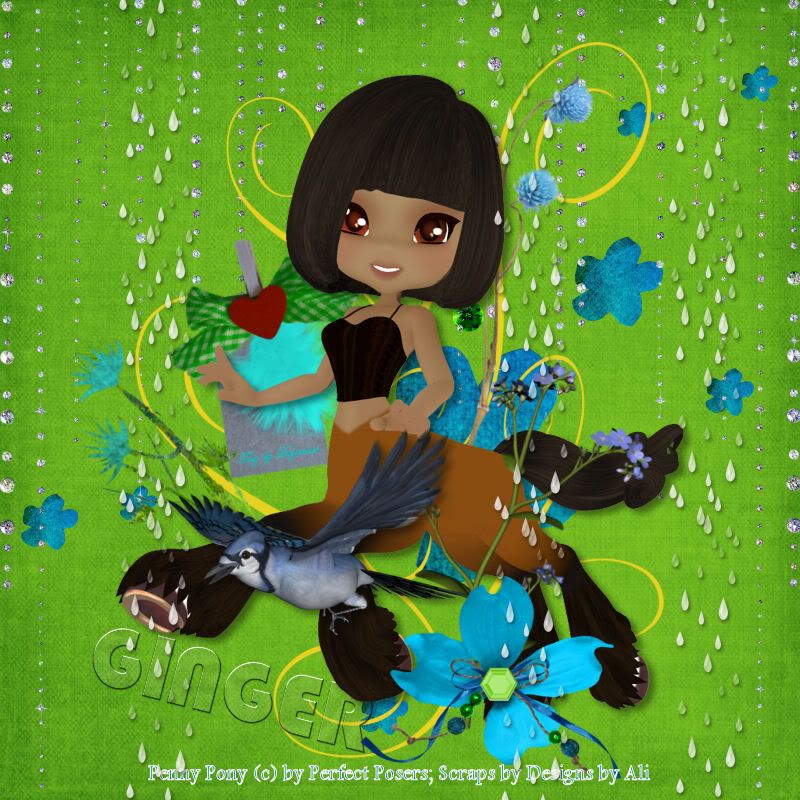
I am using the Penny Pony poser by Perfect Poser. Charly is still charging around $6 each for her poser packs, but now you get 7 or 8 poses a pack, which brings them down under a $1 each and is more realistic for poser artwork.

I adored both Penny and Peggy Pony, they are rather unique and not something I've seen the other poser artists doing. (If you hurry over to Aussie Scrap, you can grab Penny for 1/2 price. But the sale ends SUNDAY!)

Summer Showers


I love these cute little birds she's got in the kit and the rather adorable ribbon flowers as well. This uses one of the beaded rain curtains - the full page one. That trellis is from a Baby Cakes Scrap element pack - it included in the kit however. I kind of get a kick out of figuring out where the elements came from in some of these kits.

Summer Showers


The rain in this pieces is on the paper and this is one of the papers in the kit that has a problem. It's got a white edge on it. I pulled the paper over so you can't see it...it doesn't make it unusable, but it does look a tad bit shoddy when you see something like that in a kit.

The water splat is from an element pack from Creationz by Jo and I added it in. I was trying for a certain effect but couldn't quite achieve it. After some time browsing my alphas, I decided to go with the Beach Bum alpha from Digi-Designs by Nicole again. Acrylics make for a very versatile alpha.

Summer Showers


Miss Diamond picked this paper out herself and even opened it for me. (Really, she did!) Then she lost interest in the project and took a cat nap. I expect however that one day we'll see little mini-kits created with her own little kitty paws. And they will probably all be Temptation themed!

This tag uses the second of the rain curtains, with is very narrow one. This reminds me of the rain in Florida, here it can rain on one side of the street, but not the other.

I should note that the weather was fine and breeze today, so it did make eating on the deck at The Joint -- overlooking all the yachts -- very pleasant. I can't imagine it's as much fun in the rain.

Summer Showers


The blue jay is from Granny Art. I couldn't decide if it was Granny or Lady Anne - so I looked. Definitely Granny Art.

I mixed both of the rain curtains in for this tag, which I call dodging rain drops, something we always TRY to do in Florida.

I enjoyed this kit so much I'm thinking of using it for my blog layout for June. I know...I should use one of my products, or something from Sophisti-Scraps, but this is really a fun little kit. You can find it at Stargazer Scraps, among other fine online boutiques.

· Be sure to check out my Lullaby of Love tutorial, which is the post under this one. I just adore the way this turned out!

· Scrappy Lover is retiring to pursue a real life career. Between now and June 15th, all of her stuff, including her CU stuff is 70% off. She's in three stores, but the only one with her full catalog is The Digi-Boutique. This is a great way to catch a few bargains, and after the 15th well, it's gone and no one else can get it.

· Syncho-Scrap is back....but now it's at Twilight Scraps! This week's theme is "Just Another Lullaby". And there's a difference. The kits are only free for the weekend. After three days, they go into the store.

· Tristan is hosting Weekend Cat Blogging. Stop by and leave your Cat related link in his comment section to be included in the blog carnival, which will be published on Sunday.

Lullaby of Love Tutorial

Lullaby of Love


This tutorial was written by Dianna Richards of Digicats (and Dogs). Any resemblance to any other tutorial, published or unpublished, living, dead or undead, is purely coincidental.

Please do not rebroadcast, redistribute or otherwise claim this tutorial or any part there of as your own work.


Items you will need to complete this project:

Play me a Lullaby taggers' kit by Heartbeatz Creationz. You can purchase this kit at the Heartbeat Creationz Boutique.

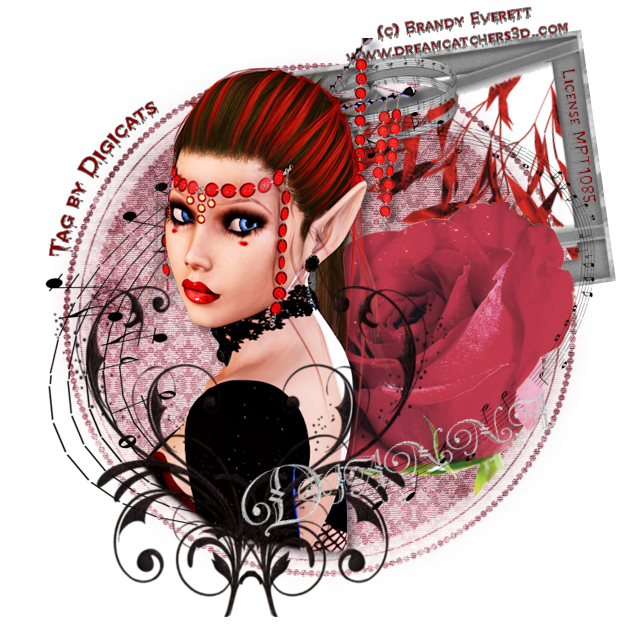
Tube of choice. I am using Brandy Everett's "Look of Love" which was purchased and licensed through MyPSPTube.com. Since I purchased the tube, Brandy has left MyPSPTube.com. I do not know where she is licensing her artwork at the current time.

Wee Scot's Lass mask # 52, which you can download HERE.

Gothic font of choice. I am using Chiller, which is a Windows System font.

Optional alpha of choice. I am using "Diamond" which was created by JoBeth.


Note that H# and V# refer to Horizontal and vertical coordinates on your canvas grid. Make sure you have View, Rulers checked in order to see the ruler grid.

When I say "Add to your canvas" I expect that you will copy and paste it as a new layer, unless otherwise state in the tutorial.

This tutorial assumes you have a working knowledge of PSP. It was written using PSP X1, but should work in most other versions of PSP.

To begin, open a new canvas, 800 x 800, flood fill white.

Open HC_pmal-paper5. Select Layers --$gt; Load/Save Mask --$gt; Load mask from disk and then select Wee Scots Lass Mask #52. Make sure the "Fit to Canvas" box is checked and then hit Load.

Select Layers --$gt; Merge Group. Then select Edit--$gt; Copy --$gt; Paste as new layer. You may now close HC-pmal-paper 5 (do not save it).

Select Image --$gt; Resize. Resize the canvas to 80%.

on the Pallet menu click on the add a new layer (Raster 2) but leave it blank for now.

Open HC_pmal-frame5. Using your magic wand, select and delete the white background areas of the frame.

Resize the frame by 60%, and add to canvas centered at H430, V180.

Open pso12055 SCEverett Look of Love. Select the Tube layer, copy and paste to your canvas, centered at H250, V300.

Using your eraser tool, remove the parts of the tube that fall outside the pink paper area.

Select HC_pmal-Element 40, resize 80% and add to your canvas centered at H250, V450.

On the layers palate, click on Raster 3, which is the frame layer to activate it.

Open HC_pmal-Element 26, re-size 80% and add to your canvas centered at H420, V380. Again, use your eraser tool to remove the part of the stem that fall outside the paper area.

Open HC_pmal-Element 46, resize 85%, and add to canvas. Since Raster 6 (the rose) will still be active, it will fall over the rose layer, but under the tube layer (Raster 4). Center at H320, V320.

Set your foreground color to Gray #808080, and your background color to Deep Red #800000. You can pick these directly off the color pallet boxes on the Material Properties pallet.

On the Layer Pallet, click on Raster 2 to activate. Open HC_pmal-Element 10, resize by 80% and add to canvas, centered at H440, V210. Use your eraser tool to remove anything that shows outside the frame.

Click on your text took and select Gothic font of choice. (I am using Chiller.) Font size with depend on font choice. Also select Bold, and Center.

On the Canvas, click over the frame and add the copyright information. Adjust and locate to taste. You can also add your "tag by" line at this time if you wish. Location is up to you, but leave the lower right hand corner of the tag open, as that is where we'll add the name.

Note that you must use your own licensing number when you add the copyright info, and it should be clearly visible along with the artists name in order to be compliant with the licensing agreement.

Add a drop shadow of choice to the tube layer.

Save the artist's copy as a .pspimage at this time.

You can either use an alpha to add your name or you can type it in using a suitable font. I am using the Diamond Alpha which is a full sized alpha that I have scripted down to use in tagging.

Usually, when I add names using alphas, a do a name plate up in a separate canvas, merge visible and then copy and paste the name over as one file. Feel free to add your name in whichever manner works best for you.

Select Layers --> Merge Visible. Save the image as a .jpg image and you're all ready to post it to the web.

I hope you enjoyed this tutorial. If you have any questions or get stuck, please feel free to E-Mail me.
Friday, May 29, 2009

Friday Freebie!

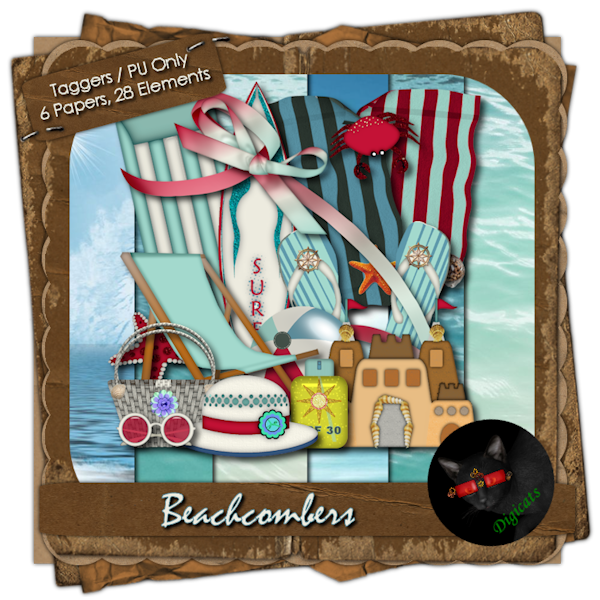
As if you aren't getting enough Freebies over the next few days, I decided to put together a little taggers sized mini kit for you. It's themed for the beach and summer.

Beachcombers photo DCD_Beachcombers_TS.png


You are getting six papers, plus 28 elements: 3 beach bags, 3 flip flops, 3 hats, 3 sunglasses, 2 deck chairs, 2 flowers, 2 surfboards, 2 towels, 1 beach ball, 1 bow, 1 crab, 1 float, 1 ribbon, 1 sandcastle, 1 starfish, and 1 sunblock.

300 DPI.  Personal use only.

Please remember that by downloading this kit you agree to my terms of use which state, in part that that that you cannot redistribute, rebroadcast, resale, or claim my graphics as your own. That means placing this kit on 4Shared, RapidShare or any other file sharing site for any reason is a strict NO-NO! That constitutes redistribution.

If you know someone who is interested in this kit , please direct them to my blog where they can download their own copy. Free to use is NOT the same thing as free to share. My graphics are copyright protected.

Plus I already pay for premium download service so you don't have to wait for your freebies, and the links stay here FOREVER, so you don't have to put this kit anywhere else to share it, just link to this post.

To download from MediaFire, click HERE.
The password is "TYVM" - no quotes.

If you enjoyed this freebie, please take a moment to vote for Digi!

Over the Rainbow
Click on the blinkie to vote!


This mini-kit co-ordinates perfectly with my Sail Away taggers kit.

Sail Away photo DCD_SailAway_TS.png


Tired? Stressed out? In need of vacation? If you can't get away, or can't afford to head to the Bahama's I've got the next best things. Grab yourself two tickets to paradise and Sail Away with his beautiful taggers size theme kit. 25 beautiful papers featuring Primalicious' Lighthouse motif set the background for 146 including stretches of white sandy beach, waves, sun, shells, and your choice of four fabulous sailing ships and a hand picked crew of three Heart of Essence sailor posers to man them for you. The kit also includes 14 frames, four of which are beautiful decorated with shells and flowers, five journaling papers and five tags, ribbons and ric rac, 10 bows, 6 lighthouse flairs, 3 lighthouses, ribbon fish, nautical charts, dragonflies, five nautical themed stick pins, five wraps, a deck chair, beach bags, cool and refreshing cocktails, and a whole garden full of flowers. You'll believe you've landed on your private little island! Papers are sized to 800 x 800 pxls, and saved in .jpg format, and elements are saved as .png so they'll open in any graphics program. Everything is saved to 300 DPI making it suitable for smaller print jobs. Sent your friends post cards from paradise without ever leaving your computer!

Note! This kit has been retired and is available for FREE elsewhere on this blog!

Wish you were here!


Thanks for stopping by and I hope you enjoy your freebie! Remember that you can keep up with all the latest Digicats news and freebies just by liking us on Facebook, or following us on Twitter!


Thursday, May 28, 2009

CT duties and a few fairies

According to the CT rules for Sophisti-Scrap, I'm supposed to join the forum at DigiShop Talk. I am getting the distinct impression that it's all traditional Digiscrap as opposed to tagging and it wouldn't surprise me in the least if I got looked down on.

I fail to see the problem. Tagging is a legitimate part of the industry and generates sales and revenues. If it's not your cup of tea, fine, but there's no reason to look down on taggers.

Yesterday was Fairy Find Wednesday at Enchanted Studio Scraps and I can usually find some killer CU stuff there. I was not disappointed but I couldn't add anything to my cart, or get checked out. Happily, I went back this morning and the $1 products were still a buck. So I did get some good stuff.

Stop by tomorrow for a NEW tagger sized freebie. This is an element pack that matches both my Sail Away kit (currently in the boutique at Stargazer Scraps) and my soon to be released The Big Kahuna taggers kit. I had hoped to do a full and tagger sized version of this, but I only had the beach bags in taggers size, so....that's what you're struck with. Maybe next time around.

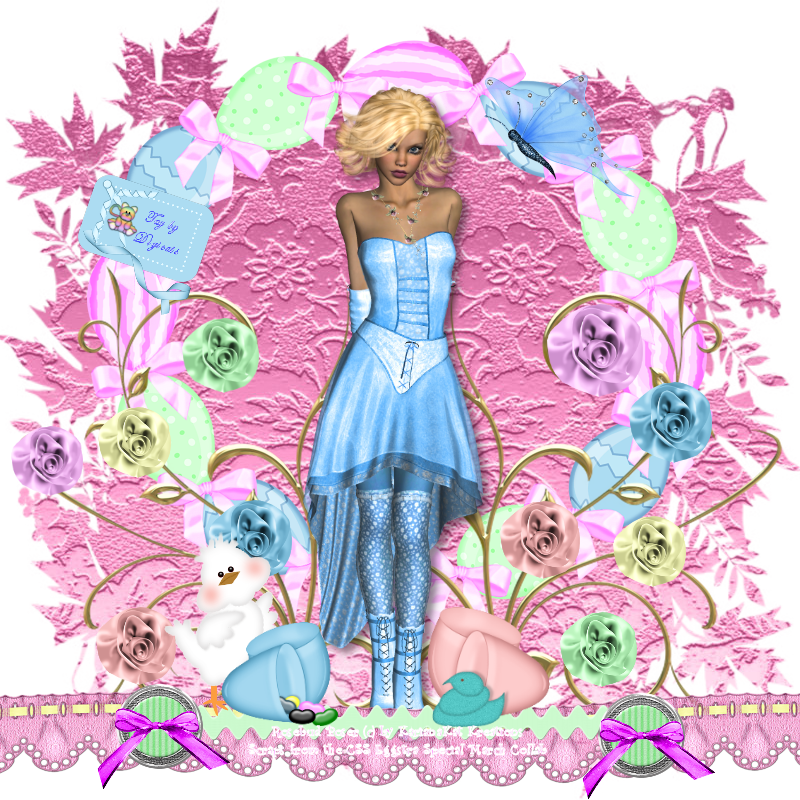
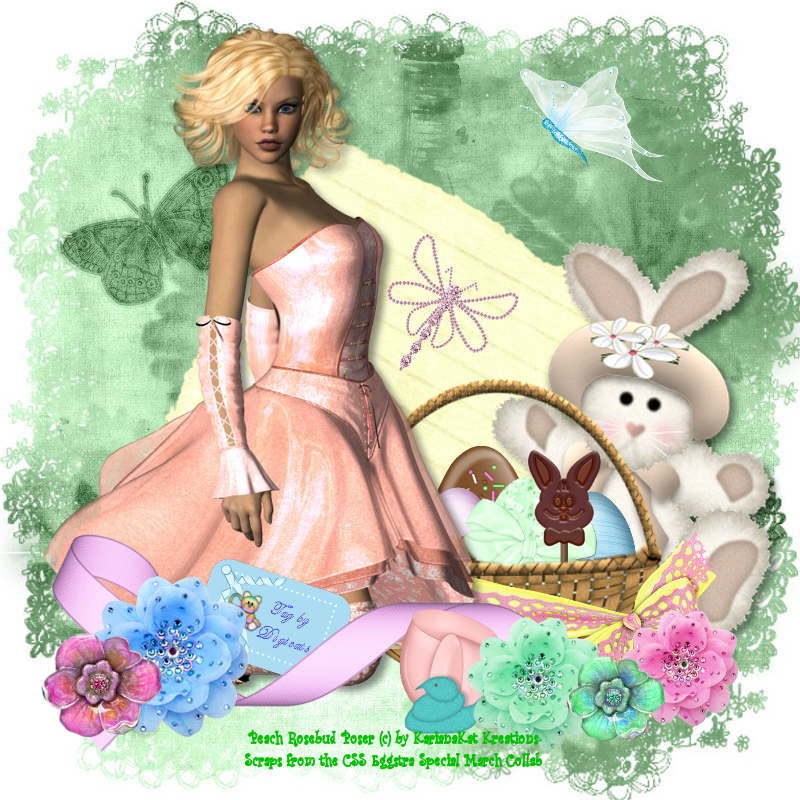
I did the following three tags around Easter and just never put them up, likely because I kept meaning to do a fourth and never got to it.

Eggstra Special Collab


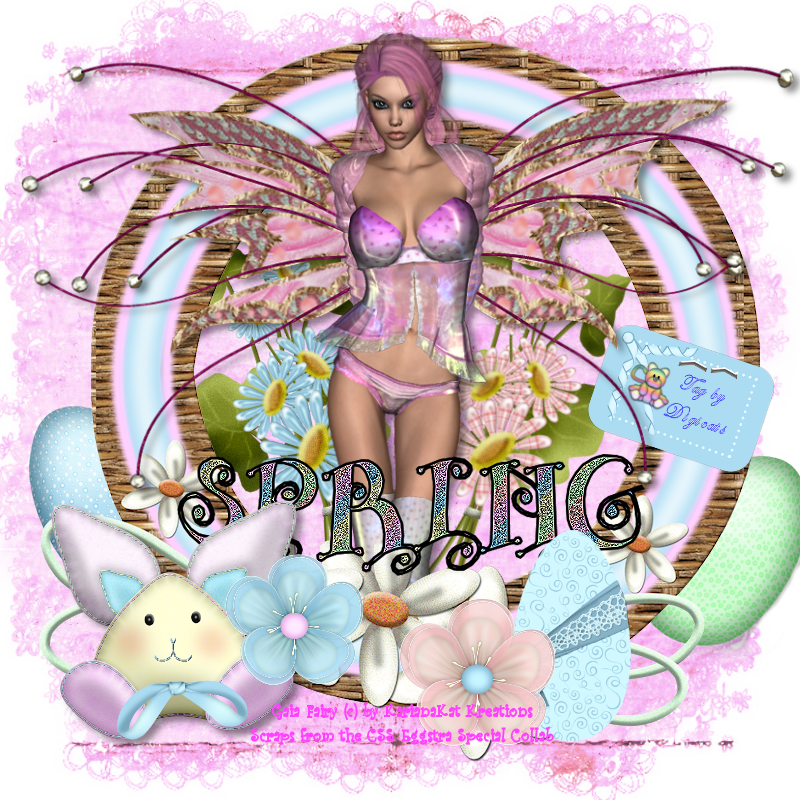
The posers are all (c) BY KairinaKat Kreations. I really have not had the time to make use of her posers the way I would like, and need to get back to doing a bit for tagging, instead of designing all the time. (But darn it all...designing is fun!)

The scraps are from Eggstra Special Easter Collab from Creative Scraps. It's available in the collab section of the Creative Scraps Store for $5.00 and it's a very nice kit for the money!

Eggstra Special Collab


If you take out the Eastery elements, it would make a lovely kit for fairy layouts/tags. As with most of these collabs, part of the kit is in full size and part is tagger. I scripted the full size pieces down to tag with.

Eggstra Special Collab


I think that about does it. Technically, it's still Spring - Summer doesn't start until June 21st, but you couldn't prove that given the weather in Southwest Florida. I've actually had to start turning the A/C on in the evenings because it's just too darn hot.

I'm off now to go plunder Sophisti-Scraps. I was just over there and found some great new products I want to snag. More on those later!

Once we get past the freebie blitz this weekend, I'll have several more tutes for you using products from Toni's store. She's really got a great bunch of designers over there!

Wednesday, May 27, 2009

Fairy Much Fun!

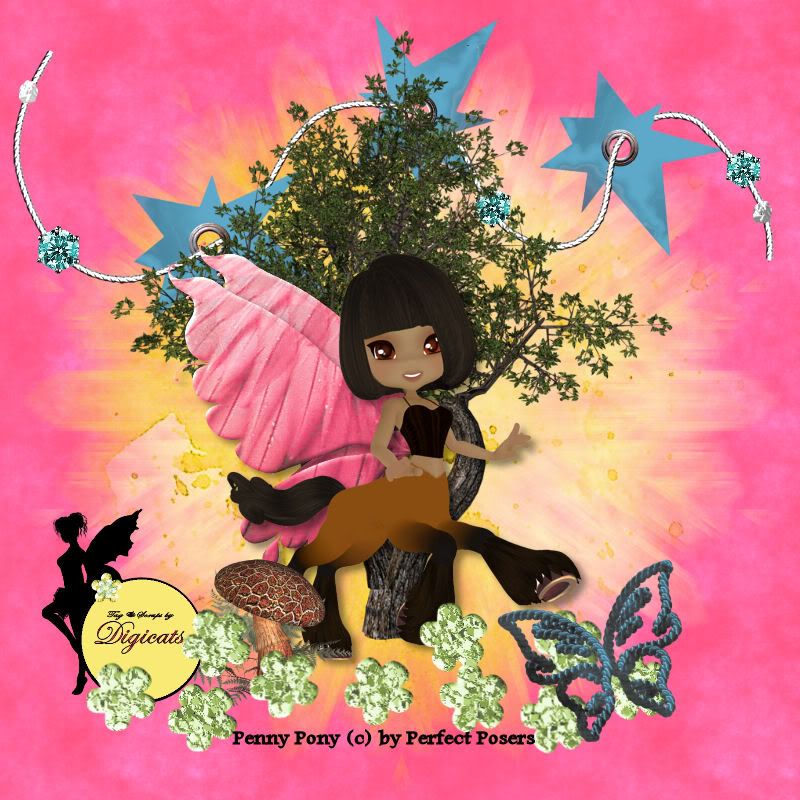
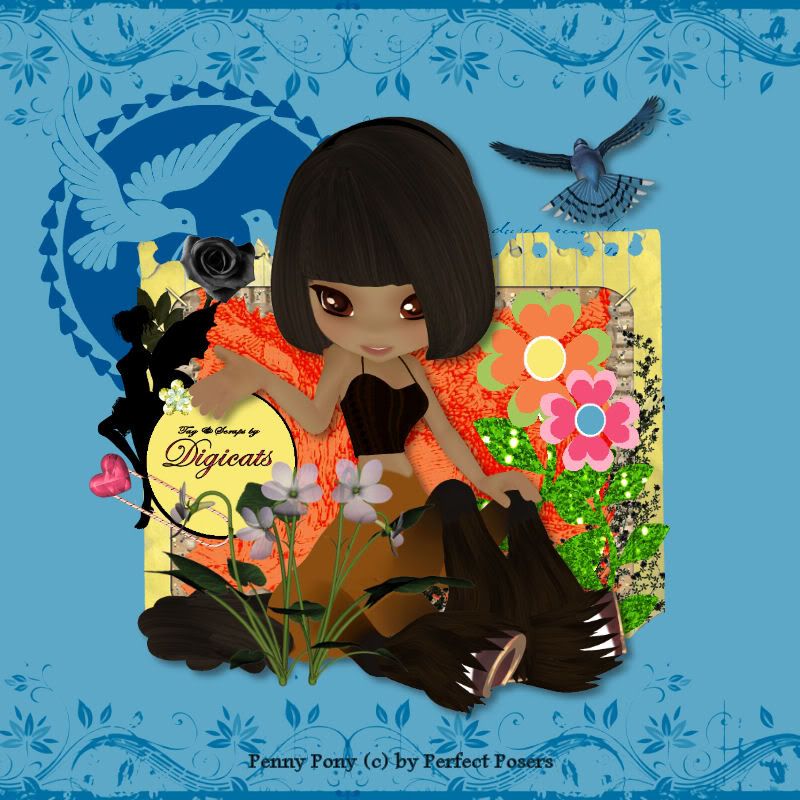
I love fairy tagging, so I was a bit keen on doing a Fairy kit. I had my opportunity to try my hand at it with the Get Fresh Blog Train. I felt the bright, vibrant colors really lended themselves to a fantasy type kit.

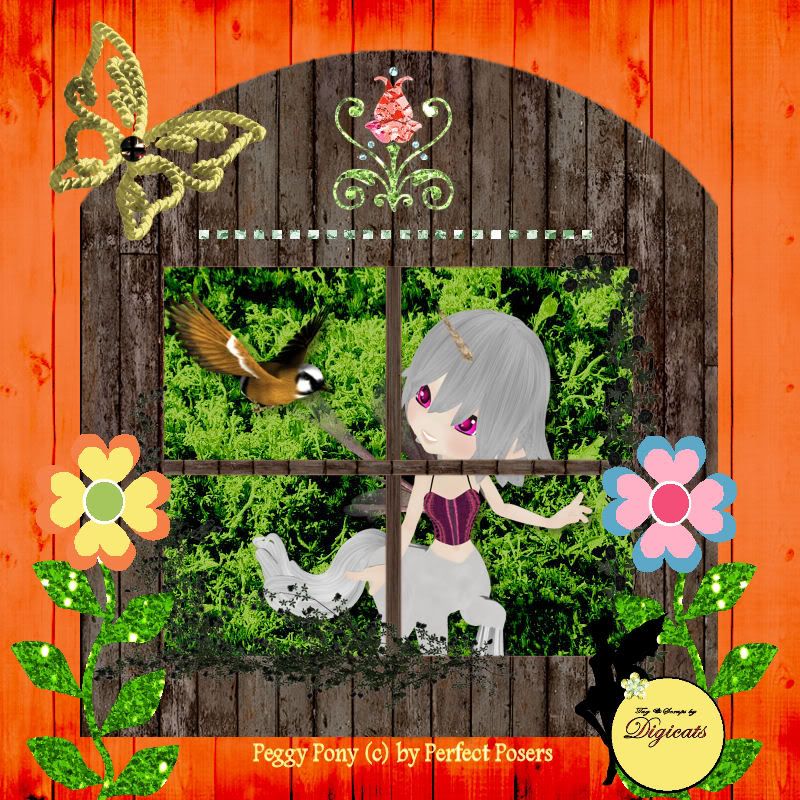
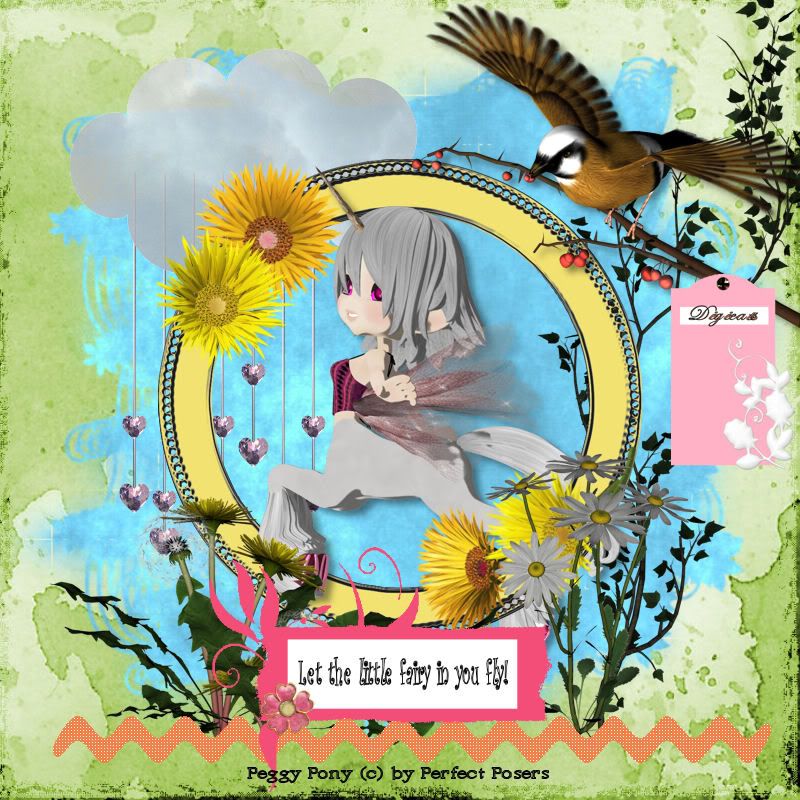
I had also bought Peggy and Penny Pony, a pair of poser packs recently released by Perfect Posers, which I purchased over Memorial Day. So I decided to gie a preview of my new Fairy Delightful kit and play with my new posers, all at the same time.

Note that neither Peggy, nor Penny, are included in the kit. I did however enclose to of my favorite fairy posers, created by KairinaKat Kreations, for you to tag with, which you can see in the kit preview (above).

Get Fresh Blog Train


I was really pleased with the way the window turned out. I makes a great little frame and is a fabulous way to go from the mundain to the fabulous. The kit is a nice mix of whimsical and realistic elements, and the background papers are beautiful.

Get Fresh Blog Train


There are five little fairy quotes included in the kit and one blank quote box so you can write your own. There are also 12 tags, 6 each of two different types that can be used for journaling as well.

Get Fresh Blog Train


I've also included a selection of wings, so you can turn your kids - or pets - into fairies if you'd prefer. I've also included the whimsical star string element and a couple of Men-in-the-Moon, so you can night tags as well.

Get Fresh Blog Train


There are 12 frames - 6 round, 6 rectangle - all beautifully decorated in the kit, a selection of flowers, both real and whimsical, paper clips, birds, glitter elements...enough to please the little fairy inside of you.

Click HERE for more info on the Get Fresh Blog Train and a look at some of the designers participating. And remember to stop back and collect your freebie once the train rolls out of the station!

Tuesday, May 26, 2009

Crocs ARE Dangerous

I keep hearing how Crocs are dangerous on this radio talk show or this or that blog. Wiki states that "Footwear such as Crocs and flip-flops came under scrutiny in 2006 when children suffered injuries after the shoes became caught in escalator mechanisms. This was due to the softness of the shoe's material combined with the relatively smaller size of children's feet."

There's been some concern as well that they don't have treads on them and tend to be slippery in wet weather, but they were designed to wear around boats, and if you've ever looked at boating shoes - NONE of them have treads on them.

I usually laugh as such reports, along with the belief that Mirapex will turn you into a sex mad, gambling addicted house painter. We allow our compulsions to ruin our lives and we blame our drugs. We trip and fall because we are clumsy or careless and we blame our shoes.

We are a society that likes to pin the blame elsewhere.

However, I want to state for the record that I have discovered that Crocs ARE dangerous. Especially when left lying in the walk way of your bedroom.

You see...I'd kicked off my Crocs on Thursday and one hit the bookshelf and bounced out from where it was supposed to go, and being the lazy thing that I am, I left it there.

Friday I wasn't feeling well, so I stayed home from work. Saturday morning, I got out of bed to go and use the bathroom and tripped over the unattended Croc. That fact that I stepped over it all day Friday is meaningless. Saturday it jumped up and viciously tripped me!

So fell, mainly on my right side. I've haven't taken a tumble for a while. My first thought was "Now how am I gonna get back up", but once I got all the pieces parts pointed in the right direction, it proved pretty easy. I didn't even pee on myself while doing it! LOL!

However, I have degenerative arthritis and let me tell you, I've been feeling that fall for the remainder of this weekend. So it took it very slow and easy all weekend, worked a bit on some scrapping and slept a lot and read part of Sookie #8 "From Dead to Worse". (And made beef stew, LOL!)

My right leg is still bothering me and wants to give out at odd times, so...I have gone into work, just taking it easy here to.

As I've mentioned before, I'm in three blog trains for June, so there are lots of freebies coming your way at the end of this week. One of the kits - The Big Kahuna - is going on the June Goodie train, and I have to say, this is one you DON'T want to miss out on.

The Big Kahuna


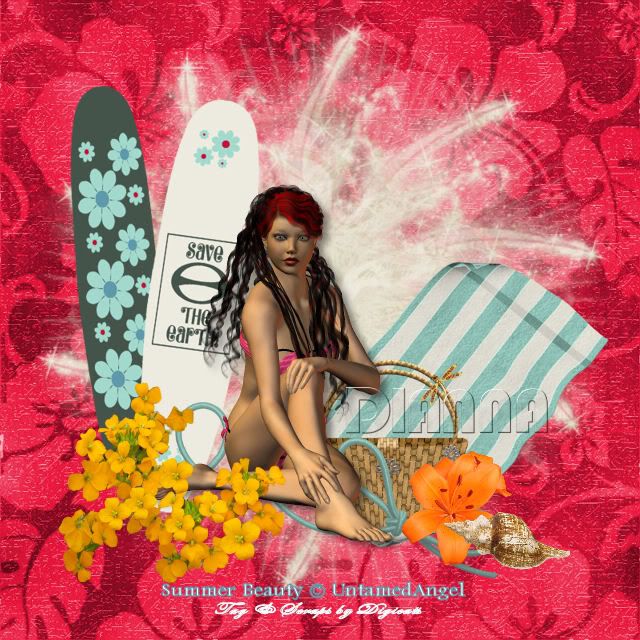
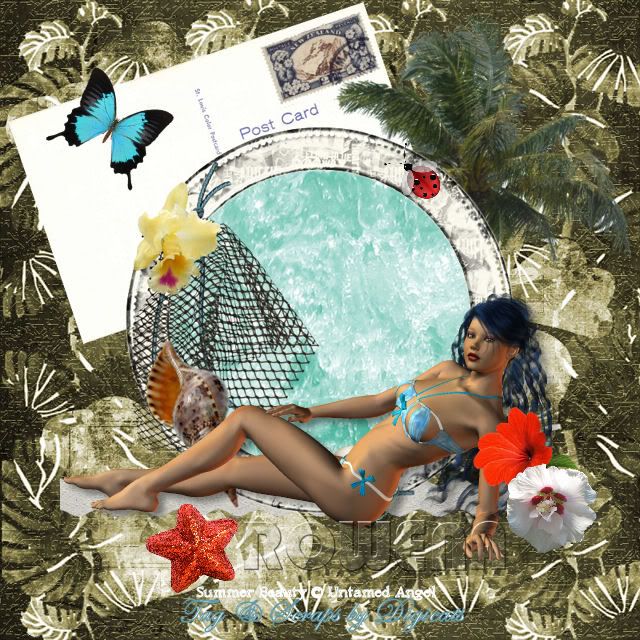
This is just a lush kit with lots of colors, and some fabulous elements. I did up a set of tags for it, to give you an idea. The posers in all of these pieces are (c) by Untamed Angel and are NOT part of the kit, although I do include two of KairinaKat Kreations "Faun" posers, who make quite good surfer chicks as well.

The Big Kahuna


Bonnie at The Maltese Scrapper kindly permitted me the use of her shells, and there are some lovely realistic flowers in the kit from a CU element by pack by Bunchie's bin. The papers are split between the Hawaiian print papers and the water papers, so you can do your tags on the beach or in the surf as the mood takes you.

The Big Kahuna


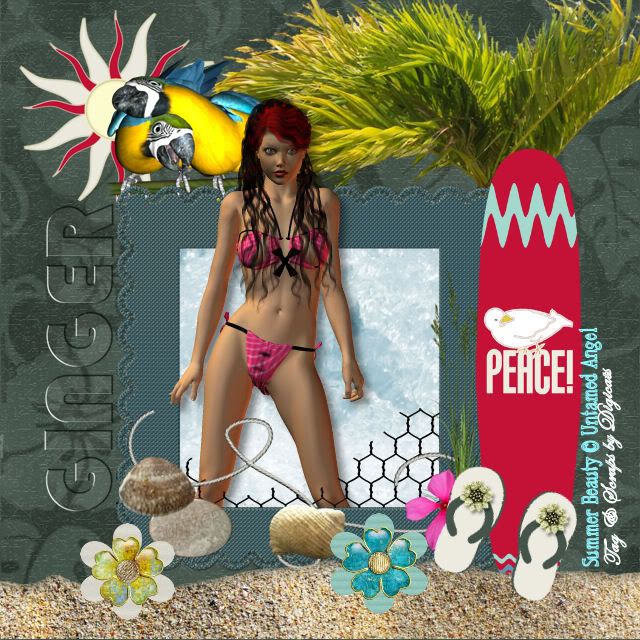
Once again I've included flip flops for Ginger. LOL! I'm sure those are just as dangerous as Crocs if left in the middle of the bedroom as well.

I think you're really going to like this kit, from the parrots on down to the '30 Ford Wagon Woody.

Be sure to stop back on June 1st to pick up this great kit, and check out the rest of the contributions to the June Goodie Train. It's gonna be a good one!

NOTE: The Beach Bum alpha used in these tags is courtesy of Digi-Designs by Nicole and is not part of the Big Kahuna kit.

New at Stargazers - Sail Away

Sail Away photo DCD_SailAway_TS.png


New at Stargazer Scraps is my "Sail Away" taggers size kit. 25 Papers and 146 elements, I've been working on this baby for about a month now. LOL!

Tired? Stressed out? In need of vacation? If you can't get away, or can't afford to head to the Bahama's I've got the next best things. Grab yourself two tickets to paradise and Sail Away with his beautiful taggers size theme kit. 25 beautiful papers featuring Primalicious' Lighthouse motif set the background for 146 including stretches of white sandy beach, waves, sun, shells, and your choice of four fabulous sailing ships and a hand picked crew of three Heart of Essence sailor posers to man them for you. The kit also includes 14 frames, four of which are beautiful decorated with shells and flowers, five journaling papers and five tags, ribbons and ric rac, 10 bows, 6 lighthouse flairs, 3 lighthouses, ribbon fish, nautical charts, dragonflies, five nautical themed stick pins, five wraps, a deck chair, beach bags, cool and refreshing cocktails, and a whole garden full of flowers. You'll believe you've landed on your private little island! Papers are sized to 800 x 800 pxls, and saved in .jpg format, and elements are saved as .png so they'll open in any graphics program. Everything is saved to 300 DPI making it suitable for smaller print jobs. Sent your friends post cards from paradise without ever leaving your computer!

Remember that now, through the end of May, all of my kits are just $1.00 during the Digicats May Day Dollar Day Sales Event. Grab it now before the price for paradise goes up!

This kit has been retired and is available for FREE elsewhere on this blog.


Monday, May 25, 2009

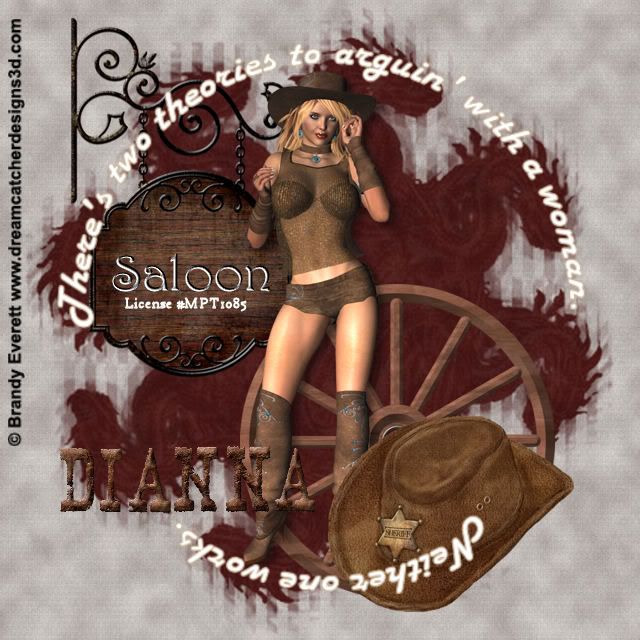
Wild Wild West

Wild Wild West


This tutorial was written by Dianna Richards of Digicats (and Dogs). Any resemblance to any other tutorial, published or unpublished, living, dead or undead, is purely coincidental.

Please do not rebroadcast, redistribute or otherwise claim this tutorial or any part there of as your own work.


Items you will need to complete this project:

The Wild Wild West taggers kit by Soxsational Scraps. You may purchase this kit at Sophisti-Scraps.

Western Tube of Choice. I am using Brandy Everett's Ryver Cowgirl. You must have a license to use this tube, which can be obtained at MyPSPTubes.com*.

Wee Scott's Lass mask #348, which can be downloaded HERE. (I think these are supposed to be dragons, but they kind of look like horses, so for the purposes of this tutorial, we will believe that they are horses.)

Optional Western Type Alpha. I am using Rawhide by WenchD Graphix. This was a blog freebie when I obtained it, but is no longer available as she limits her freebies to one weeks duration.

The two fonts I use in this tutorial, Harrington and Harlow Solid Italic are system fonts and should be available on your computer. If not, select a font you like and use that instead.


Note that H# and V# refer to Horizontal and vertical coordinates on your canvas grid. Make sure you have View, Rulers checked in order to see the ruler grid.

When I say "Add to your canvas" I expect that you will copy and paste it as a new layer, unless otherwise state in the tutorial.

This tutorial assumes you have a working knowledge of PSP. It was written using PSP X1, but should work in most other versions of PSP.

To begin, open a new Canvas, 800 pixels x 800 pixels and flood fill white.

Open WWW paper 2, and add to canvas

Open WWW Paper 8. Go to Layers --> Load/Save Mask --> Load Mask from Disk and select Wee Scots Mask # 348. Make sure the "Fit to canvas" box is checked and click on load.

Select Layers --> Merge Visible, then Edit --> Copy Merge and paste onto canvas centered at H400, V400.

Open WWW Wheel and add to canvas centered at H500, V550.

Open WWW Blank Sign 2, and add to canvas centered at H250, V250. In the color pallet, set your foreground color to #C9b093 (stroke), and your background color to #ffffff (fill), then click on the text tool and select the font Harrington, 14 points, bold and center. Click on the center of the BlankSign2, and type the word "Saloon". Select Effects --> Texture Effects --> Emboss.

Select Image --> Resize, and resize the canvas by 80% to 640 x 640 pxls.

Open PSP tube 8384 Ryver Cowgirl. Copy the Tube layer & add to canvas centered at H320, V320.

Open WWW Hat 2 & add to canvas, centered at H450, V510.

Open a new Vector image. Click on your text tool, and change fonts to Harlow Solid Italic, Bold, Center, 8 Points. Starting at V320, H100, type the following:

There's two theories to arguin' with a woman.

On the canvas at V320, H550, type:

Neither one works.

Select preset shape and draw a circle in between the two lines of text. Center it at v320 and v320.

Change to your pick tool, and right click on the circle, select properties, and uncheck the "Visible" box on the dialog screen.

Hold down your shift key and with the now invisible circle still selected, add click on both lines of text to add both lines of text to the selected area.

Select Objects --> Fit Text to Path.

Select Edit --> copy and then return to your main canvas and paste the resulting vector image to your main canvas. You may then dismiss the Vector canvas.

Center the text at V320, H320. On the Pallet menu, right click on Vector 1 and select convert to raster. Use the drag boxes to enlarge the text area until it's surrounding the image.

Add a drop shadow of choice to the tube.

Add the Copyright info and your licensing number wherever you wish, so long as it is visible. You add an optional "Tag by" line. Note that adding the copyright info is NOT optional, it must displayed for you to use this tag online. Then save an artist's copy as a .pspimage.

To add my name, I am using the Rawhide alpha by Wenchd Grafix. You may select an optional alpha of your choice for this part, or simply type your name in using a western style font of choice.

Usually, when I add names using alphas, a do a name plate up in a separate, canvas, merge visible and then copy and paste the name over as one file. Feel free to add your name in whichever manner works best for you.

Select Layers --> Merge Visible. Save the image as a .jpg image and your all ready to post it to the web.

I hope you enjoyed this tutorial. If you have any questions or get stuck, please feel free to E-Mail me.

* It has come to my attention that Brandy Everett is no longer selling at MyPSPTubes.com. I am attempting to discover which licensing agent she is now using.

Sunday, May 24, 2009

New at Stargazer Scraps - American Heroes

Rowena was giving me hell on Thursday about not getting a Memorial Day themed kit done. Well...here you go and with hours to spare. LOL!

I did point out that with Flag Day, Fourth of July, Veterans Day, Armed Forces Day, President's Day and the rest, that Patriotism is never really out of season.

Dedicated to the Men and Women of America's Armed Forces, American Heroes is packed with both red, white and blue and soldier green. 20 camo papers plus 100 elements including 16 hero tags (4 for each branch of the armed services), 4 flairs, 10 ribbons, 10 bows, 10 frames, 6 "fireworks" flowers, 6 stickpins, 5 ribbons pins, ric rac, wraps, tags, 3 eagles, word art and even a tank and a hummer! Great for Patriotic tags and to show your support of the troops!

American Heroes photo DCD_AmericanHeroes_TS.png


On a side note, my cousin just got deployed to Iraq for a one year tour of duty. Once he finishes that, he's back in the States for a spell, then they send him back to Iraq for a year. I come from a family of Squids, he had to be different, he's a soldier boy.

Chocolicious Taggers Kit


I also added a fun little kit that I did for a friend of mine called Chocolicious. It's for all you Chocolate Lovers all there and includes all sorts of Chocolaty Goodness. Best of all...It's FREE! So snag it an enjoy.

Don't forget...Digicats is celebrating May Day Dollar Days now through May 31st! All my kits, including my new American Heroes kit is only $1.00!


Note: This kit has been retired and is available for FREE elsewhere on this blog.

Saturday, May 23, 2009

New from Digicats: Enchanted Forest!

Enchanted Forest


Magic! Danger! Adventure! Great good lives in the depths of the Enchanted Forest, but Great evil lurks there as well. What path will you take?

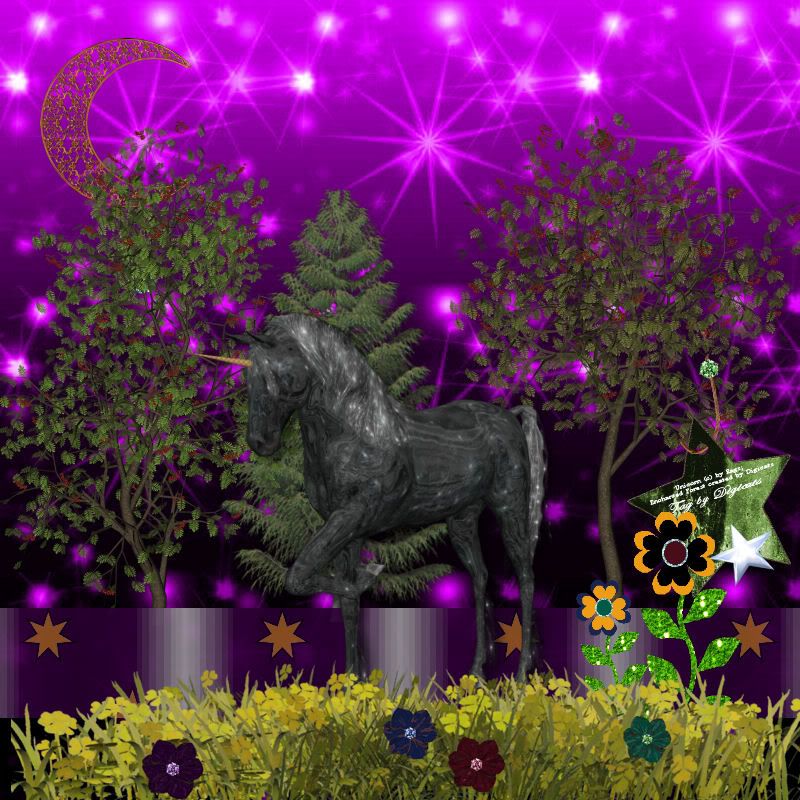
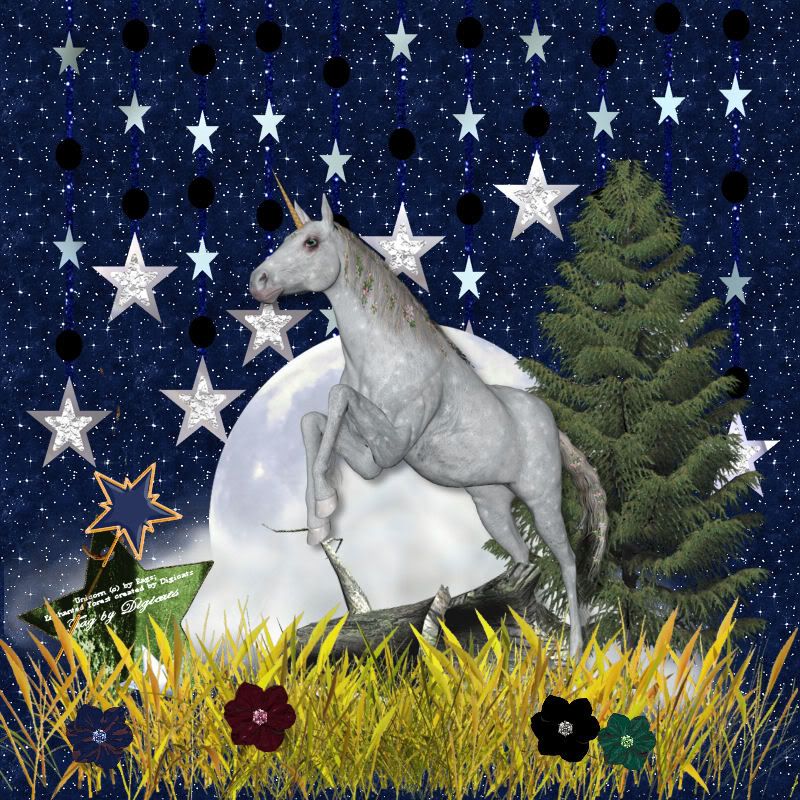
This fabulous fantasy themed taggers kit features 30 papers and 101 elements including 10 frames, 8 fabulous flowers, 6 forest friend animals, 4 magical unicorns, a full moon, a crescent moon, a StarLight Curtain, 5 hanging star elements, 5 regular star elements, trees, ribbons and star tape, dragonflies, butterfly bows, clouds, string, staples, tags, 4 stick pins (sun, moon, 2 stars), evil tulips, grass borders and four ravens.

Saved to 300 DPI so it's suitable for smaller print jobs up to 5 x 7 inch size.

Are you ready to enter the Enchanted Forest?

***This kit has been retired and will be offered as a Friday Freebie soon!
Be sure to watch for it!***

BNB Blog Train

Julie of Bits'N'Bobs is sponsoring her first ever blog train. The train will run monthly and will be a theme based, rather than a pallet based, train. Because of the short time frame before the first departure on June 1, this month's theme is "Anything you like".

So anything you might have lying around, be it a kit or just some elements or papers, you can submit it to the train.

Unlike other trains, the freebie just needs to be available from the 1st to the 14th. From the 15th on you can do what ever you'd like with it - including listing it for sale.

Blog trains are a great way to get traffic into your blog and to promote your items.

If you're interested, please visit http://bnbtrain.blogspot.com/ to register and for the rest of the details.

I like animals, and so I've already submitted a kit to this blog train called Lion Hunt. Here's the preview:

Lion Hunt


You can blame Krissy for the cuteness factor, as I used her templates to create the critters, and you can blame Gemini Creations for the Glitter Factor as I just bought a whole bunch of her glitters at the Aussie Scrap 50% off sale and HAD to play with them!

Combined with the other two blog trains I'm on, you can expect a whole lotta free stuff to kick off the month of June!

Thursday, May 21, 2009

Fun & Enchantment

Well, yesterday didn't start out good - I had to go see the neurologist, although he said unless anything changes, I don't need to go see him again, as I my condition is more or less stablized. There are still days when my hand(s) shake to where I can't type, but it's usually not more than once a month, so...I can live with that.

But then I heard from Toni from Toni's Scraparoni and she's invited me to be on the Sophisti-Scrap's Creative Team! How awesome is that?

(Rowena wags her head and says "Uh oh. That's like letting a kid loose in the a candy store!" It is really. LOL!)

Aside from Toni, Sophisti-Scraps is also home to Soxsational Scraps, Sophisticated Scraps, Aquarius Design, Kirsty's Scraps and Cinnamon Scraps, all some of my favorite designers, so I'm really going enjoy working with them!

Look for a some new tuts coming up soon, although I'm probably going to have to open a separate blog just for the tutorials. We'll see how it goes...

Speaking of Aquarius Design, I'm just finishing up my new kit, which is called Enchanted Forest and which should be in my store this weekend. I'm using the adorable little forest friends templates by Aquarius to make some of the animals...

Enchanted Forest


This is a kit with a real duel personality. On one hand it's really dark and mysterious with a lot of celestial stuff in it, and realistic elements...

Enchanted Forest


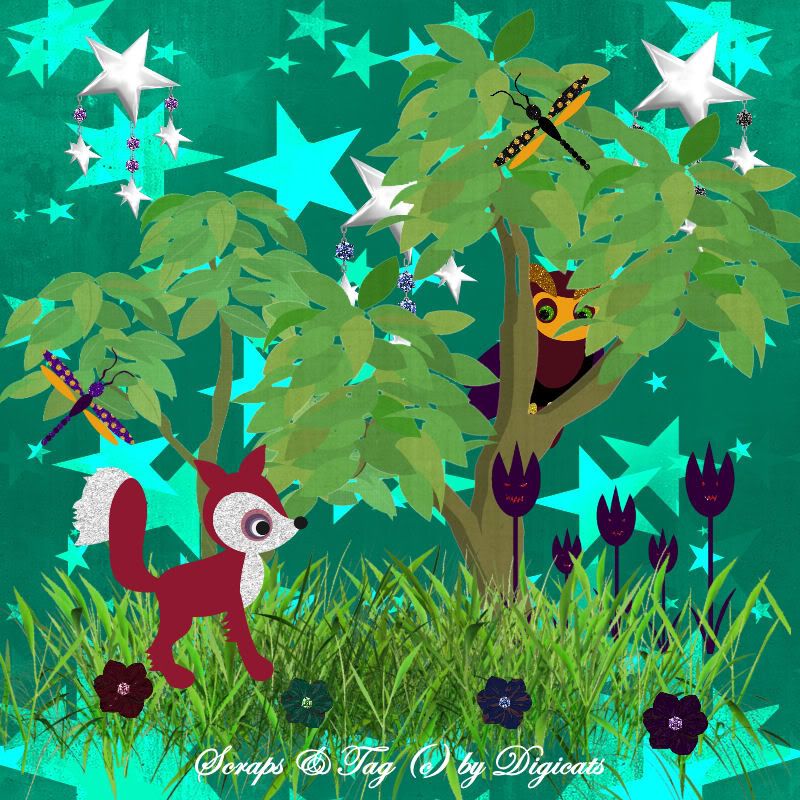
While the other half of it is just too adorable for words! I was trying to explain to Rowena about the evil tulips and she's like..."But they're flowers, how can they be evil?" Heh!

Enchanted Forest


I think you gals will really like this kit. I had a lot of fun making it.

Just because I can, I'm having a Dollar Day sale in my store now through the end of May. You can buy any of my kits for just one dollar! And yes, my new Enchanted Forest kit will be included in that sale as soon as I get it packed up and released!

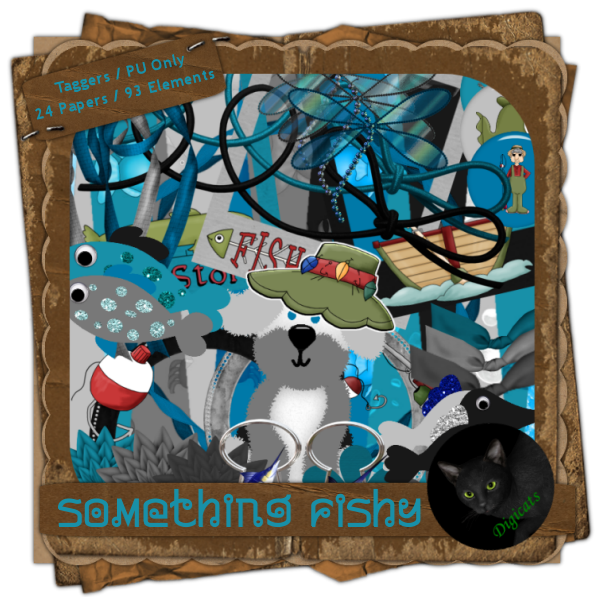
Don't miss out on any of my other great kits - including Watermelon Heaven, Bike Night, and Mama's Magic. And father's day is coming up in June...Something Fishy is a great little kit for Father's Day tags and cards! (Well, I don't know about your dad, but my dad used to take me fishing, so it certainly reminds me of my dad!)

Watermelon Heaven photo DCD_WatermelonHeaven_TS.png Bike Night

Mama's Magic photo DCD_MamasMagic_TS.png Something Fishy Preview


Pop on over to Stargazer Scraps to take advantage of the sale and look for some great tags and tutes this weekend as I start running amuck in the Sophisti-Scraps Candy Store!


Monday, May 18, 2009

Surf, Scraps and Fairy Delightful things

Lavendar Angel has given me the Premio Dardos award.

Premium Dardos


The "PREMIO DARDOS AWARD" acknowledges the value that every blogger shows in their effort to transmit cultural, ethical, literacy and personal values everyday.

Now The rules:

1. Accept the award, post it in your blog together with the name of person who granted the award and his or her blog link.

2. Pass the award to 15 other blogs that are worthy of this acknowledgment. Remember to contact them to let them know they have been chosen for this award.

I've already gotten this ward and passed it along, and I figure most of the bloggers already have this one, so I'm not going to pass it out again. Suffice it to say if you have not received it yet, consider yourself nominated.


I finished up off "The Big Kahuna" which is the kit that's going on the June Goodie Train. It's a themed surfing kit. Take the best of Jan & Dean, mix in the best of the Beach Boys and throw in some old Annette Funicello beach films as well, that should give you a good mental picture of what to expect.

I might do another preview as the kit was too big for just one preview and there are some really good elements, like the frames, didn't make in.

The second kit, for the Get Fresh Blog Train, is call "Fairy Delightful" and is pretty much done too. I'm just finishing it up. It's a standard fairy type kit with a mix of whimsical and realistic elements. Neither one of these kits are clip art kits, so it was a bit different for me, but I can't use clip art all the time.

I think you will like them both. I'm going to put them out as freebies for a limited time, then move them into my store.

I'm thinking adding in bonus packs when I put them into the store - an extra 20 or 25 elements each. There are some things I can't do with the freebies because the Commercial Use terms of service by various designers prohibits the use of their products in freebie kits.

That will also give people an incentive to purchase the kit, rather then just snag the freebie and run.

Once I finish off "Fairy Delightful" I'll do some tagging.

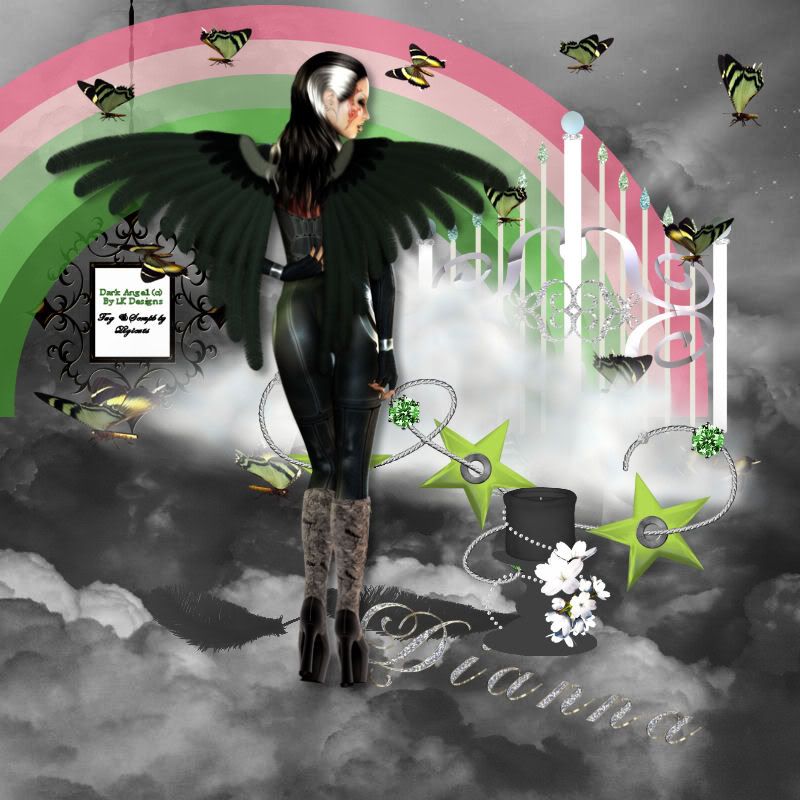
Dark Angel


I did this tag using my Watermelon Heaven kit. Yes, it's a cute little kit but there's a dark bend to it as well. The Dark Angel poser is by Sophisticated Scraps - she doesn't have it available in Sophisti-Scraps so I don't know if you can purchase it right now or not.

The Scripted Jewel alpha is from Bizee 1 Digi-Arts.

I'm really pleased with the way this turned out. The eyelet stars element, which I created for this kit, is also included in the "Fairy Delightful" kit, although I used different shapes of stars to make it a tad bit different.

The Get Fresh Blog train rolls on May 31, the Goodie Train on June 1, so while you have to wait for freebies, I can guarantee they will be well worth the wait. I will try to have a freebie for you for this Friday though, for the Memorial Day Weekend!

Sunday, May 17, 2009

Mail Merge

So...I get back to the office from lunch on Friday, and Dolores comes running into my office. "Help me Obi Wan, you're my only hope!"

"What's the problem?"

"We need to get these letters out for Tom and we can't get the mail merge to work. He'll kill us if we don't get these letters out today." (There's a lot of "killing" going on in our office of late, even if no one actually ever dies. Hmmmm.....)

So...okay, it's been a while since I did mail merge, but I had all the letters nice and printed up on letterhead within 45 minutes, despite the printers best efforts to derail the project.

"What about envelopes?"

"We can do envelopes," I say. Kathleen offers her opinion that it will have to be labels. I insist we'll print envelopes and, after a little bit of trail and error while I figured out the printer orientation, I got the envelopes printed as well.

Joey was suitably impressed. "The last office I worked at, we printed the addresses on paper and cut and glued them to the envelopes." I point out we're professionals in this office. (Professional what is the question...)

"See," I said. "This old dog still remembers her old tricks."

"You're not THAT old," Dolores protests.

"Honey," I said. "If my name was Snoopy, I'd have been buried in the back yard a LOOOOONG time ago."

Anyway, aside from that pesky template, I thought I'd work on my blog train kits this weekend, as I'm in two of them for June. I finished the Goodie Train one, which is surfing themed. Now I'm off to work on the Get Fresh kit, which will be a fairy themed adventure.

Friday, May 15, 2009

Watermelon Heaven and a FREEBIE!

Watermelon Heaven photo DCD_WatermelonHeaven_TS.png


I found some new clip art at Digi Web Studio and I just HAD to do something with it! The colors screamed for a summer themed kit and well, what could possibly be more heavenly than an ice cold slice of fresh watermelon on a hot summer's day?

Done in shades of pink, green and black, I've mixed together some fabulous whimsical elements with a touch of reality to bring together a magically, enchanting taggers sized kit.

Watermelon Heaven comes with 20 papers, and 113 elements, including the sun, moon and stars. But wait, there's more than just the heavens above! Inside you'll find angels' wings and the gates to God's Kingdom. Harps for your angels to play on, flowers of all kinds, clouds, a rainbow and a swarm of butterflies, dragonflies and candles, lace, ribbons, ric rac, bows, bling, paper clips, word art, frames, tags, journaling blocks, 3 Blessed Angels, and yes! That promised slice of ice cold watermelon, just waiting for your tagging pleasure.

Note: this kit has been retired and is available for FREE elsewhere on this blog.

But WAIT! There's more!

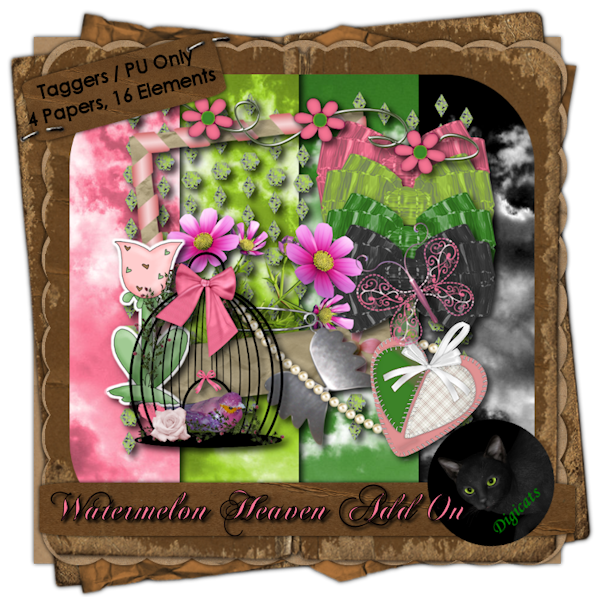
Watermelon Heaven Add On photo DCD_WatermelonHeavenAO_TS.png


Now you can try it before you buy it with this great little Watermelon Heaven add on Freebie. This 20 piece mini-taggers kit includes 4 heavenly papers, plus 16 elements including 1 frame, a summer heart, four bows, a flower sticker, a pretty little bird in a cage, a diamond curtain, a charm, a butterfly, pearl bling and a small variety of flowers, both real and wired. This kit is for personal use only, please.

(This is the little bird in a cage that I was up half the night playing with!)

Please remember that by downloading this kit you agree to my terms of use which state, in part that that that you cannot redistribute, rebroadcast, resale, or claim my graphics as your own. That means placing this kit on 4Shared, RapidShare or any other file sharing site for any reason is a strict NO-NO! That constitutes redistribution.

If you know someone who is interested in this kit , please direct them to my blog where they can download their own copy. Free to use is NOT the same thing as free to share. My graphics are copyright protected.

Plus I already pay for premium download service so you don't have to wait for your freebies, and the links stay here FOREVER, so you don't have to put this kit anywhere else to share it, just link to this post.

To download from MediaFire, click HERE.
The password is "TYVM" - no quotes.

If you enjoyed this freebie, please take a moment to vote for Digi!

Over the Rainbow
Click on the blinkie to vote!


Remember that you can keep up with all the latest Digicats news and freebies just by liking us on Facebook, or following us on Twitter!

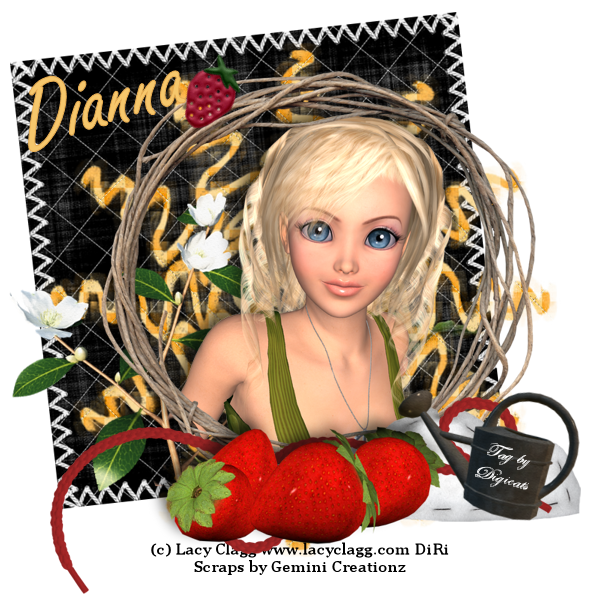
Strawberry Hill - Dianna photo StrawberryHill1_072209Dianna.png

Thursday, May 14, 2009

A Day for Romance

I will have a new kit coming out tomorrow (I'll probably list it tonight) and a corresponding add-on freebie, but for today, I have a few romantic tags for you, sort of a hold over from Valentine's Day.

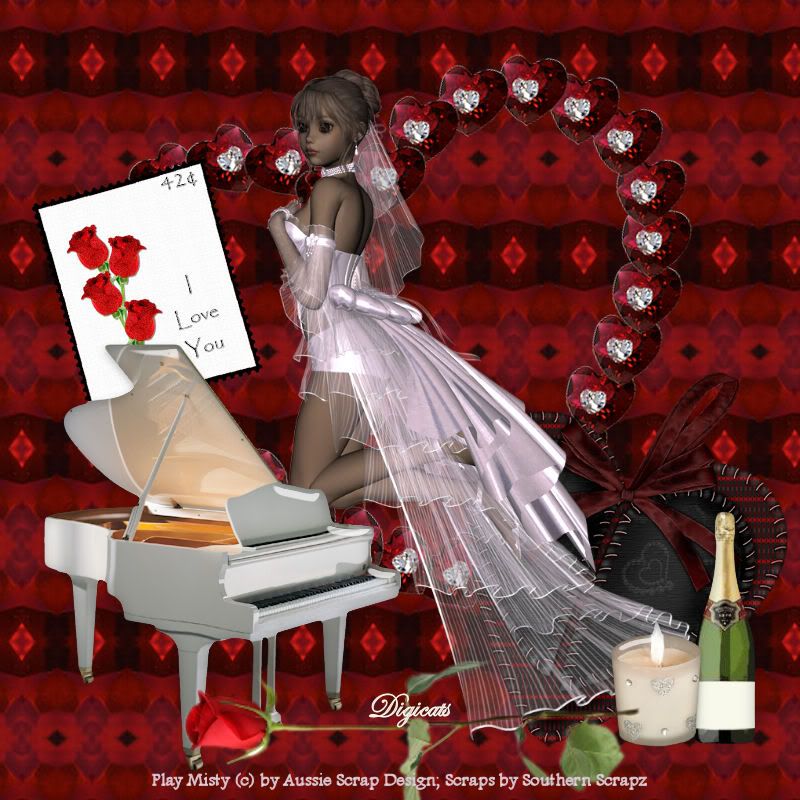
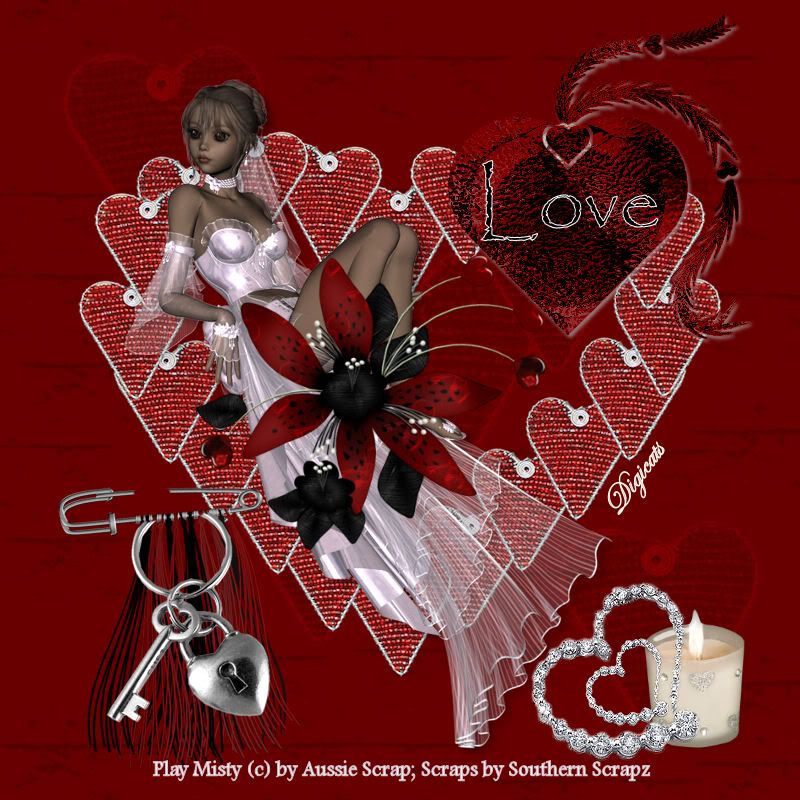
The kit is "A Day of Romance" by Southern Scrapz. I am using the Play Misty poser which is (c) by Aussie Scrap Design. Aussie Scrap Store is going out of business at the end of May, and they are having a 50% off sale, now through to the end of the month. This is a great way to pick up some fab bargains, especially on CU items.

There is a discount code on the front page of the store that you need to apply when checking out.

A Day of Romance


Cindy put a lot of realistic elements in this kit, which is what attracted me to it. I flipped the piano around for this tag, so if it looks backwards, that's because it is. Campaign, candles, red roses...all the elements you need for a nice romantic evening.

A Day of Romance


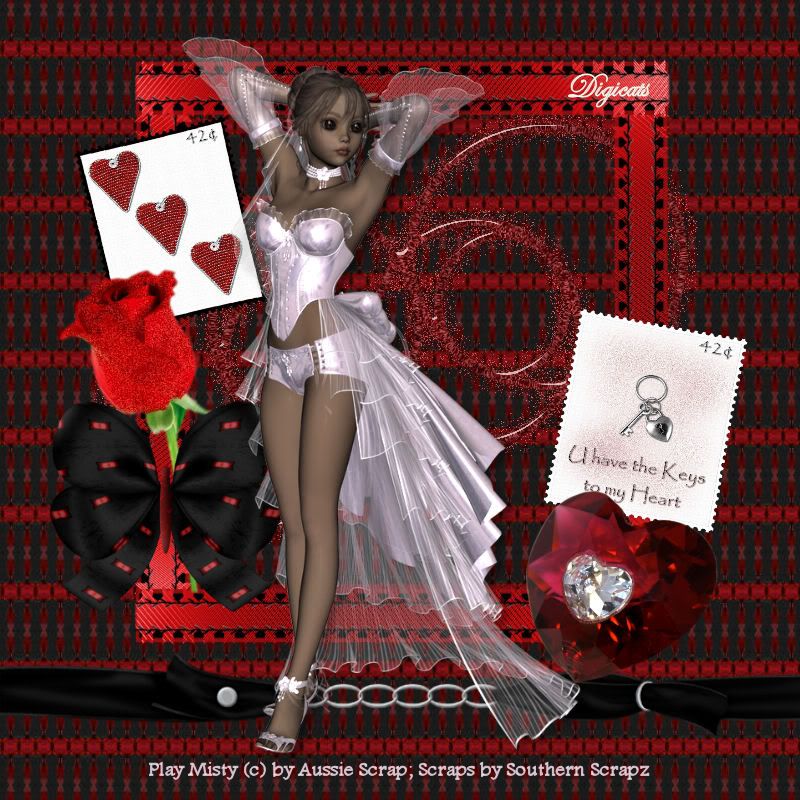
I like the little "love" stamps as well. Those are a nice touch. They did however remind me of the Love 22 guy down at Key West Sunset. I'd always wondered if he'd changed his name, but I guess he's still Love 22!

You might notice the outfit is very similar to Julie's Summer Bride poser as well, although I like what Gail did with the material on her rendition.

A Day of Romance


I had picked up the "Day of Romance" kit on Tuesday's Dollar Day sale at Paradise 4 Scrappers, so keep an eye out there, if you'd like the kit at bargain prices. Probably worth stocking away for next year's Valentine's day, although love and romance is always in season, is it not?

Anyway, remember to come back tomorrow for your freebie. I was up half the night working on the bird cage! LOL! I do hope you like what I've put together for you!

Also, just a heads up, but Designs by Ali and Baby Cakes Scraps have new Freebie kit available on their blogs today. The BCS kit is available in full size as well. Cinnamon Scraps has an old PTU that is now a freebie available, and Cindy from Scrappin' with Lil Ole Me has a CU teddy bear template available on her blog. Don't miss out! Get to snagging today!

Wednesday, May 13, 2009

June Brides (in May)

Rowena was saying that her neighbor's wedding reception, which is being held on Sanibel Island, is $165 per plate. And they're supposed to bring a gift on top of that.

They'd thought about checking the hotel rates and making a weekend out of it, until they saw the hotel rates. LOL. Needless to say, this is a very extravagant wedding she's attending.

Better her than me.
A bit more on the resonable side, what Silent Dreamer's Love's Promise kit. I actually had a lot of fun with this one and yes, one of these days I'll get around to making my own.

She bills this is a Mega kit and there's certainly quite a bit to play with in here. All the posers are from Bits'N'Bob's Summer Bride pack. I think the outfit is a little risque for walking down the aisle in, but on whole it is very pretty - and very summery.

Love's Promise


The color scheme for the kit is gray, blue, red and gold. I like the heart and star elements. I have most of the elements in this kit, but I have several other bridal packs I can tap as well. I also like her frames. There's a flower swag included in the kit that matches the one on the frame as well.

Love's Promise


This kit actually includes roses! The lack of flowers in the Bridal kits has been an issue for me...I mean...Flowers are always such a big part of the event. But S.D. includes quite a few in varying colors, which is nice.

Once again I'm using masks from Wee Scots Lass on the tags. I like her heart masks, only wish I had more of them.

Love's Promise


This tag turned out really nice with the red and the gold, and just a hint of the mask in the background. The kit worked well and I got some great tags from it.

Love's Promise


Isn't this just a beautiful little tag with the doves flying around? I'd done this whole build up thing with the bridal dress and the tuxedo in the background in the arch and it just got lost behind the poser. Oh well. Still a lovely tag.

40 papers, 85 elements and it's saved to 300 DPI. You can find it at Creative Scrap, on sale for $3.00.

Tuesday, May 12, 2009

Paw-sitively Feline

Eat, sleep, scrap.

Eat, sleep, scrap.

What a dull kitten I have become.
And there's never enough time for sleeping, which makes me think I should cut out the eating part. Woman can live on sleep and scrap alone, right?

I went to bed early - it was hot - and got for a while in the middle of the night after it had cooled down. I let Tristan out, but my appearance caught Diamond in the middle of grooming and this threw her into a quandary. Groom? or Outside? Outside? or Groom? Grooming is important as she must look good for her furriends. But she need to go outside to check on her territories and to keep an eye on Tristan. Groom? Or Outside? Decisions, decisions.

In a moment of suddenly clarity, she sorted out her priorities. TREATS! Then outside. She, of course, slept all day so she could cat around all night.
I got new clip art, so I felt I should try to put a kit together before the rest of the clip art resellers got their paws on it and and resold it to every other designer out there. It's coming along nicely, but I'm trying to track down a template I saw a couple of days ago...I hate when that happens.

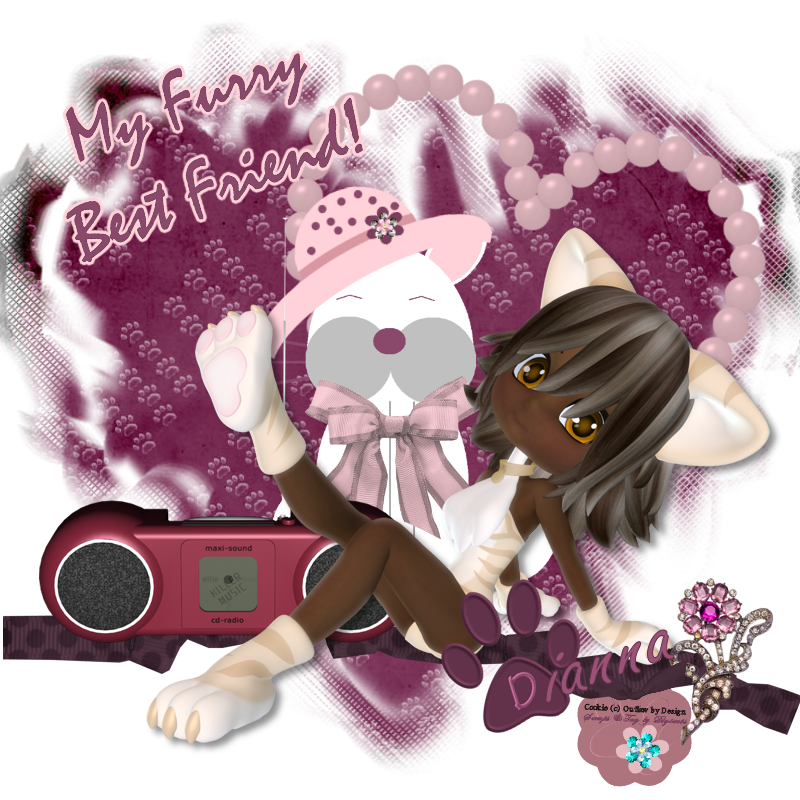
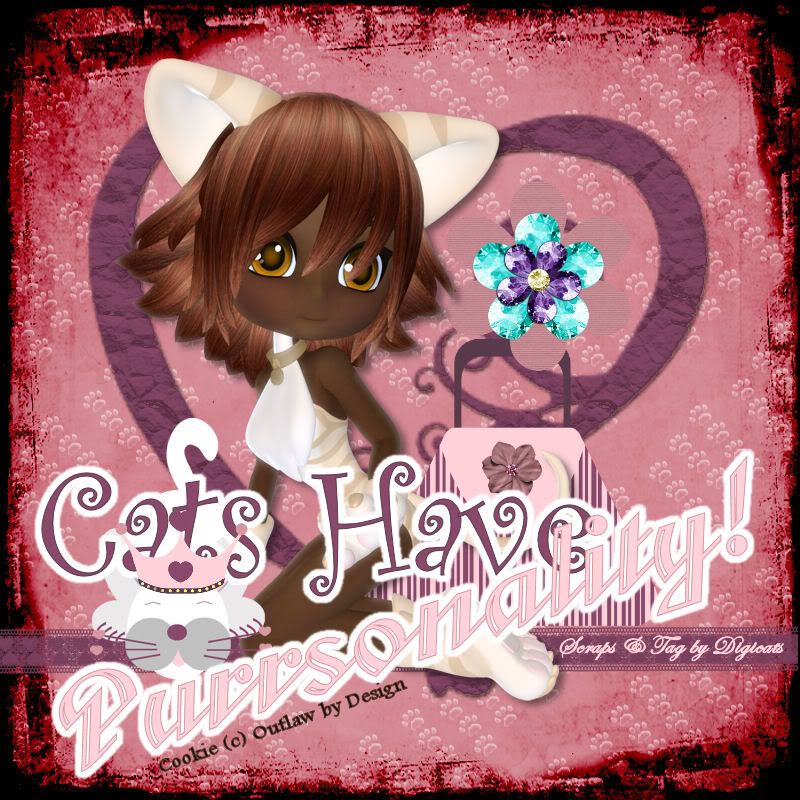
Anyway, here are some tags from my newly released Purr Prints. They turned out incredibly cute!


Purr Prints


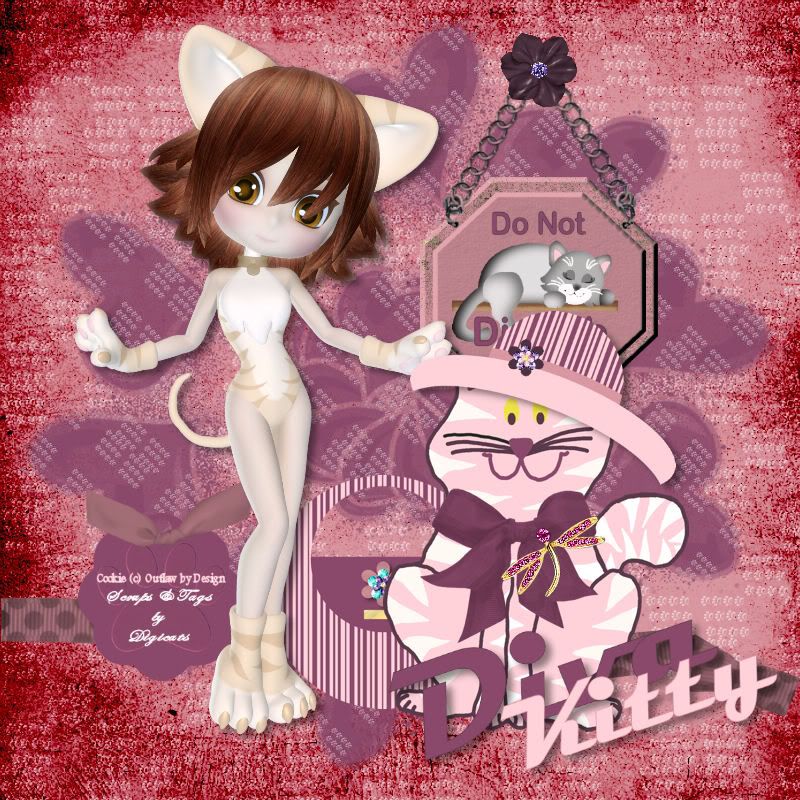
The clip art cat was white and so I stuck with white cats through out That was also the reason I went with Outlaw's Cookie posers, they were - if not quite white - at least lightly colored. They Meows I have from Lisa for example, are black and I didn't feel that would work as good.

My first ever cat was a white domestic long hair named Puffy. My Great Grandmother got her for me when I was four. I got to name her and my sister, and to this day my sister resents the name I gave her - Carol - and insists she would have preferred being called Puffy.

Not that I believe her.

I do not remember if Puffy would let me dress her up. Diamond will play dress up with me, but she really does prefer that I dress her up on the computer, and not in real life. LOL!


Purr Prints


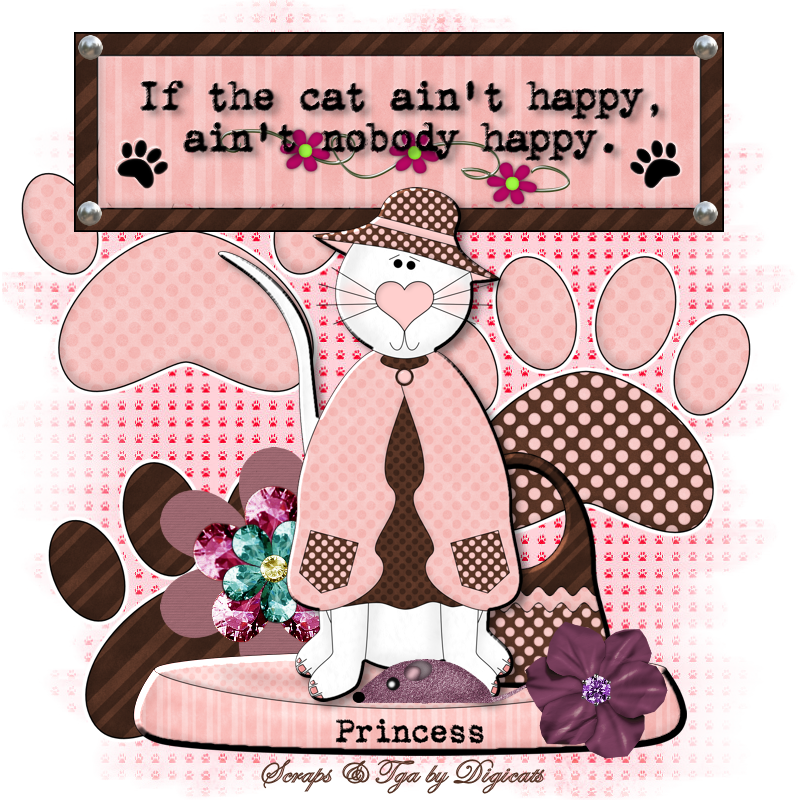
This tag largely used the clip art that is included in the kit. The hat on Princess is the only one that is attached, all the rest can be swapped out from cat to cat or to the posers. I suppose you could cover the hat on Princess with one of the others, if you really wanted to.


Purr Prints


I figured the pre-teen crowd would really get a kick out of this kit, given the pink colors, the pet theme and the Diva sort of attitude. It's fairly easy to use as well, so you can get some great looking tags with a minimum amount of fuss and bother.

Although honestly, there are some teens out there that are probably a better graphical artist than I am.


Purr Prints


Precious is quite dressed up in this tag. I rather got a kick out of doing that. The other two white cats didn't get names, but I suppose I should have called them Powder and Puff and stuck with the "P" theme. Oh well. You can name them yourselves if you like,

I did the word art myself (again) and there is a Paw Print alpha included, a sample of which you can see on the first tag.

20 Papers and 101 elements for $2.50 is a great price - you'd pay as much just for the three posers! And there's quite a few goodies stuck in there, like the boom box and a diary, so you don't have to use the kitty elements if you don't want. You are kind of stuck with the paw prints on the papers though.

Here is the preview of the kit:


Purr Prints


All there of the posers that I used in the tags are included in the kit, so you should have a pretty good idea of what's available.

I have to do my shameless self promotion, but I do have to say I really enjoyed playing with the kit - probably as much as I enjoyed putting it together!

Note: this kit is no longer available for sale. You can download a free copy of it HERE.