Wednesday, July 1, 2009

The Goodie Train Freebie

 photo DCD_Americana_TS.png


Woooo! Hooooo! It's July and it's time to celebrate with some absolutely fabulous patriotic scrap kits brought to you by the talented designers of The Goodie Train.

Welcome to Digicats (and Dogs) station where you'll find my own little vision of Americana waiting for you!

Let's start out with 30 beautifully embossed star studded papers including a selection of the explosive variety! My papers are 800 x 800 pxls - this is a tagger sized kit - and saved as .jpg files to 300 DPI.

Next up we've got you framed up with a selection of 12 frames - 7 square and 5 round, and 5 American Annie dog tags.

And finally, I top it off with a selection of really fine elements including 5 Bows, 5 Ribbons, 5 Star Ribbons, 5 Loopy Ribbons, 5 twisty ribbons, 5 glitter swirls, 5 hanging stars, 5 stickpins, 5 flowers, 5 wraps, 4 winged ornaments, 4 Fuzzlees, 3 fireworks, 10 stickers, 13 doodles including 8 firework doodles, a star light curtain, the Constitution of the United States of America, The Declaration of Independence, and as the little cat says Freedom and Liberty for all!

Please remember that by downloading this kit you agree to my terms of use which state, in part that that that you cannot redistribute, rebroadcast, resale, or claim my graphics as your own. That means placing this kit on 4Shared, RapidShare or any other file sharing site for any reason is a strict NO-NO! That constitutes redistribution.

If you know someone who is interested in this kit , please direct them to my blog where they can download their own copy. Free to use is NOT the same thing as free to share. My graphics are copyright protected.

Plus I already pay for premium download service so you don't have to wait for your freebies, and the links stay here FOREVER, so you don't have to put this kit anywhere else to share it, just link to this post.

To download from MediaFire, click HERE.
The password is "TYVM" - no quotes.

If you enjoyed this freebie, please take a moment to vote for Digi!

Over the Rainbow
Click on the blinkie to vote!


Don't forget to hit up the rest of the stops on this train and collect more freebies! And don't forget to leave a word of thanks if you download, it's the fuel that keeps these blog trains running!

Pimp Your Tags
Oopsie Daisy.net
Candy's Treats
Sticky Kisses Designs
Bits'N'Bobs
Wilma4Ever
Jen's sweet Temptations
Charlie On Line
Digicats (and Dogs) <-- You are Here
Miggins Place
Rachel's Expressions
I Don't Give a Scrap
Tygers Tidbits
Sevens Scraps
Stitchy Angel Creationz
Girl Friend Designz
Ziggy Fan Scraps
Digital Blueprint
New Kinda Love
Polka Dot Scraps

The Goodie Train Station


Remember that you can keep up with all the latest Digicats news and freebies just by liking us on Facebook, or following us on Twitter!

Freedom's Ring photo FreedomsRing1_03152010Dianna.png


Bits'N'Bobs Blog Train Freebie

Something Borrowed photo DCD_SomethingBorrowed_TS.png


Welcome to Digicats terminal! I hope you are enjoying your ride on the Bits'N'Bobs Blog Train. No Wedding Bell Blues around here, in fact, I've got something just a tad bit different for you.

Little Danielle got to be a flower girl for a wedding on Sanibel Island recently, so I though I'd put together a wedding kit showing you how we do things in Florida.

Something Borrowed kicks off with 24 silky 800 x 800 pxl papers in .jpg format. The papers, like everything else in the kit are saved to 300 DPI, but please keep in mind that this is a taggers kit. Yes, silk is hot. Trust me, the wedding party sweats buckets on the beach, you just don't notice that part later on. LOL!

Next up we have 12 lacy frames - six round, six rectangular, and 3 lovely journaling blocks. Add to that are another 76 elements, all saved in .png format so they'll open in any program.

6 wedding bows, 6 curled ribbons, 6 lacy ribbons, 6 satin ribbons, 6 roses, 3 sea shells, 3 roses w/pearls, 2 candles, plus a unity candle, 1 guest book, 1 bouquet, 1 jewel, 1 beaded dragonfly, 1 full tux, 1 wedding dress, beach grass and waves, 1 butterfly, a cake knife, a bottle of champagne (and glasses to enjoy it with), a wedding invitation, place card and envelope set, a flower girl basket, a handkerchief (something old and borrowed), a garter (something blue), a tiara w/Veil (something new), an island, two palm trees and a sandy border to set the scene, a beach side tea house and room divider to hold the festivities in, a lighthouse, a pair of flamingos, a seagull, a cloud, wedding rings (of course!) and a ring pillow, a wedding cake, and a cake topper plus an adorable little Bride and Groom to make the festivities complete. And for you traditionalists, I've even included a church, in case you want to move things off the sand and into the A/C.

It's enough to make you want to get married all over again!

Please remember that by downloading this kit you agree to my terms of use which state, in part that that that you cannot redistribute, rebroadcast, resale, or claim my graphics as your own. That means placing this kit on 4Shared, RapidShare or any other file sharing site for any reason is a strict NO-NO! That constitutes redistribution.

If you know someone who is interested in this kit , please direct them to my blog where they can download their own copy. Free to use is NOT the same thing as free to share. My graphics are copyright protected.

Plus I already pay for premium download service so you don't have to wait for your freebies, and the links stay here FOREVER, so you don't have to put this kit anywhere else to share it, just link to this post.

To download from MediaFire, click HERE.
The password is "I_Do" - no quotes.

If you enjoyed this freebie, please take a moment to vote for Digi!

Over the Rainbow
Click on the blinkie to vote!

Don't forget to hit up the rest of the stops on this train and collect more freebies! And don't forget to leave a word of thanks if you download, it's the fuel that keeps these blog trains running!

Train station

Bits N Bobs
The Cats Meow
Digital Blueprint
Digicats (and Dogs) -- YOU ARE HERE
Winters Loft
BeeHaven Designz
Gothic Inspirations
Tagging Angels N Scraps
Seachells Scrapz
KNC Scraps


Remember that you can keep up with all the latest Digicats news and freebies just by liking us on Facebook, or following us on Twitter!

The Dark Bride (2) photo TheBride2_03122010Dianna.png


Tuesday, June 30, 2009

Digi's Red White and Blue Sales Event!

Red White and Blue Sales Event


Digi is excited and so are we!


Puppylicious photo DCD_Puppylicious_TS.pngThis week's featured kit at Sophisti-Scraps is Puppylicious! If you like puppies - and who doesn't - you'll LOVE Puppylicious! It fill with all sorts of wet nosed, tail wagging goodness! 20 Patterned papers and 91 elements including 2 plush puppies and 5 puppy stickers. Irregardless of whether you are making a tag for you, or for man's best friend, you're sure to find something to please in Puppylicious!

And this week - through Sunday, July 5, Puppylicious is 25% off! Plus is comes with the Patriot Pup Mini-Kit enclosed!


But wait! There's more!

The Bits'N'Bobs Blog Train leaves the station tomorrow, Wednesday, July 1. Stop by Digicats (and Dogs) and download Something Borrowed!

Something Borrowed photo DCD_SomethingBorrowed_TS.png It's the height of Wedding Season and we're sure you'll find something new included in Something Borrowed. Come on down to Sanibel Beach in Florida for the wedding of your dreams - sun, surf, even flamingo flower girls!

But there's more to this deal than just cake and champagne. Included in the download is a coupon good for 35% all my kits at Sophisti-Scraps through the month of July. That's right! You can save an additional 35% on top of the already reduced price for Puppylicious! Plus you get a free fabulous taggers size wedding kit out of the deal!


Need more?

 photo DCD_Americana_TS.png Join us on a trip through America was we wish a happy birthday to the United States aboard The Goodie Train! Americana is also yours FREE just for stopping by Digicats (and Dogs). 30 800 x 800 pxl papers, 106 elements and yes! Fireworks! Make this kit explosive fun! And as Digi says, you'll find Liberty and Freedom inside for all!

But that's not all you'll find inside! Enclosed is a coupon good for 35% off my store at Stargazers, and this one is also good through the month of July! Free kits, plus money saving deals? You're insane, you might say and well we may be because wait....Digi's still got more deals for you!


The Summerlands photo DCD_Summerlands_TS.png Choo! Choo! Climb aboard the Gothic Impressions Blog Train as it chugs off to The Summerlands! Yet another fabulous freebie for you, this great fantasy themed kit includes 24 Papers and 104 magical elements. Do you have the key to fit the door into summer?

This enchanting kit also features a Fae poser courtesy of Bits'N'Bobs, so be sure to stop by Digicats (and Dogs) for a ride into The Summerlands.


What's that Digi? YOU MEAN THERE'S MORE???!!!


4th of July sale at Scrappetizing


A FOURTH OF JULY SALE! 35% off everything in the Digicat's catalog at Scrappetizing! This sale starts July 1st and ends July 15th, so hurry on over to Scrappetizing to grab your bargains today including a discount on our newest releases:

Wild Horses
Sunshine Beach
and
Fairy Delightful

Monday, June 29, 2009

A mostly wasted weekend

Well, Friday started out okay. I helped Dolores get tickets to the Royal Palm presentation of Peter Pan so she could take her grand daughter, and I turned Rowena on to RedPlum.com, helping her to replace the $10 coupon to the Hair Cuttery that Ronaldo had tossed out.

Then I stopped at Walgreens on the way home and had to stay to wait out a bit of a rain shower. So I get home around 2, and James, my neighbor is leaving and he says "The power just went out". I thought that a bit odd because while there had been a rain shower, they're been no lighting or thunder.

I go in the house and go to put my purchases away, and get a shock when I touch the fridge door. Everything metal in the house that was attached to the power grid had a mild current running through it. Scary stuff. In short - the power did not get fixed until around noon on Saturday. The tree in the back yard had rubbed through the power lines and shorted everything out.

This is - of course - negligence on the part of the landlord who should have kept the tree trimmed back from the lines, but that's neither here nor there.

Once I had power again and could inspect the damage, I discovered that the surge protector had slagged, totally. I still have to get into the cubby hole and get it out and put the new one in, but the plastic on it was melted and everything around it is black, black, black. We just barely managed to avoid an electrical fire, is my guess.

My alarm clock was dead as well, I had to get a new one, but the stuff taht was plugged into the surge protector seems okay. Guess it was worth the money I paid for it. This time around I bought a power squid, which has more insulation on it.

Beyond that, the sleeping pills worked well. Too well. I didn't want to get up. I have to talk to him about this and see about maybe just the Ambiem without the CR stuff. The "CR" whatever that is, is supposed to keep you asleep. I does that and it doesn't. I mean, I still wake up in the middle of the night and I"m dopey, but that's no different than what I get with the over the counter stuff which costs a fraction of the price. So why would I want to change?

The Ambien is a little easier to throw off though, so I'm thinking if I get just the regular Ambien....

So that was the extent of my fun weekend. I got a couple of tutorials done and that was about it. And a few tags.

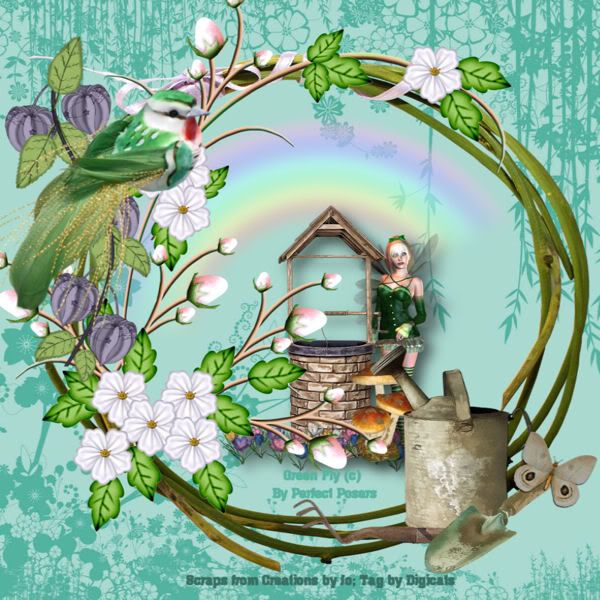
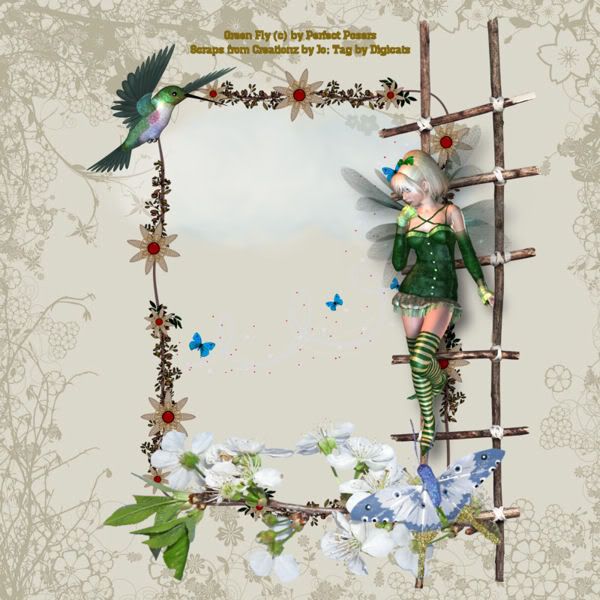
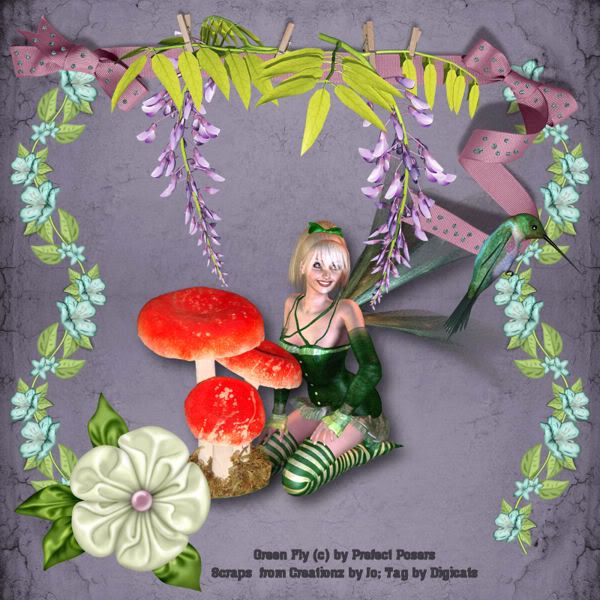
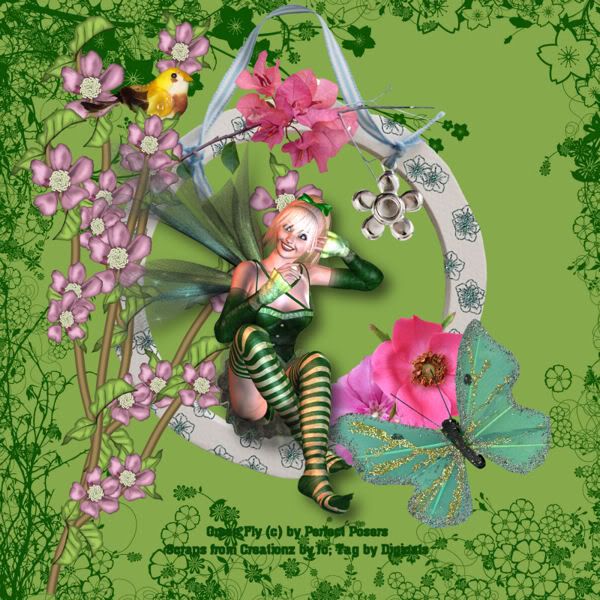
There were all done using the "English Garden" kit from Creationz by Jo. It's available in both full and tagger size and you can get it at Stargazer Scraps as well as other fine Digi-Boutiques. Jo sells out of quite a few of them.

The "Green Fly" poser is from Perfect Posers and given all the licensing issues with CILM of late, I'm beginning to think posers are the way to go. Not so much of a hassle.

An English Garden


An English Garden


There's some really pretty elements in this kit. I was trying for the "outside looking in" perspective on these pieces and I think it worked out okay.

An English Garden


An English Garden


When she's not doing Twilight, Jo's been putting out some very nice fantasy themed kits. She's still one of my favorite designers and I still love playing with her work.

Now...if I can only wake up....

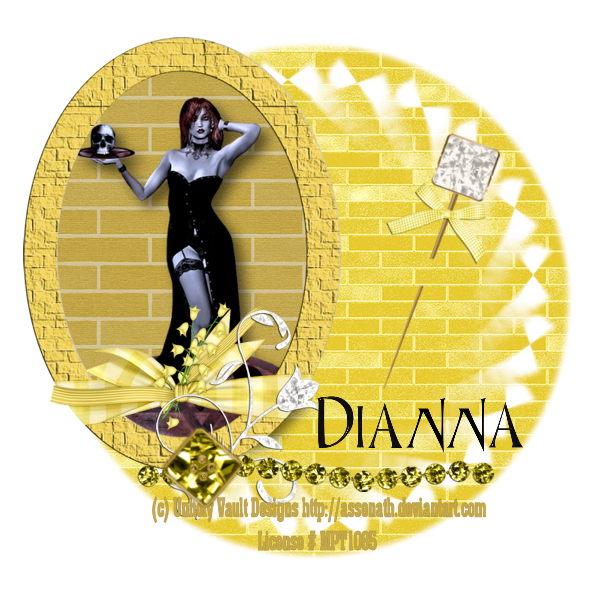
Wicked Witch of the East Tutorial

newwin


This tutorial was written by Dianna Richards of Digicats (and Dogs). Any resemblance to any other tutorial, published or unpublished, living, dead or undead, is purely coincidental.

Please do not rebroadcast, redistribute or otherwise claim this tutorial or any part there of as your own work.


Items you will need to complete this project:

The Yellow Brick Road taggers kit by Toni's Scraparoni. This kit may be purchased at Sophisti-Scraps.

Tube of choice. I am using PSP13062 Necromancy by Unholy Vault Designs. You must have a license to use this tube which may be purchased at MyPSPTube.com.

Wee Scots Lass mask #136, which you can download HERE.

Black Epoxy Alpha, which you can download HERE.


Note that H# and V# refer to Horizontal and vertical coordinates on your canvas grid. Make sure you have View, Rulers checked in order to see the ruler grid.

When I say "Add to your canvas" I expect that you will copy and paste it as a new layer, unless otherwise state in the tutorial.

This tutorial assumes you have a working knowledge of PSP. It was written using PSP X1, but should work in most other versions of PSP.

Open a new canvas 800 x 800 pxls, flood filled white.

Open YBR Paper 04. Layers --> Load/Save Mask --> Load Mask from Disk and locate Wee Scots Lass Mask # 136. Make sure the "Fit to Canvas" box is checked and the click on load.

Layers --> Merge --> Merge group. Then copy and paste Paper 04 to your main canvas.

Open PSP13062 Necromancy by Unholy Vault Designs, and select the tube layer. Copy and paste to canvas centered at H200, V350.

Open YBR Frame 01, resize by 75% and place on your canvas, centered at H230, V340. On the layer pallet, click on the tube layer to select it, then use you pick tool to resize the tube to fit inside the frame. You might need to erase a small bit of the pentagram that is showing outside the frame.

Open YBR Paper 02. Select Adjust --> Hue and Saturation --> Hue/Saturation/Lightness. Change your settings to the following: Hue -5, Saturation -15, Lightness -12, then click on okay. Use your selection tool to draw an ellipse on the paper, roughly the save of the frame, then copy and paste to you canvas. Use your pick tool to resize the new paper layer to fit the frame, then, on the layer pallet, drag it behind the tube layer.

On the pallet layer, click on the frame layer to activate it.

Open YBR Pin 02, resize to 75% and add to the canvas centered at H550, V350. Rotate the pin slightly clockwise, and erase a small portion of the pin so that it appears to be stuck through the paper.

Open YBR Doodle 02 and resize to 35%. Copy and paste to the canvas, centered at H350, V550.

Open YBR Beads 01 and resize to 60%. Copy and paste to the canvas centered at V400, H630.

Open YBR Button 01, resize by 50% copy and paste to the canvas centered at H250, V620. Rotate 45% clockwise using your pick tool.

Set your foreground and background color to #c1a852 (which matched the background behind the frame). Select your text tool and using a font of your choice enter the copyright information for the tube. For PSP13062 Necromancy, the copyright information is:

(c) Unholy Vault Designs http://asaenath.deviantart.com
Your License Number

Make sure it's legible and a bit on the larger size, as we will be reducing the image.

Select your tube later and added a drop shadow to the tube. I am using Offset Vertical and Horizontal 10, Opacity 60, Blur 25, and color Black.

Select Image, resize, make sure the "Resize all layers" box is checked and resize to 75% (600 x 600 pxls).

You can now save the artist's copy at a .pspimage.

On the pallet layer, click the eyeball next to the white layer to make it invisible. Select Layers --> Merge --> Merge visible. Using your pick tool, center the image to H300, V300, and then bring make the white layer visible again.

Adding a Name: I am using the Black Epoxy Alpha for this, which is a free alpha. You may choose to add your name in a different manner, which is certainly alright.

The alpha is a full sized one. For the moment, minimize your main canvas and open a new raster canvas, 800 pxls wide, 300 pxls high with a transparent background. You can turn your grid on if you'd like, I just use the little checkerboard pattern on the canvas to line things up.

Open the Black Epoxy Capital letter of choice. Resize to 25%, add to the canvas. Repeat the procedure with each of the lower case letters in the name you are spelling out. If you have double letters - as in the A and N in my name - you need only do this once as you can use duplicate function to replicate them on the canvas.

Using the pick tool, line the letters up on the new canvas to spell out the name you wish to add to the tag. Note that if you have a LONG name, you may need to make the letters a bit smaller to fit them all onto the canvas.

One you have the name composed to taste, select, Layers --> Merge --> Merge Visible. Edit and copy the name and then reactivate your main canvas. Add the name to the canvas, centered at around H400, V430. This may change depending upon how long the name is. Use the pick tool to resize and relocate the name to taste.

Delete the white layer and select Layers --> Merge --> Merge Visible. Save the tag as a .png file and your finished!

I hope you enjoyed this tutorial. If you have any questions or get stuck, please feel free to E-Mail me.

Sunday, June 28, 2009

Angel Pet Tutorial

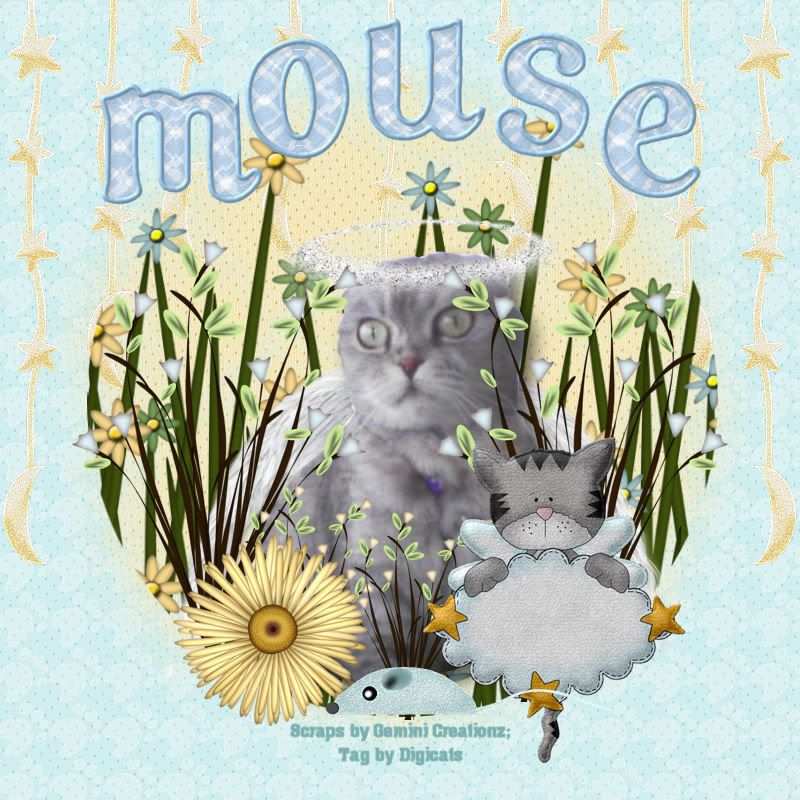
Mouse


This tutorial creates a Memorial Tag for a beloved pet who has passed over the Rainbow Bridge. For the purposes of this tutorial, I am using my friend's cat, Mouse, who was a beautiful Scottish Fold.

This tutorial was written by Dianna Richards of Digicats (and Dogs). Any resemblance to any other tutorial, published or unpublished, living, dead or undead, is purely coincidental.

Please do not rebroadcast, redistribute or otherwise claim this tutorial or any part there of as your own work.


Items you will need to complete this project:

The Chloe's Angel taggers kit from Gemini Creationz. This kit may be purchased at Sophisti-Scraps.

Tube of your choice. I have extracted a picture of Mouse from a photograph provided by my friend. It is beyond the scope of this tutorial to teach you to do extractions. If you do not know how to create tubes, various designers offer tubing services online.

Mask # 119 by Wee Scots Lass. You may download this mask for free HERE.

Optional Angel Element pack by Digital Delights to provide wings and halo. Patty wanted me to put wings on Mouse, and I offered to add the halo as well. This pack is available at Scrappetizing.

Pastel Blue Alpha by Crazed's Creations which may be download for free from her blog.


Note that H# and V# refer to Horizontal and vertical coordinates on your canvas grid. Make sure you have View, Rulers checked in order to see the ruler grid.

When I say "Add to your canvas" I expect that you will copy and paste it as a new layer, unless otherwise state in the tutorial.

This tutorial assumes you have a working knowledge of PSP. It was written using PSP X1, but should work in most other versions of PSP.

To begin, open a new canvas 800 x 800 pxls, flood filled white.

Open CA-Paper 9 and add to canvas

Open CA-Paper 6. Select Layers, Load/Save Mask --> Load from Disk and find Wee Scots Lass mask #119. Make sure the "Fit to Canvas" box is checked and then click on load.

Select layers, merge, merge group. Copy and paste the masked CA-Paper 6 to the canvas.

Open CA-Star Curtain and add to canvas, centered at H400, V280.

Open CA-Grass. Using your selection tool set to circular, start at H550, V400 and draw a circle in the grass extending to either vertical side. Copy and paste the selection to your canvas and use your pick tool to resize it to it in the circular area of CA Paper-6.

Add your tube. placement is going to depend on the side of the tube, but initially it should be centered. You can then use to pick tool to adjust as needed.

If you're going to add the optional wings and halo, now is the time to do so. As the Digital Delight pack is in full size, you will need to resize it down. In the example tag above, I resized the wings down to 25% to fit Mouse and the Halo I had to adjust further using the pick tool as 25% was still too big.

Once you have added wings and Halo, erase any part of the wings that hangs outside the circle created by CA-Paper 6.

Returning to the Chloe's Angel kit, open CA-Grass 2 and resize by 50%, Add to the canvas centered at H220, V450. Duplicate, then mirror.

Open CA-Grass 3. Resize to 25% and copy. Place three copies, evenly spaced down along the front of the circle, between the two grasses 2.

Open CA-Flower 1, resize 50%, and add to canvas centered at H270, V630.

Open CA-PNG 5, resize by 50%, and add to the canvas centered at V550, H600.

Open CA-Mouse 2, and add to the canvas centered at V470, H690.

Under the circular area where most of the composition is done, you may put your "Scraps by", and "tagged by" information at this time. You still need to add the name. However, once you've added the information in this section, save the tag as an artists copy in .pspimage format. You might also wish to add a drop shadow to your tube at this point.

Adding the Alpha: I am using the Pastel Blue Alpha by Crazed Creations. It is tagger sized and as I used only lower case letters I did not have to resize. Try to center as best as possible. In this case, because there is a "M" to start the name, the "U" has to be moved over from dead center to compensate.

It you are using a longer name, you will likely have to resize the letters to make the name fit. You can do this using the Image --> resize function or by using the pick tool once you have added them to the canvas. Which every way works best for you, use it!

Once you have finished with the name, go to Layers --> Merge --> Merge Visible and save as a .jpg file, and your all done! You now have a tag to post on your blog or website commemorating your beloved fur-baby!

I hope you enjoyed this tutorial. If you have any questions or get stuck, please feel free to E-Mail me.

Thursday, June 25, 2009

Counting horses, not sheep

So...my blood work came back fine and yesterday was my follow up visit with my doctor. He's now decided we're going to try a mild sedative - Ambien CR - to try to get me to sleep regularly. I sleep pretty good using over the counter stuff like Simply Sleep, but I can't kick it the next day - it says in my system and it's a battle to stay awake. He did say that wasn't an usual reaction to it though.

I got maybe a handful of hours of sleep last night and that was fitful at best.

I can't start with the Ambien until Friday though, and he said even if I'm still groggy on Saturday to take it Saturday night as well, as it might take while for my body to adjust to it.

"It we can get you to sleep through the night..." That won't happen. I still will need to get up once or twice to pee.

As for my leg, he said I might have done some ligament damage to it when I fell, which is why it's not working right. He said just leave the brace on for know and stay off it as much as possible. I go to see Dr. Clark in August, so if it's still bothering me then, they'll order an MRI on it, and determine what the next step is from there.

I DID get my Wild Horses kit finished up and it should be going into stores, maybe tonight, once I get the attendant paper work finished and get the files zipped. Once this kit goes up I'm going to take some time out for tutorials and tagging and then get my blog trains all on the right tracks. And maybe, fingers crossed, get some sleep.

Here are some tags to give you an idea of what it's going to look like. I'm really jazzed about the papers, I think they turned out fabulous!

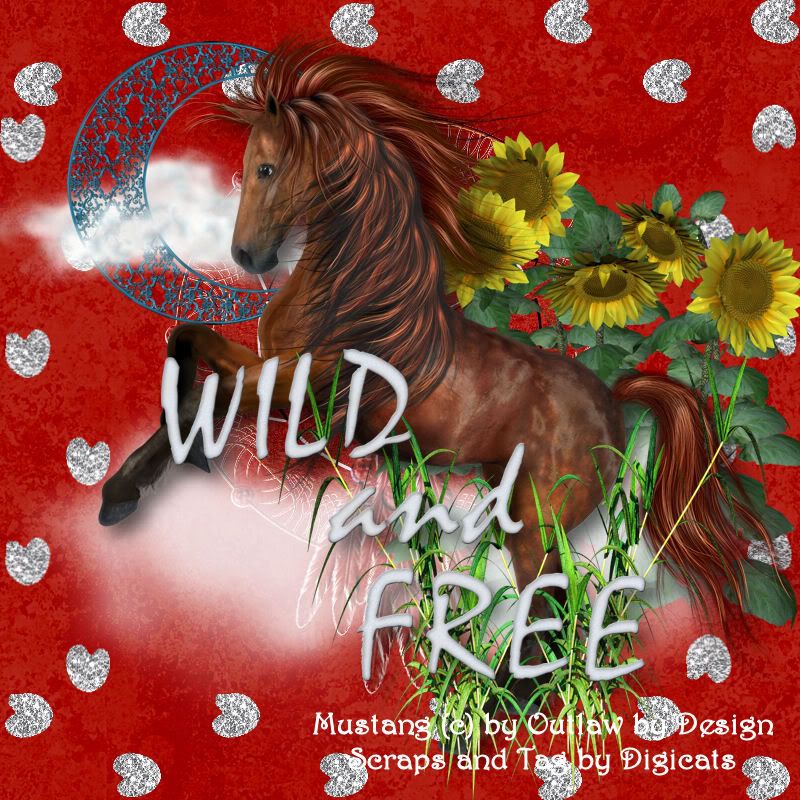
Wild Horses 1


The rawhide alpha is from Wenchd Grafix and is not included in the kit. It's only for tag purposes. The light trail however, is in the kit, one of three glittery overlays.

Wild Horses 2


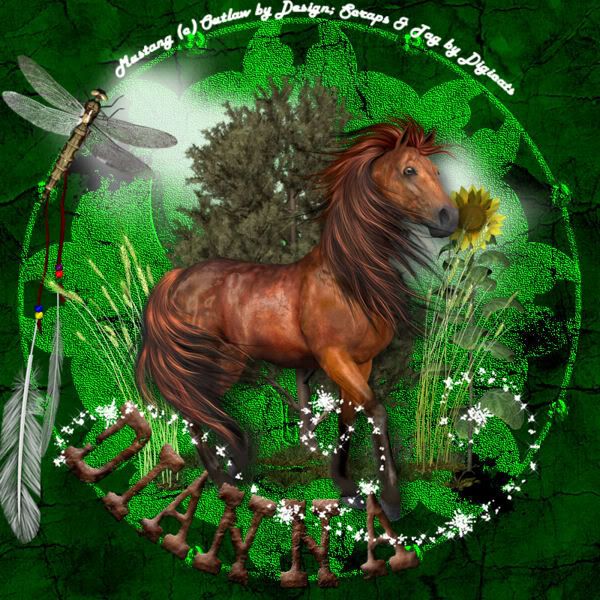
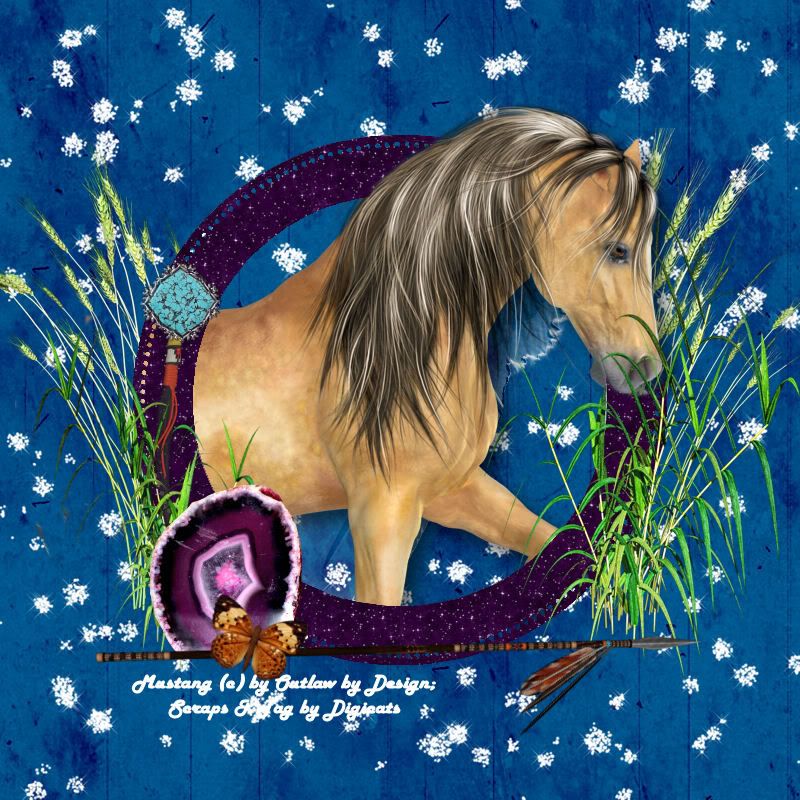
Mustangs are a vanishing symbol of the Western United States. The offspring of escaped Spanish horses, they become heavily hunted to allow cattle to use their grazing ranges. Brutal methods include helicopter round ups in which the horses literally ran their hooves off and then were loaded into trucks to taken to rending plants to be used in pet food.

The Wild Free-Roaming Horses and Burros Act of 1971 offers some protection for the horses, and there are strict guidelines as to how they herds may be managed in public rangelands. 27,000 head is considered a manageable number of wild horses by the BLM, the herds are currently over 33,000. It should be noted that horses can thrive in ranges that cattle can not and so the argument that they detract from cattle grazing ranges is not valid.

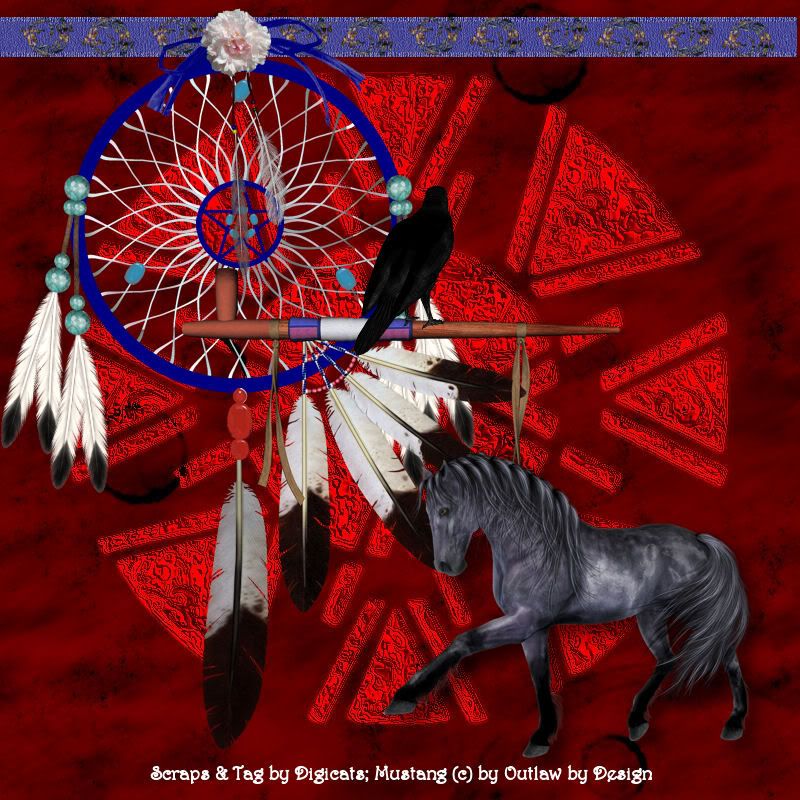
Wild Horses 3


The white grunge alpha used in the tag is from DreamsFulfilled and again, is not included in the kit.

There is mixed Native American symbolism in the kit. I wanted to make it a bit more authentic than more of the previous kits that have been released on this genre, but I'm no expert, that's for sure. There are quite a few Native American elements but they are not specific to any one tribe.

Wild Horses 4


I had stalled on this for a bit, but once I got going again it came together fast. I hope you'll enjoy it as much as I enjoyed putting it together.

For more on Mustang and the history of wild horses in the Americas, please visit Mustangs4us.com

Wednesday, June 24, 2009

Come to Sunshine Beach!

Looking for a place where it never rains, and there's fun to be had, 24/7? Then come to Sunshine Beach, the most magical beach anywhere. It doesn't matter if you like swimming, sailing, sunning, or hunting up treasures on the shore, you're sure to find dozens of things to enchant you in this beautiful Summer themed taggers kit.

Sunshine Beach photo DCD_SunshineBeach_TS.png


Some fabulous finds await you in this one, including 10 bows, 9 seashells, 5 boogie boards, 5 vanity license plates, 5 strings, 5 string wraps, 5 ric rac, 5 wild roses, 4 paper clips, 3 summer cuties, 3 sandy borders, 2 clumps of beach grass, 2 clouds, 2 sailing boats, 2 sets of waves, a bubble, a toy boat, 1 grass border, 1 sand half page, a beach umbrella & ball, a crab, a deck chair, a set of flip flops, a hat, an island with a palm tree on it, a kite, a lighthouse, one message in a bottle, a sand pail and shovel, a sand castle, a sand dune, a seagull, a starfish, the sun, a toy lighthouse, a treasure chest, "Friends" word art, and "Summer" word art.

Add to that 5 popsicle stick frames beautiful decorated with tropical flowers, 5 life saver frames and 5 postcards to make sure your friends know that you wish they were here with you.

30 patterned pastel papers provide the backdrop. The summery pastels give it a washed out memory look, but believe me, your memories of the time spent at magical Sunshine Beach will never fade!

This kit has been retired and is available for FREE elsewhere on this blog!


Tuesday, June 23, 2009

Goals and Accomplishments

My goals for the weekend were to do (one) tutorial,
Finish up the wedding kit,
Finish up the Wild Horses kit,
Scrap myself going over the falls in a barrel.

I ended up doing (three) tutorials,
I finished the wedding kit (but need to rework it a bit),
I’m stalled on the Wild Horses kit as I need to think about it,
And I still haven’t gone over the falls in a barrel.

However, I did learn how to make a discount coupon in Zen Cart AND how to make my own ads!

I also started a new beachy themed kit which I should finish today and hope to have in my stores tomorrow.

Plus I did the four Paradyce Lost tags and uploaded 24 of the 36 new brushes I bought and did some work on the 2T2P secret project, although...that will likely need to be redone as we're still hashing out the pallet.

As for the wedding kit, I did this little bit up to post on the S-S list since I was using Kirsy's templates for the Bride and Groom. That's not what she intended them for, but they work. And then I used 3 of Joanne's CU products and the gazebo is from a template by Aquarius Design. So it was sort of a C.U. CT exercise. LOL.


I'm going to have to redo the preview for the kit, tho. I knew I had some more stuff to add in, but I couldn't find it. Last night, I was looking for strings and seashells and guess what?

Oh well, at least it wasn't the day before launch and those friggin' overlays I wanted to use never did turn back up.

My hard drive is like the Bermuda Triangle. Things vanish in there, never to be seen or heard from again. :)


I called my mother on Sunday and she's like "Aren't you going to wish me a Happy Father's Day?" I pointed out she ISN'T my father. She copped this attitude after the divorce that she was both my mother and my father, and I hated that. I hate the way she puts my dad down all the time.

He wasn't perfect - far from it - but he tried to be a good father when he was around. But she's not perfect either and as such, she doesn't have the right to cast stones. Especially as the man is dead and in his grave for some 20 years now.

To make matters worse, my sister sent my mother flowers - my mother was of course ecstatic about this - that said "To the best Mother AND Father in the whole world".

I pointed out that the next time Carol does something stupid and she comes back at me with "BUT YOU RAISED HER!" I'm going to remind her that Carol obviously thinks otherwise.

"Yeah, I thought about that," she says.

"I'd be happy to share my flowers with you but you're so far away."

Yes, another dig about my so called "running away from home". It's only been what? 26 years? Time for her to get over it, don't you think?

And then she has the never to tell me she doesn't carry grudges. The woman's like an elephant she never forgets, or forgives, anything.

Anyway, enough venting.

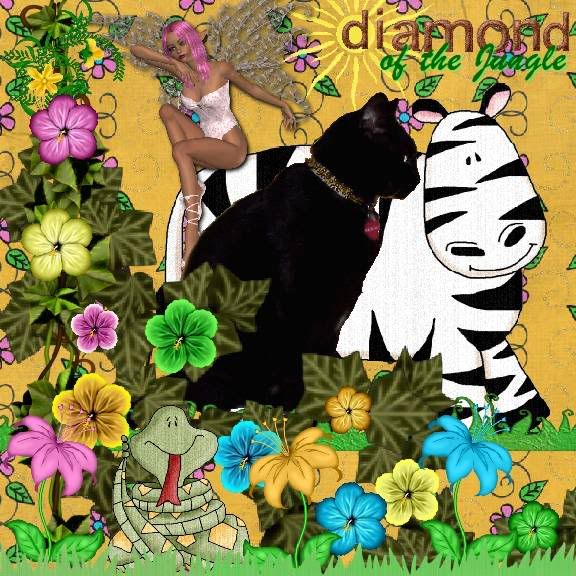
Diamond of the Jungle


Miss Diamond does not think that I'm her mother OR her father. Just her furry best friend. LOL!

Scroll down to check out my Summer Splash tutorial. It's really adorable!

Oh yeah, almost forgot. One last thing. It seems that Jay has decided to ditch her personal CT, and just run with the one at the store. It would have been NICE if she'd e-mail us and let us know, but no...I had to find out by reading her blog. She never did acknowledge the "Splash" tutorial I did for her, and I guess that explains why.

Ah well, I didn't think it was working out anyway. She's become heavily addicted to Twilight tagging and I - for the most part - don't do Twilight tags.

This allows me to focus my efforts on the designers at Sophisti-Scraps now, which I think is a good thing!

Summer Splash Tutorial

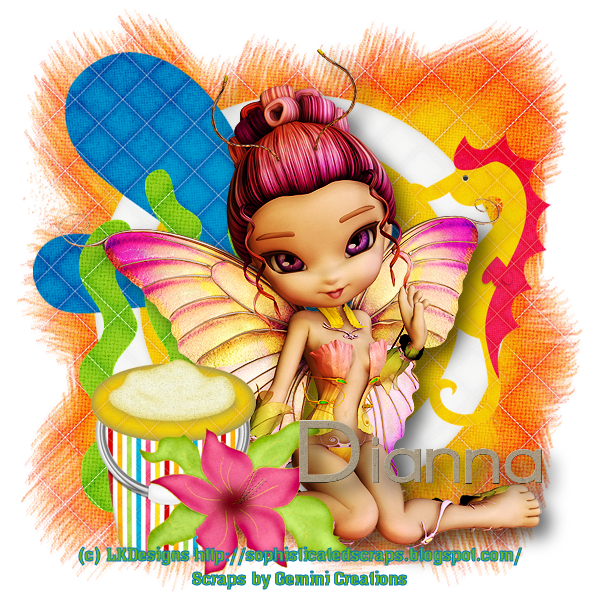
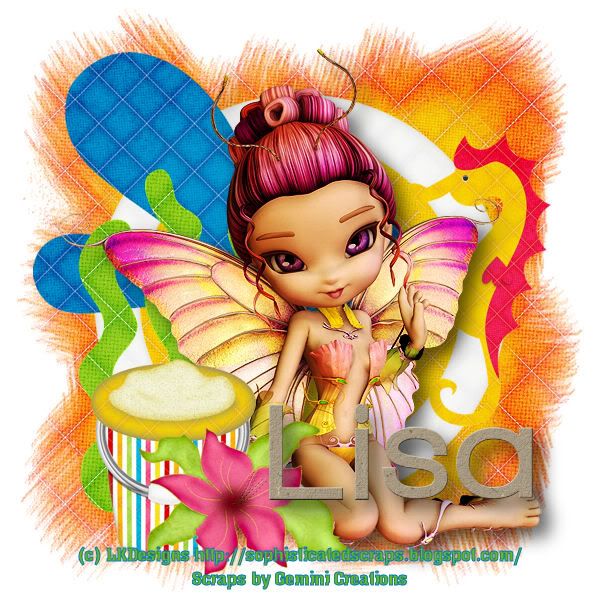
Summer Splash


This tutorial was written by Dianna Richards of Digicats (and Dogs). Any resemblance to any other tutorial, published or unpublished, living, dead or undead, is purely coincidental.

Please do not rebroadcast, redistribute or otherwise claim this tutorial or any part there of as your own work.


Items you will need to complete this project:

The Splish Splash Splosh taggers kit from Gemini Creationz. This kit is available at the Sophisti-Scraps Boutique.

The Cookie - Seasonal Fae from Sophisticated Scraps. This poser pack is exclusive to the Sophisti-Scraps Boutique.

Wee Scots Mask #116, which may be downloaded for free from her website.

Shel Belle's FTU Summer Sun alpha, which may be downloaded from her blog. This is a full sized alpha, I have scripted it down to use for tagging.


Note that H# and V# refer to Horizontal and vertical coordinates on your canvas grid. Make sure you have View, Rulers checked in order to see the ruler grid.

When I say "Add to your canvas" I expect that you will copy and paste it as a new layer, unless otherwise state in the tutorial.

This tutorial assumes you have a working knowledge of PSP. It was written using PSP X1, but should work in most other versions of PSP.

Open a new canvas, 800 x 800, flood filled white.

Open SSS Paper 9. Select Layers --> Load/Save Mask --> Load Mask from Disk. In the drop down box select Wee Scot's Lass Mask 116. Make sure the "Fit to Canvas" box is checked and click on "Load".

Layers --> Merge --> Merge Group; then copy and paste to your canvas, centered.

Repeat with SSS Paper 5, but resize the Paper to 80% before loading the mask.

Open SSS Frame (the white circular frame) and add to canvas, centered.

Select Image --> Resize and resize the canvas to 75% (600 x 600 pxls).

Open SSLisa - Seasonal Faes - Summer 1 and add to canvas, centered.

Open SSS-Watersplash, mirror and resize to 75%. On the layer pallet, click on the frame layer to activate it, then add the resized splash to the canvas, centered at H220, V220.

Open sss-Seaweed1, and add to canvas, centered at H175, V350 (behind the Fae, and to the left).

Open SSS Seahorse, and resize by 50%. Add to canvas centered at H480, V280 (behind the Fae and a bit to the upper right).

On the layers pallet, click on the Fae layer to activate and add a drop shadow. I am using Offsets of H10, V10, Opacity 60, Blur 25, Color black.

Open SSS Bucket, resize by 50% and add to the canvas, centered at H170, V460.

Open SSS_flowerfushia, resize by 50% and add to the canvas, cented at H250, V500.

Add your copyright information to the tag. For Lisa's Summer Fae, the information you need to add is:

(c) LKDesigns http://sophisticatedscraps.blogspot.com/
Scraps by Gemini Creations

I have set my foreground color to #0078bc (blue), and my background color to #6eb814 (green), and am using the Archon font set to 12 points, bold, centered.

You may now save the artist's copy as a .pspimage.

Adding a Name: Usually I leave this up to you, but if you wish to use the Summer Sun Alpha, proceed as follows.

The alpha is a full sized one. For the moment, minimize your main canvas and open a new raster canvas, 600 pxls wide, 300 pxls high with a transparent background. You can turn your grid on if you'd like, I just use the little checkerboard pattern on the canvas to line things up.

Open the Summer Sun capital letter of choice. If you have already recripted the alpha to taggers, resize to 50%, add to the canvas. If you've not rescripted it, you may need to reduce it to 15% or 20%. Repeat the procedure with each of the lower case letters in the name you are spelling out. If you have double letters - as in the A and N in my name - you need only do this once as you can use duplicate function to replicate them on the canvas.

Using the pick tool, line the letters up on the new canvas to spell out the name you wish to add to the tag. Note that if you have a LONG name, you may need to make the letters a bit smaller to fit them all onto the canvas.

One you have the name composed to taste, select, Layers --> Merge --> Merge Visible. Edit and copy the name and then reactivate your main canvas. Add the name to the canvas, with the Vertical center at around 450. The exact location will depend on the size of the name you are adding. Once you have added it to the canvas, use your pick tool to resize and relocate it to taste.

Just on a side note, you should always place your name somewhere over the image in you tags, as that helps to prevent piracy of your work. Yes, believe it or not, there are tag pirates out there too!

Just for fun, I've added a drop shadow to the name as well. The detail are the same as for the Fae tube.

You are now ready to merge the image, and save the finished tag as .jpg or .png file. If you want to save it as a .jpg, simply select layers --> Merge --> Merge Visible, and save and your all done.

To save as a .png, you will need to delete the bottom, white layer before merging visible and saving.

I hope you enjoyed this tutorial. If you have any questions or get stuck, please feel free to E-Mail me.

Summer Splash
Alternate .jpg version