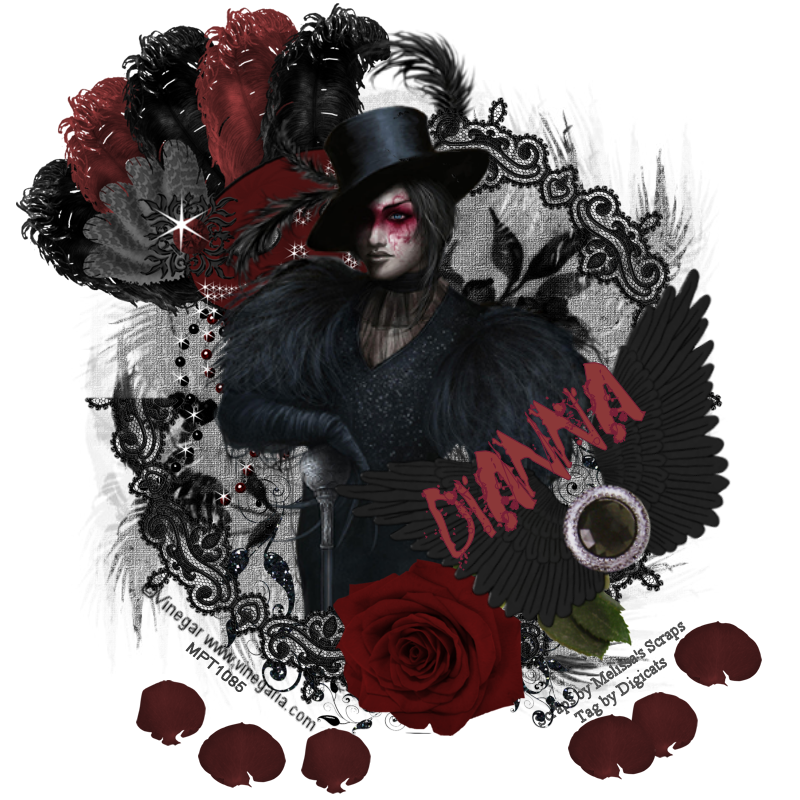
This tutorial was written by Dianna of Digicats. All resemblance to any other tutorial living, dead or undead, published or unpublished is purely coincidental.
The tutorial was written in PSPX1, but should work in most versions of the program. It assumes you have a working knowledge of PSP.
Materials needed:
Goth tube of choice. I used Vinegar's Duke of Shadows. You must purchase a license at MyPSPTubes to use this tube.
Mask of choice. I used Mask $59 by Wee Scots Lass, which can be found HERE.
The Gothy Valentine taggers kit by Melisa's Scraps, which can be purchased at Creative Scraps or Aussie Scraps.
Open a new raster layer, 800 x 800 pixels, and flood fill white.
Open Paper_8 of the Gothy Valentine kit and resize 75%. Add as a new layer.
With the new layer active, select Layers-->Load/Save mask from Disk-->Load mask from Disk. Find WSL Mask # 59. Make sure the the "adjust size to layer" button it checked and apply.
Selections-->Merge Group.
Open Mask_1 element and resize 75%. Add to image as a new layer centered at 200 x 200, upper left hand corner.
Open the Duke of Shadows tube. Extract the tube and add it as a new later to the image. Center and expand slightly to 400 pixels across.
Open Heart_Doodle1, and add it to the image as an layer. Center at approx 420H and 530V.
Drag under tube layer.
Open LaceFrame_1. Select are 300 pixels x 300 pixels upper left hand corner. Press Delete.
Selects-->Select None.
Selects-->All. Copy & paste as a new layer in main image, and center.
Erase portions of the tube below and on the frame to suit.
Reverse layers, making the frame the top layer, then reactivate the tube layer and made adjustment to erasing as necessary.
With the frame layer active, Open Long StemRose1. Resize to 50 percent, and add as new layer and centered at approximately 450H x 650V.
Select Wings_1 and paste as a new layer covering the stem of the rose. (Centered at about 540H x 450V) Rotate to suit.
With the Rose layer active, select RosePetals_6, resize to 25% and paste as a new selection along the bottom of the image at random. Repeat twice. Select -->Select None.
Repeat the above line, using RosePetals_7.
Add copyright and text as desired. I used the Horros font for the name, which can be found HERE.
Adjust Mask_1 to suit. I moved mine to the right enough to remove any of the white between the tube and the mask.
Save artist's copy as .pspimage. Dismiss white background layer if desired, and choose Layers-->Merge->Merge Visible and save as a .jpg or .png as desired.
1 comment:
Girl, you rock! I love this tag. Thanks!
Post a Comment