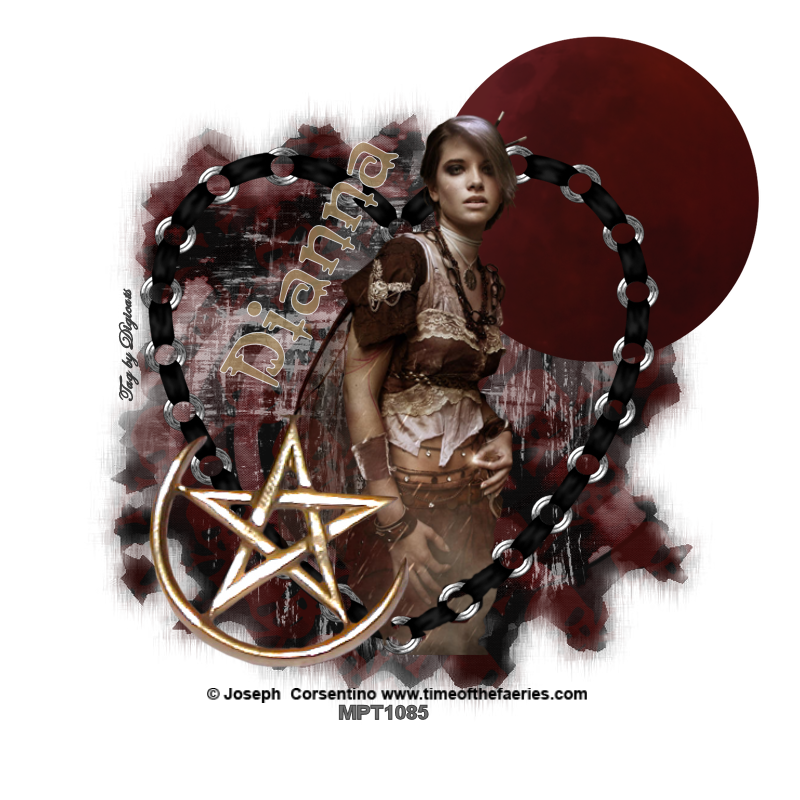
This tutorial was written by Dianna of Digicats. Any resemblance to any other tutorial living, dead or undead, published or unpublished is purely coincidental.
This tutorial assumes you have a working knowledge of PSP. It was written using PSP X1, but should work with most versions of PSP.
Materials Need:
Cameron's Ocean Mask #2, which is available HERE.
WSL Mask #222, which is available HERE.
The new Blood Moon kit from Scraps by J0e's Wife, which is for sale at Digital Chaos.
Tube of choice. I am using the awesome artwork of Joseph Corsentino, PSP# 11065 Ashlin Titanium.
You need a license to use this artwork, it can be purchased at MyPSPTubes.
Tutorial:
Open a new raster layer, 800 x 800 pixels, flood fill white.
Open Paper 30, resize 65% add to image.
Open Paper 1, resize 65%, add to image.
Layers-->Load/Save Mask-->Load Mask from Disk. Find Cameron's Ocean #2, make sure the "fit to layer" box is checked and apply.
Layers-->Merge-->Merge group.
Layers-->Merge-->Merge down.
Layers-->Load/Save Mask-->Load Mask from Disk. Find WSL#222, make sure "fit to layer" is checked and apply.
Layers-->Merge-->Merge group.
Open Blood Moon Element and resize 50%. Add as a new layer, centered at 600H by 200V.
Open Eyelete ribbon Heart frame 3, resize 65% and add as a new layer. Center.
Open tube and extract the transparent layer, and add to image. Center. Expand tube to 300 pixels.
Swap with Frame layer and with the tube layer activated, erase over the portions of the frame that cover the bottom of tube
Swap layers back so frame is underneath tube. With the tube layer activated, clean up any erasing that needs to be done.
Open pentacle and half moon charm 1. Mirror image and add to tag. Center at 280H, 500V. Erase the clasp and ring, leaving only the charm part.
Add copyright info and license number.
Add text as desired. I am using the Omnibus Multiserif system script, bolded, with the transparency set to 75%.
Save artists copy as a .pspimage file. Drop the white background if desired. Go to Layers-->Merge-->Merge visible and save as a .png (or .jpg if you're keeping the white layer) file.
Please feel free to drop me an e-mail if you have any questions or need help with the tutorial.

No comments:
Post a Comment